65
BASE next instruction BASE next instruction
EN
EN
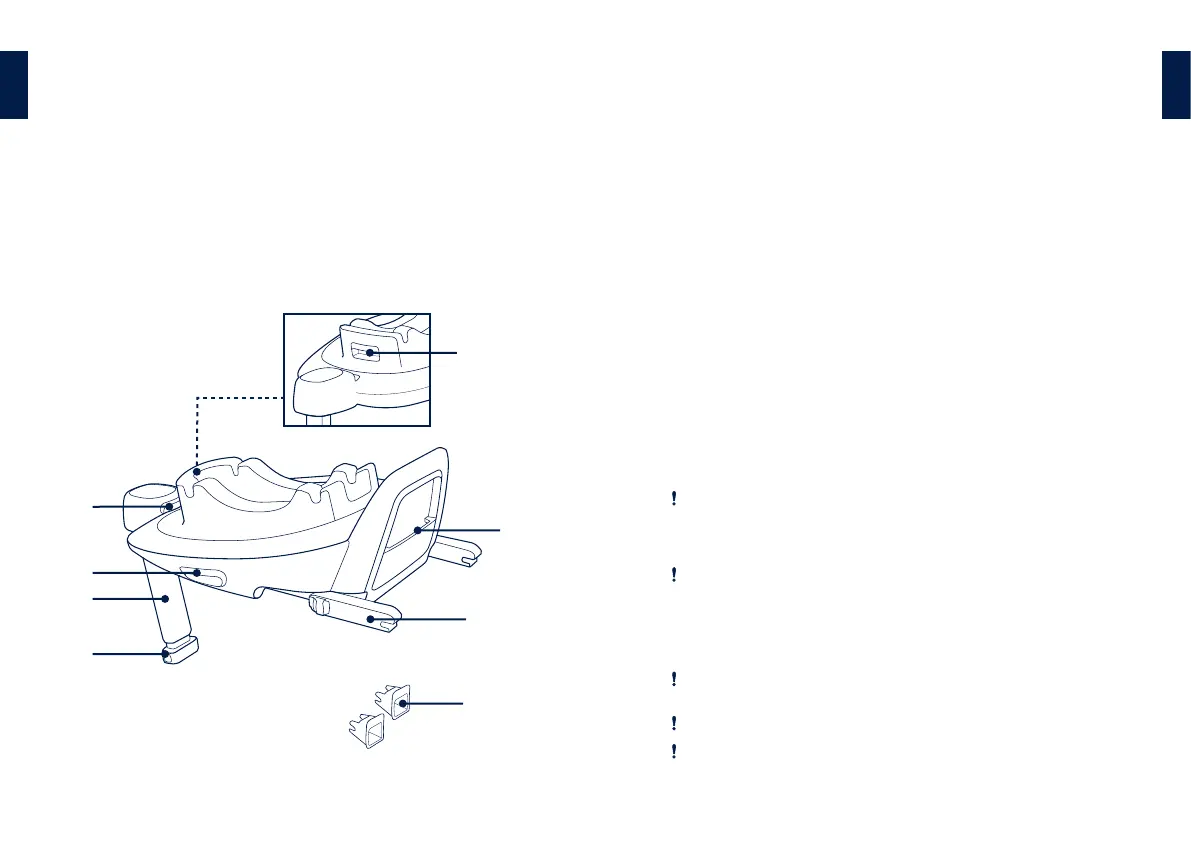
Parts List
Make sure all parts are available before assembly. If any part is missing,
please contact local retailer. No tools are required for assembly.
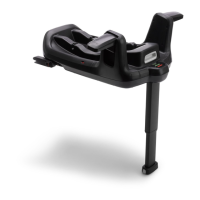
1 ISOFIX Adjuster Button
2 Child Restraint Release Button
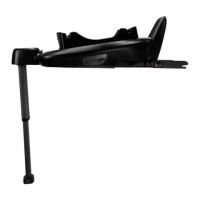
3 Load Leg
4 Load Leg Adjustment Button
5 ISOFIX Guides
6 ISOFIX Connector
7 Instruction Manual Storage
Compartment
8 Infant Carrier Rotation Button
5
7
6
1
3
4
2
8
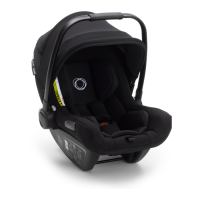
Product Set Up
Installation Concerns
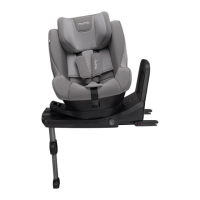
This enhanced child restraint is only suitable for vehicle seats equipped with
ISOFIX anchorage bars. (1)
DO NOT install this enhanced child restraint on vehicle seats that face
sideways or rearward with respect to the moving direction of the vehicle. (2)
Product Use
Base Installation
1 - Attach the ISOFIX guides to the vehicle's ISOFIX anchor bars (see vehicle
owner's manual). (3) The ISOFIX guides can protect the surface of the
vehicle seat from being torn. They can also guide the ISOFIX connectors.
2 - Unfold the load leg from storage compartment. (4)
3 - Extend the ISOFIX connectors by pressing the ISOFIX adjustment button
while pulling on the connector. (5)
4 - Press the ISOFIX adjustment button to adjust the ISOFIX connectors.
Line up the ISOFIX connectors with the ISOFIX guides, and then "click"
both ISOFIX connectors into the ISOFIX anchor bars. (6)
Make sure that both ISOFIX connectors are securely attached to their
ISOFIX anchor bars. There should be two audible clicks and the colors of
the indicators on both ISOFIX connectors should be completely green.
(6)-1
Check to make sure the base is securely installed by pulling on both
ISOFIX connectors.
5 - After placing the base on the vehicle seat, extend the load leg to the floor
(7). When the load leg is installed correctly, the load leg indicator will
show green. Red will be shown when installed incorrectly. (7)-2
The load leg has multiple positions. When the load leg indicator shows
red this means the load leg is in the wrong position.
Make sure the load leg is in full contact with the vehicle floor pan.
Squeeze the load leg adjustment button, then shorten the load leg
upwards. (7)-1