87
BASE next instruction BASE next instruction
EN
EN
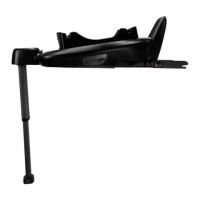
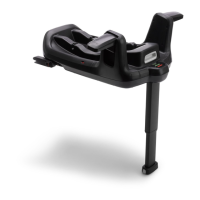
The completely assembled base is shown as (8).
The ISOFIX connectors must be attached and locked onto the ISOFIX
anchor bars. (8)-1
The load leg must be installed correctly with green indicator. (8)-2
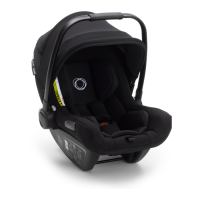
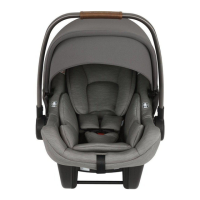
Attaching Infant Carrier to the Base
1 - Push the enhanced child restraint down onto the base (9), If the
enhanced child restraint is secure, the enhanced child restraint indicator
will show green. (10)
Check that the infant carrier is locked onto the base by pulling up on the
handle.
2 - Press the ISOFIX adjustment button and push the base back until it
comes in contact with the vehicle seat back. (11)
3 - Press and hold the rotation button to rotate for easier side loading/
unloading of the child. (12)
4 - To release the infant carrier, squeeze the infant carrier release button
(13)-1, then lift the infant carrier up. (13)-2
Uninstalling the Base
1 - To remove the base, press the secondary lock button (14)-1 first, followed
by the button (14)-2 on the ISOFIX connectors before removing the base
from the vehicle seat. (14)
2 - For transporting, press ISOFIX Adjustment button and move the ISOFIX
connectors back into the storage position. (15)
NUNA International B.V. Nuna and all associated logos are trademarks.