Page 9
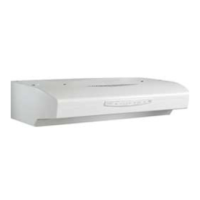
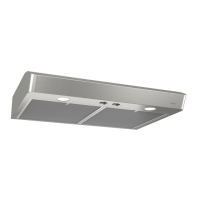
ALLURE™ WS1 SERIES
RANGE HOOD
PREPARACIÓN DE LA CAMPANA
PREPARACIÓN DE LA CAMPANA
Página 9
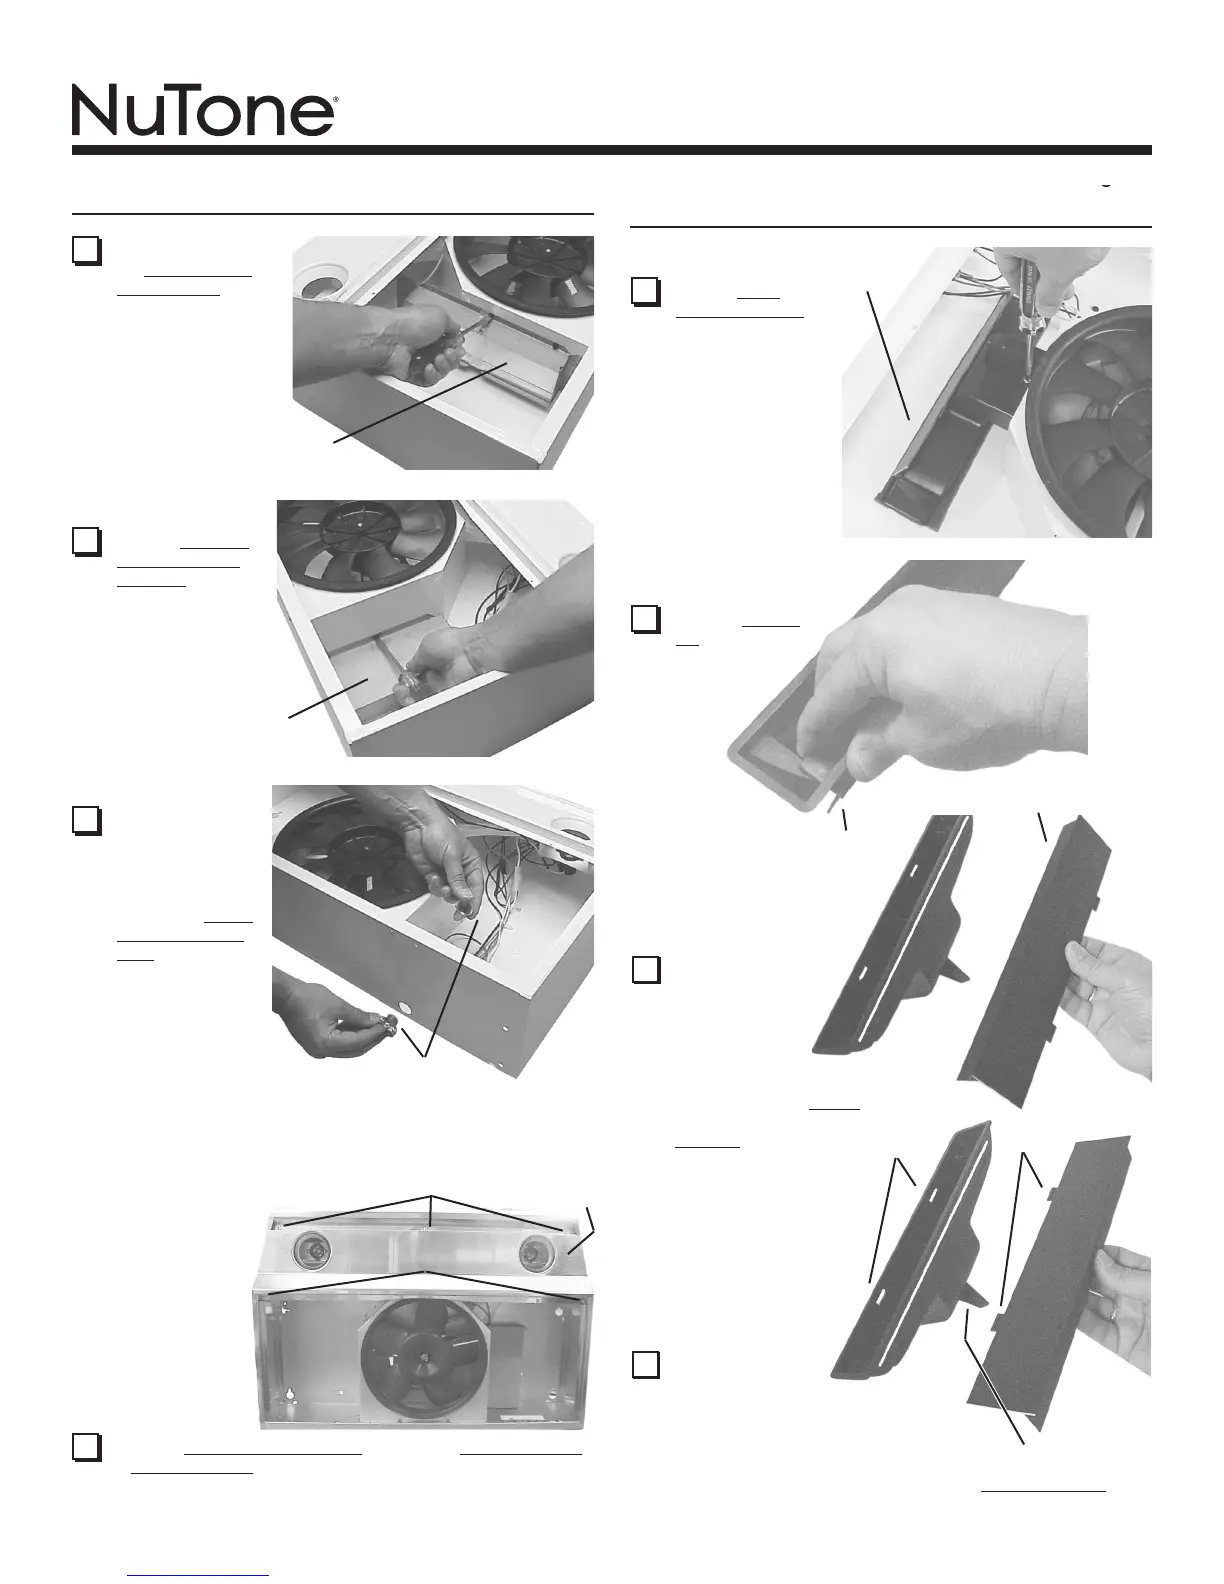
3 Quite el conector
del regulador de
tiro/conector del
interior de la cam-
pana. Ponga aparte
el conector, con los
tornillos de montaje
y la bolsa de piezas.
4 Quite la cubierta
de la conexión
eléctrica del
interior de la
campana. Ponga
aparte la cubierta
y los tornillos de
montaje.
5 Quite el agujero
ciego para los
cables eléctricos,
ya sea el superior
o el posterior, e
instale una grapa
para cable eléc-
trico aprobada.
GRAPA DEL CABLE ELÉCTRICO
CONECTOR DEL REGULADOR
DE TIRO/CONDUCTO
CUBIERTA DE LA CO-
NEXIÓN ELÉCTRICA
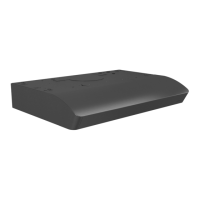
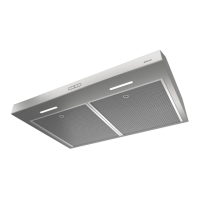
CAMPANA EXTRACTORA
SERIE WS1 ALLURE™
Para instalaciones sin conducto, pase a la
sección “Conexión Eléctrica”.
Los siguientes
pasos (del
6 al 13) son
SÓLO PARA
INSTALACI-
ONES CON
CONDUCTO.
PANEL DE
ILUMINACIÓN
(3) #8 TORNILLOS
(2) #8 TORNILLOS
6 Quite el panel de iluminación - fijado con (3) #8 tornillos
y (2) #8 tornillos. Desconecte el juego del arnés del alam-
bre (conectador blanco).
7 Quite el con-
ducto para aire
- fijado con un
(1) tornillo.
NOTA: Tenga
cuidado de no
desconectar
ningún cable.
8 Quite el deflec-
tor del conducto
para aire.
9 Gire el deflec-
tor. Vuelva
a insertar el
deflector en
el conducto
para aire de
manera (según lo dem-
ostrado) que las aletas
entren totalmente en las
ranuras del conducto
para aire. Un “tecleo”
audible será oído
cuando está insta-
lado completamente.
Esto se cerrará del
aire atraviesa las
ranuras sin conduc-
tos encima de la
campana.
10
Reinstale el
conducto para
aire, vuelva al
conectar el arnés del alambre, y
substituya el panel de iluminación.
NOTA: Tenga cuidado de que ninguno
CONDUCTO
PARA AIRE
ALETAS
RANURAS
DEFLECTOR
DEFLECTOR
ALETA DE APOYO
de los cables quede atrapado entre la aleta de apoyo y el
panel de iluminación.
 Loading...