INSTALLATION AND USE & CARE INSTRUCTIONS
INSTALLATION
7
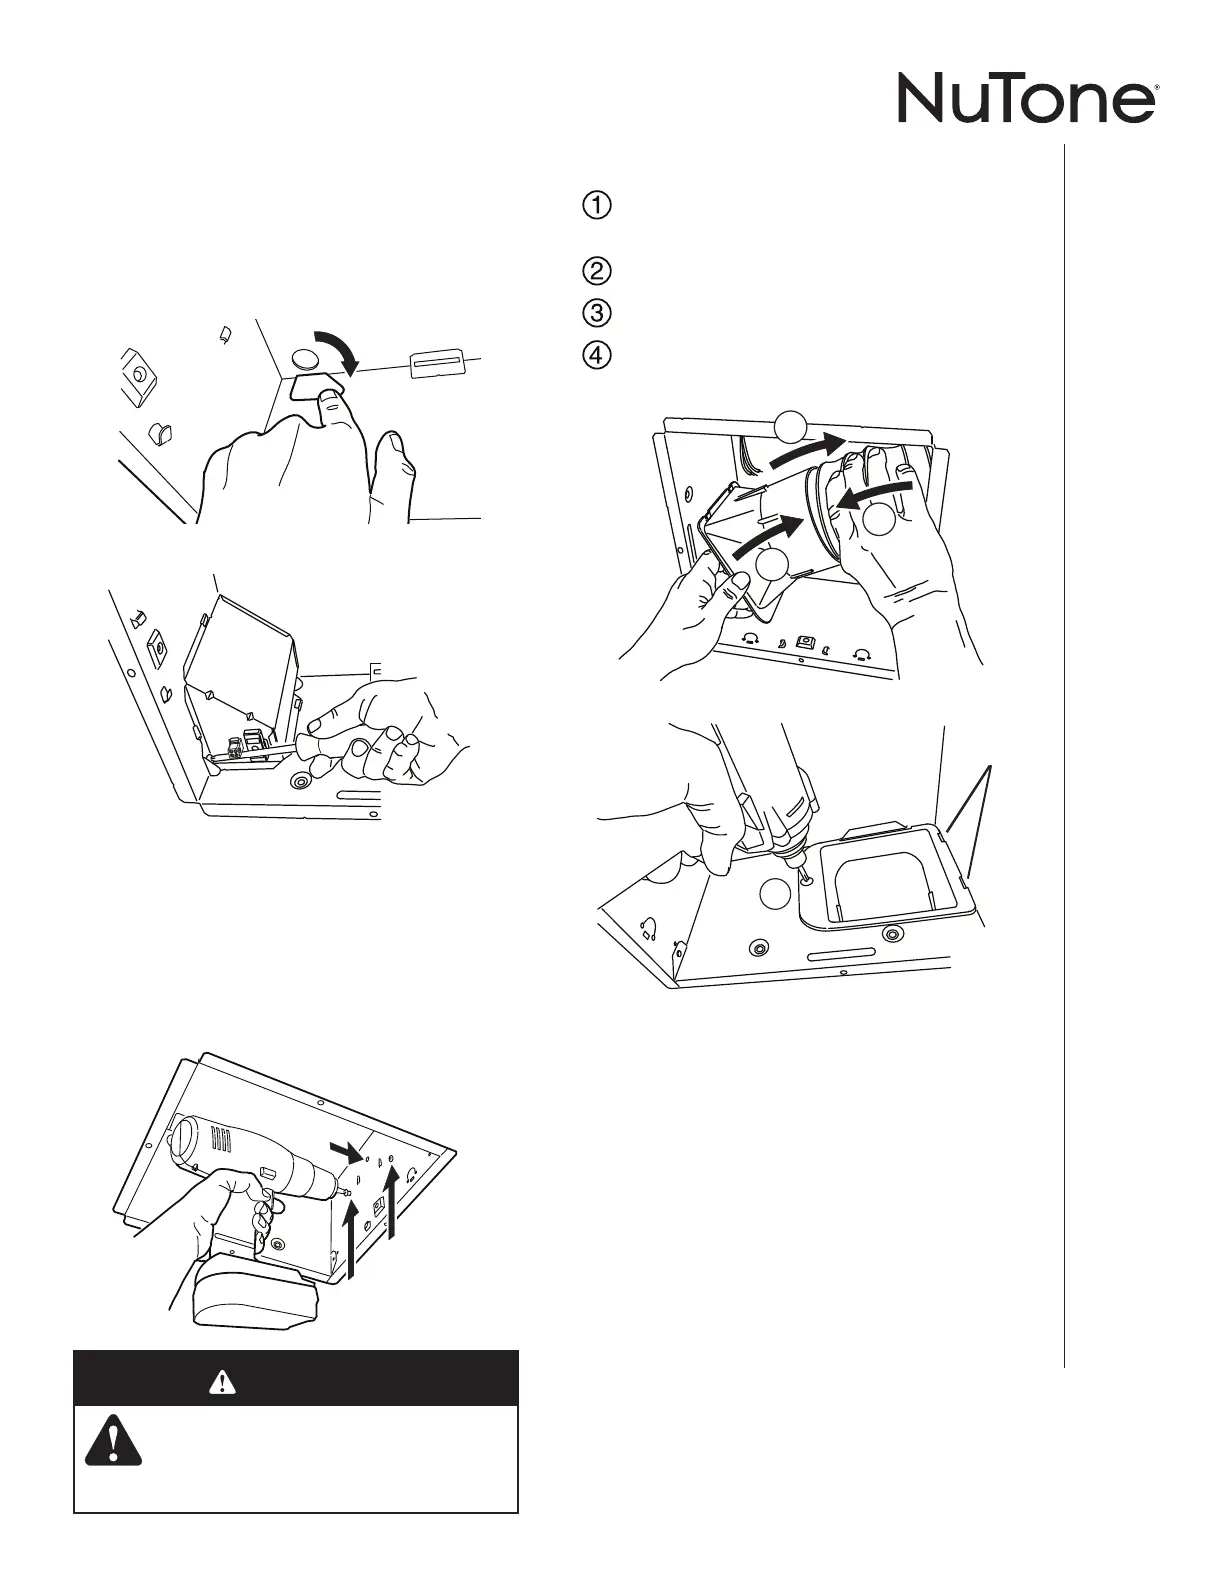
5. Connect wiring.
Bend tab to expose desired access hole. Connect
power cable to housing with appropriate UL approved
connector. Connect wires per diagram on page 8. Re-
install wiring panel and secure with screw from parts
bag.
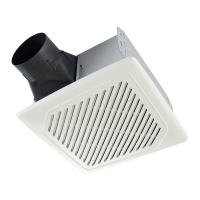
7. Connect 4-in. round duct.
Pull existing ducting through housing discharge
opening.
Attach and tape ducting to duct connector.
Push connector/ducting back through opening.
Engage tabs and secure with screw from parts
bag.
1
2
3
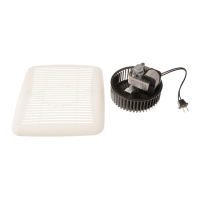
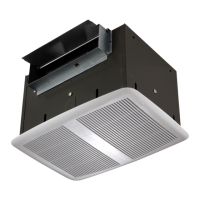
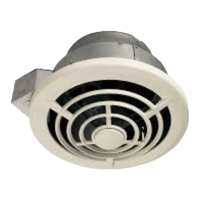
Install blower. Finish ceiling, then
install grille.
See Steps 7, 8 & 9 on Page 6.
(Step 8 is only necessary in RETROFIT
installations if ceiling requires repair.)
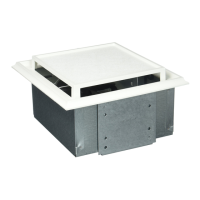
6. Mount housing to ceiling
structure.
Mount housing to ceiling structure with standard
drywall or wood screws in 3 locations shown. The
humidity control panel assembly must be removed to
access one of the locations.
4
TABS
CAUTION
• DO NOT TOUCH THE HUMIDITY-
SENSING CIRCUIT BOARD.
Electrostatic discharge may damage
the circuit board.