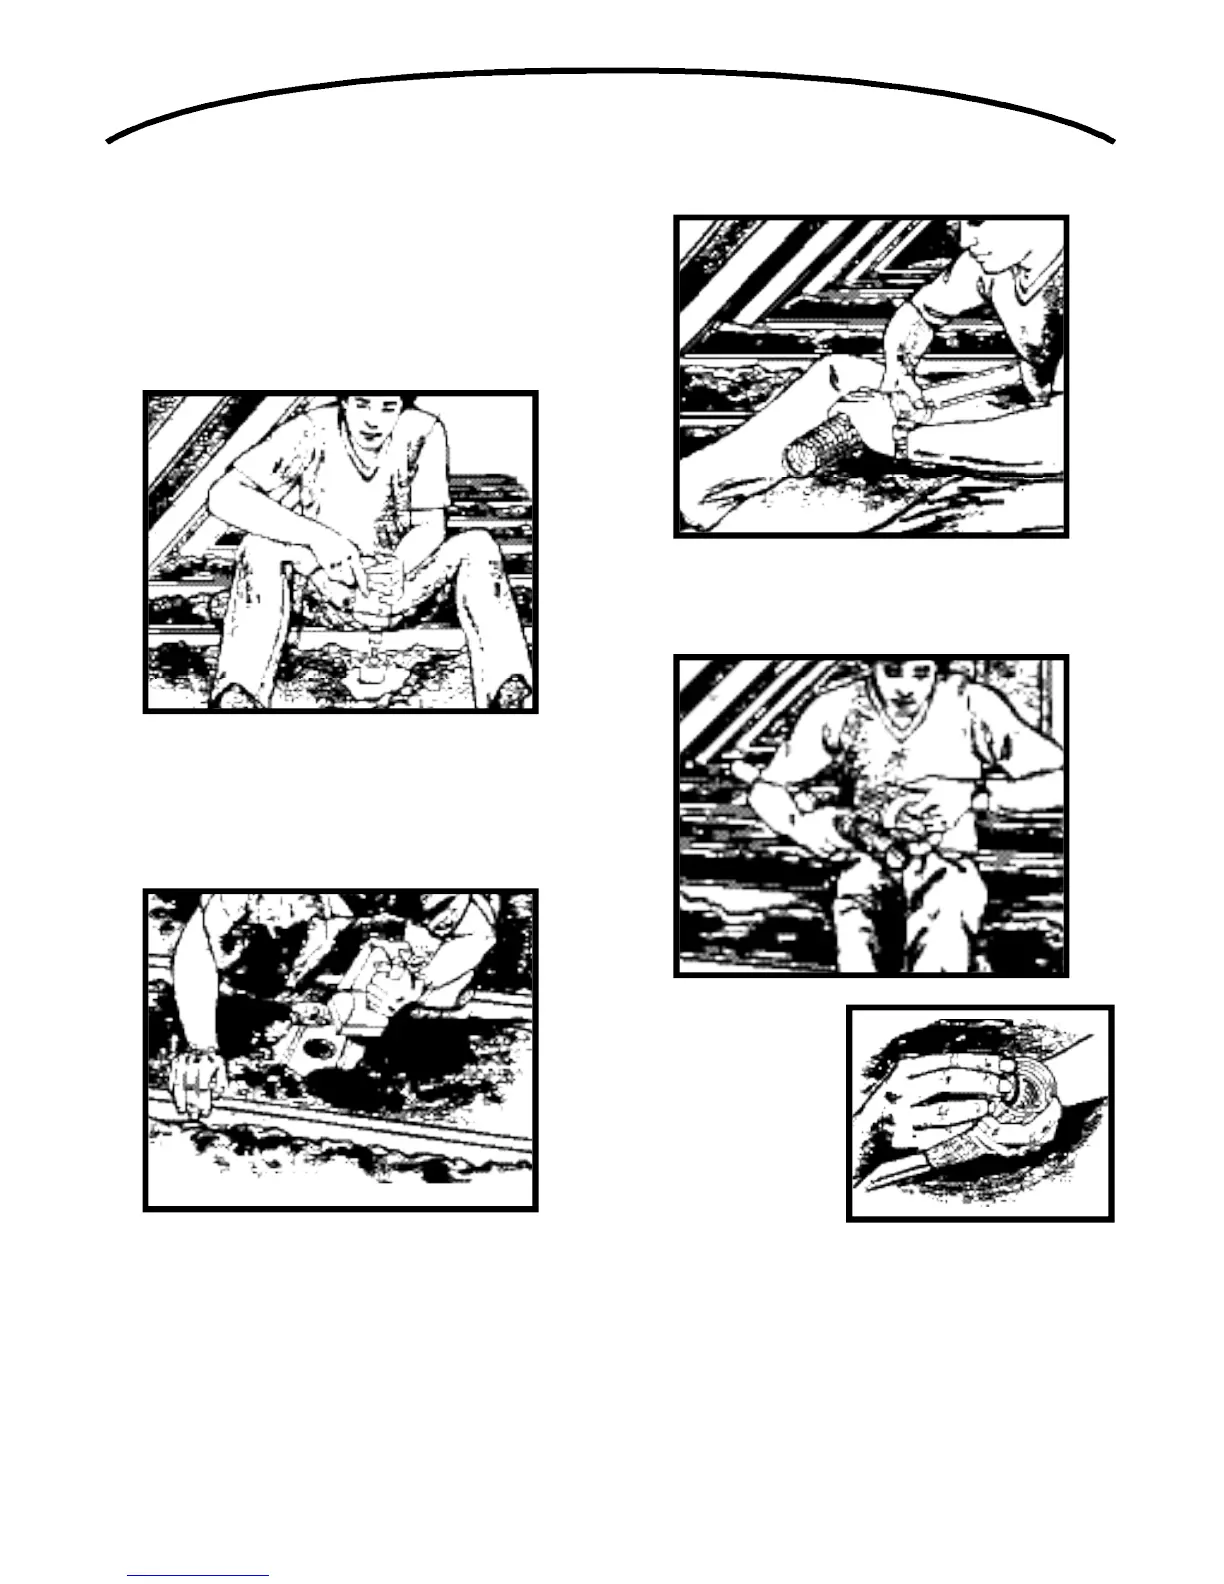
Drilling The Access Holes
Once you are certain that you’ve located the center of the
wall directly above the inlet location, use a 2 1⁄2” hole
saw to cut the access hole through the wall plate
or header and into the wall cavity. (A 1⁄2” drill is
recommended.) Carefully remove the drill from the hole.
Now, use a flashlight to inspect the wall cavity through
the access hole. Make sure no hidden obstacles will
interfere with the tube installation. (If this inspection
reveals an obstacle, find a new inlet location.) Repeat
this procedure in your attic or basement until your access
holes are drilled.
Assembling The Inlet Tubing
Once you’ve drilled the access holes, you assemble the
inlet tubing and insert it into the wall cavity. Refer to
“ W orking With Plastic Tubing” before you begin to
assemble the inlet lines.
Select a section of plastic tubing and an 8” section of the
flexible inlet tubing. Apply cement to the outside of the
plastic tubing and to the inside of the flexible tubing. Join
the two pieces together and allow five minutes for them
to dry.
Cut a piece of low voltage wire which is long enough for
the complete inlet line, allowing 6” for connections to the
inlet wall plate. Secure the wire to the tubing with electri-
cal tape.
Tuck the 6” wire lead
inside the flexible tub-
ing so that it will not
snag inside the wall.
If space permits, you
can assemble the
entire inlet line by join-
ing two sections of tub-
ing with a stop coupling
before dropping the
assembly into the access hole. (Remember to only glue
the outside of the tubing when joining two pieces of PVC
tubing.) Oftentimes, tight attic spaces require you to
begin your drop and then join the second section of tub-
ing, Of course, the order of assembly, and the length of
tubing required, depend on your attic space and your
wall height.
14
 Loading...