Hold the assembly in a place
for a few minutes as the
cement sets; allow five min-
utes for the cement to com-
pletely dry.
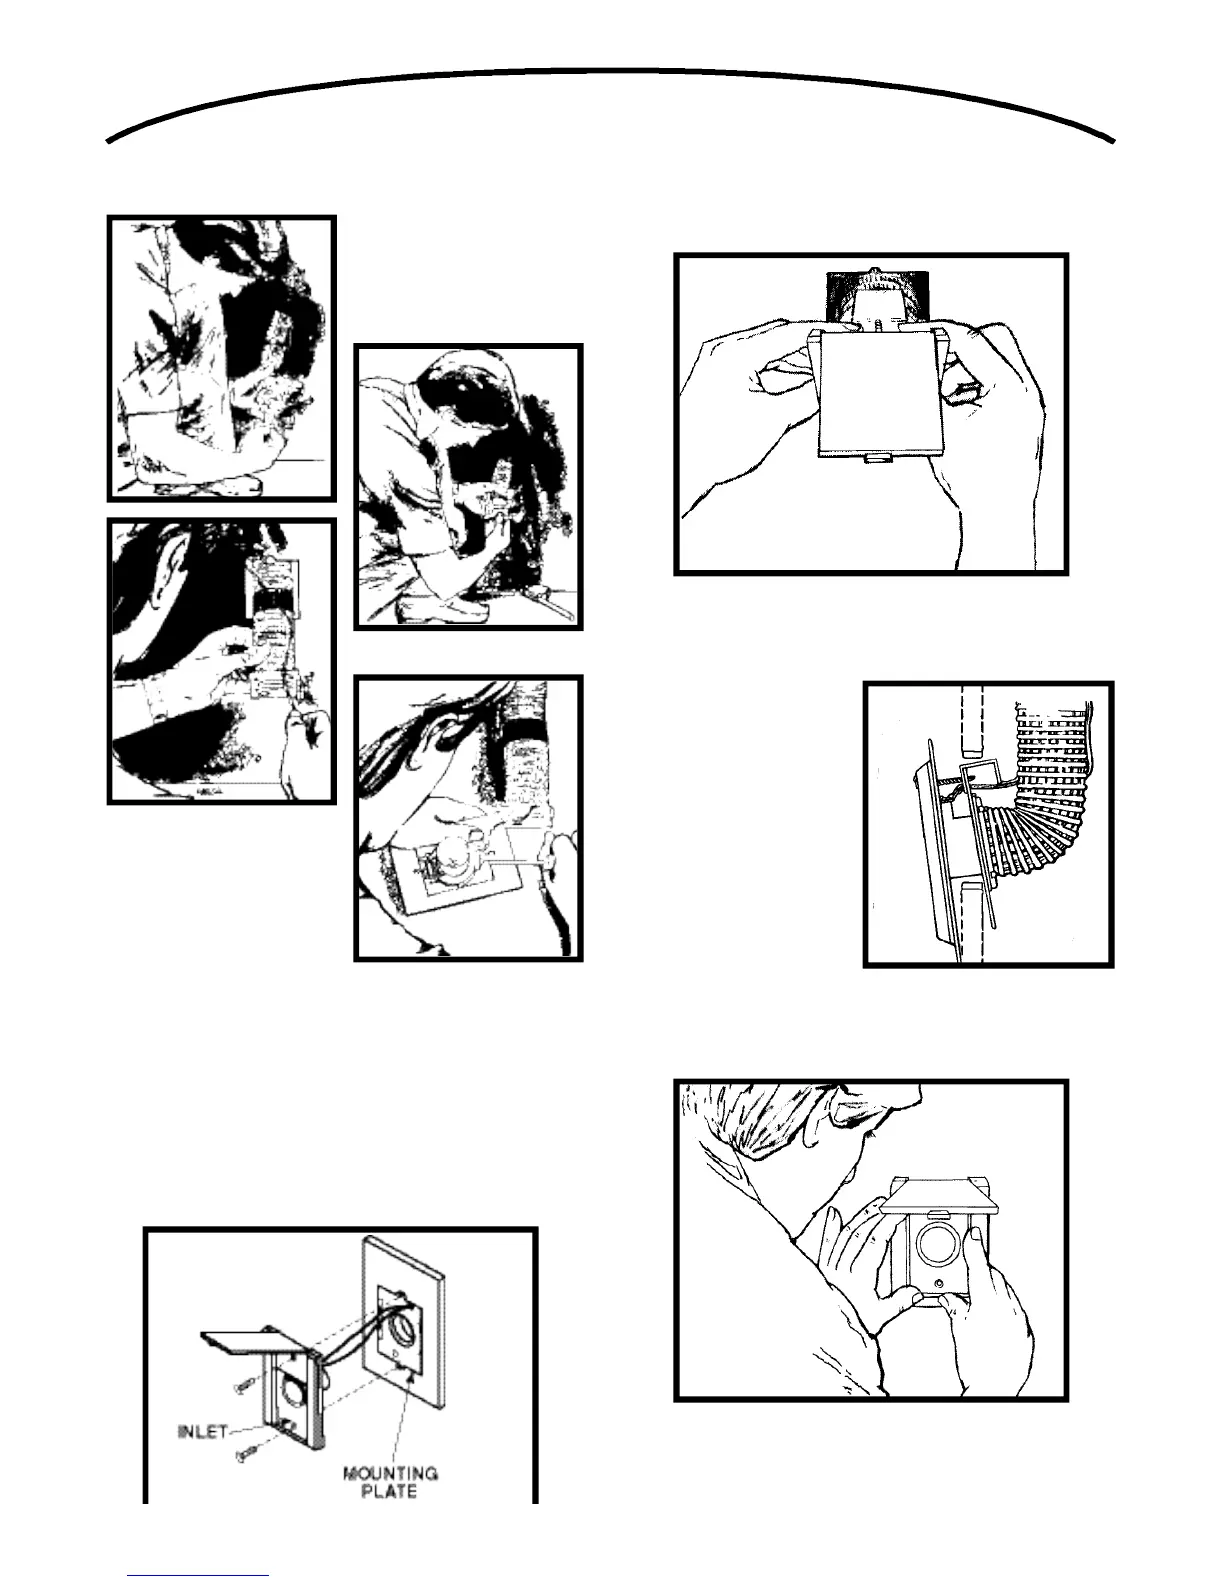
N o w, strip the ends of the two
low voltage wires, and then
connect the wires to the
screw terminals on the back
of the inlet cover. Make sure
the wires are tightly secured
under the terminal screws.
When the wiring is complete, assemble the inlet cover to the
tube guard and mounting plate. Insert the top screw through
the entire inlet assembly until the screw engages the mount-
ing plate.
Completing The Inlet Assembly
Once you have attached the mounting plate to the
flexible tubing, pull the low voltage wire through the top
wiring hole in the mounting plate.
Installing The Inlet
When you place the inlet into the wall cutout, the mounting
plate and tube guard slip inside the wall; the inlet cover
remains on the outside.
Holding the inlet assembly
between your thumbs and
fingers, angle the bottom
of the mounting plate into
the cutout. Push the
assembly downward until
you have clearance at the
top of the cutout.
Push the top of the mount-
ing plate into the cutout
and lift the assembly
upward until the top screw
seats in the predrilled hole.
At this point, the wall should be sandwiched between the
mounting plate and the frame plate.
17
 Loading...