28
GB
2) ENGINE OIL REPLACEMENT (PIC. 15 - PIC. 6)
1. Place the machine on a level surface and warm up the engine
for several minutes. Then stop the engine.
2. Remove the oil filler cap
3. Place an oil pan under the engine. Remove the oil drain plug
so that the oil can be completely drained.
4. Check the oil drain plug, gasket, oil filler cap and O-ring. If
damaged replace.
5. Reinstall the oil drain plug.
6. Add engine oil to the upper level.
Recommended engine oil: API Service «SE» or «SF», if not
available, «SD».
CAUTION: Be sure no foreign material enters the crankcase.
3) AIR FILTER (PIC. 16)
Maintaining an air cleaner in proper condition is very important.
Dirt induced through improperly installed, improperly serviced, or
inadequate elements damages and wears out engines. Always
keep the air filter clean.
1. Take out the air filter, clean it well in kerosene and dry it.
2. After wetting the air filter with clean engine oil, squeeze it tight
by hand.
3. Lastly, put the air filter in the case and install it securely.
CAUTION: The engine should never run without the element;
excessive piston and/or cylinder wear may result.
4) CLEANING AND ADJUSTING SPARK PLUG (PIC.17)
Standard electrode color: Tan Color
Spark Plug Gap: 0.7-0.8 mm (0.028-0.031 in)
5) FUEL COCK (PIC. 18)
1. Stop the engine.
2. Turn the fuel cock lever to «OFF».
3. Clean with solvent.
3. Wipe off.
4. Check the gasket. Replace it if damaged.
WARNING! BE sure the fuel cock cup is tightened securely.
6) FUEL TANK FILTER (PIC. 19)
1) Clean with solvent.
2) Wipe off.
3) Re-install t
he fuel tank filter.
7) MUFFLER SCREEN (PIC.20)
WARNING !
• The engine and muffler will be very hot after the engine has
been run.
• Avoid touching the engine and muffler while they are still hot with
any part of your body or clothing during inspection or repair.
1. Remove the muffler protector and muffler screen.
2. Clean the carbon deposits out of the muffler screen using a
wire brush.
3. Check the muffler screen. Replace it if damaged.
4. Install the muffler screen and muffler protector.
(1) Muffler protector
(2) Muffler screen
Remember that spent oils, battery fluids and all the filters
of the machine MUST BE DISPOSED OF according to laws
on protection of the environment and current l
egislation, as
these are polluting products.
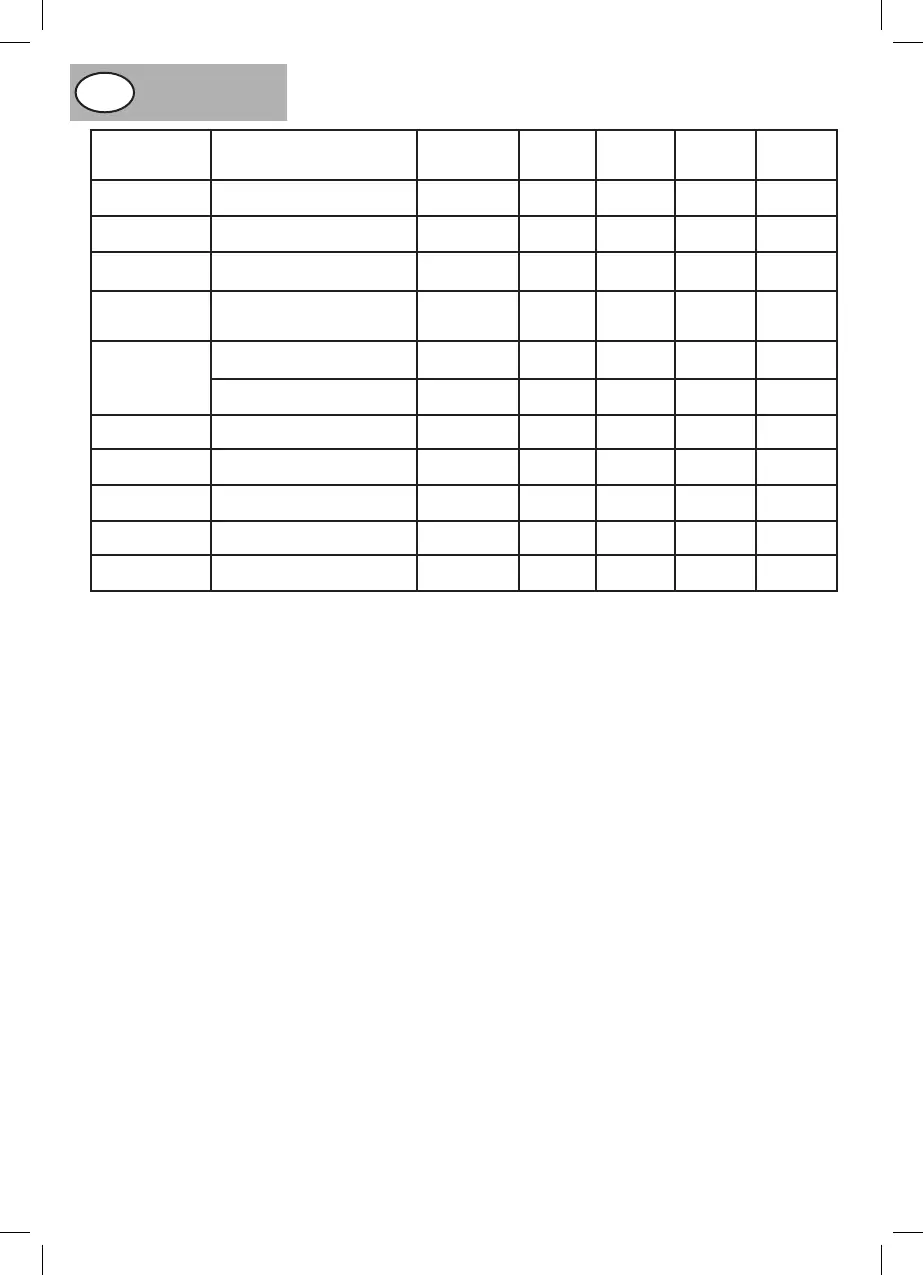
ITEM REMARKS
Pre -
operation
check (daily)
Initial
1 month
or 20 Hr
Every
3 months
or 50Hr
Every
6 months
or 100Hr
Every
12 months
or 300Hr
Air Filter
Clean.
Replace if necessary.
•
Fuel Filter
Clean fuel cock filter. Replace if
necessary.
•
Valve Clearance
Check and adjust when engine
is cold.
•
Fuel Line
Check fuel hose for splits or
damage.
Replace if necessary.
•
Exhaust System
Check for leakage. Retighten or
replace gasket if necessary.
•
Check muffler screen.
Clean / replace if necessary.
•
Carburetor Check choke operation.
•
Cooling system Check fan damage.
•
Starting
system
Check recoil starter operation.
•
Decarbonization More frequently if necessary.
•
Fittings /
Fasteners
Check all fittings and fasteners;
correct if necessary.
•