GB
16
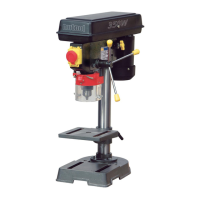
3 COMPONENTS AND CONTROLS (PIC. 1)
1 Battery
2 Battery release catch
3 On/Off trigger switch
4 Forward/reverse
5 Torque adjuster
6 Hand grip
7 Keyless chuck
8 Hammer action selector collar
9 Charger
10 2 Speed gearbox
11 LED light
VARIABLE SPEED CONTROL (PIC. 2)
Simply apply light pressure to the trigger to start the drill on
a slow speed. Increasing the pressure will allow a variable
speed increase. Always remove the battery before carrying
out any adjustments or maintenance.
KEYLESS CHUCK OPERATION
The keyless chuck fitted to this drill/driver allows for the
easy installation and removal of bits and drills (Pic. 3).
The chuck has two rotating grips (A and B). Select the drill/
driver bit required and insert it into the chuck jaws, turn grip
A in a clockwise direction until jaws grip the drill/driver bit.
With your free hand hold grip B firmly and rotate grip A in
a clockwise direction until it tightens onto the drill/driver bit.
Do not use unnecessary force to tighten.
Re-fitthebattery,yourdrill/driverisnowreadyforuse.
TORQUE ADJUSTMENTS
This feature allows setting of the torque or tightening power
of your drill/driver and depending on the application, various
levels of driving power are required. When driving larger
screw diameters a higher torque power is required to drive
the screw until it’s properly seated.
When the selected torque is reached the chuck will stop
rotating (Pic. 4).
NOTE
-Alwaysstartonthelowestsetting.
The symbol gives the highest torque setting and is
used when drilling and for driving larger screws.
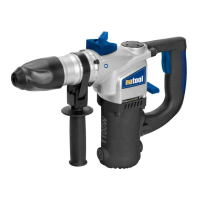
HAMMER ACTION
This Drill has the additional feature of hammer action.
Rotatethetorqueringinananti-clockwisedirectionuntilthe
drill symbol aligns with the arrow on the chuck body (Pic. 5)
Located on the hammer drill/drill ring is the hammer symbol.
Rotate the ring until the hammer symbol is aligned with the
arrow. When using the drill in hammer mode always use
masonry drill bits recommended by your supplier.
FORWARD & REVERSE SWITCH (PIC. 6)
This feature is selected via a slide switch located above the
trigger. To select direction of the drill rotation simply push
the button fully in on the left side for reverse rotation. To
change to forward rotation, push the button fully in on the
right side of the handle.
2 SPEED GEARBOX
NCHD18 / NCHD24
This drill comes with a 2 speed gearbox to give high and low
speed ranges. To change between the two speed ranges
slide the selector switch, located on top of the drill.
WARNING!
The machine is designed as a drill and driver. Do not attach
any other accessories other than those recommended.
NOTE
-Asasafetyprecautionfromaccidentalengagement
while being carried pushing the forward/reverse button
into the middle or neutral position will render the drill
inoperative.
HINTS FOR SCREW DRIVING
1) Use candle or bees wax on the screw threads to speed
application.
2) Whenever possible drill small diameter pilot holes for
faster screwing, eliminating the possibility of splitting
the wood.
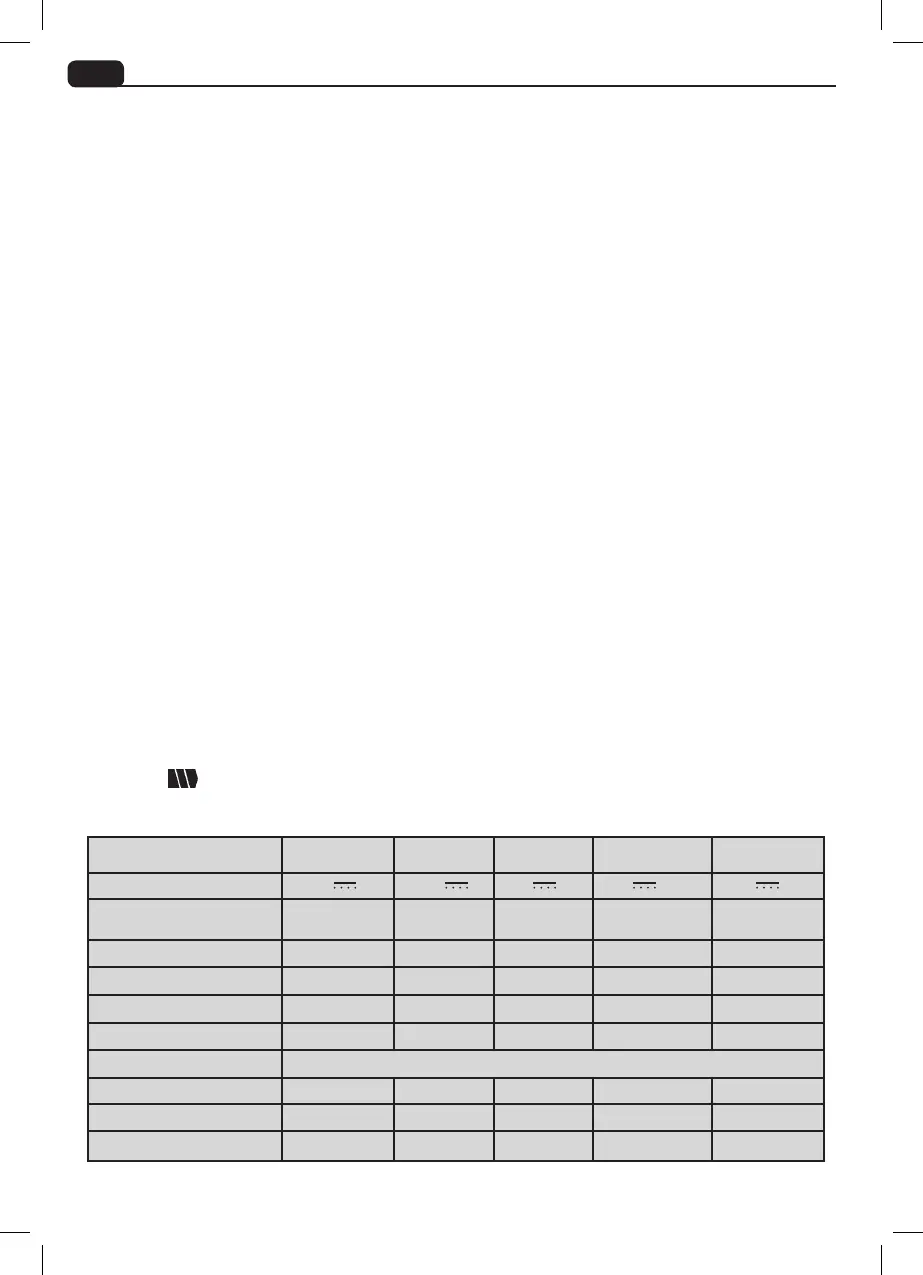
TECHNICAL SPECIFICATION
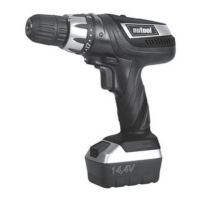
NCDL144
NCDL144-M
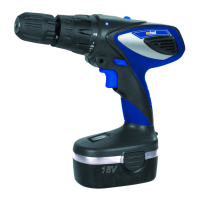
NCD18 NCHD18 NCHD24
Voltage
14,4 V
14,4 V 18 V 18 V 24 V
Variable speed
0-400min
-1
0-1150min
-1
0-550min
-1
0-550min
-1
0-400min
-1
0-1150min
-1
0-400min
-1
0-1150min
-1
Charge time 1 h 1 h 3-5h 1 h 1 h
Sound pressure level LpA 86 dB(A) 83 dB(A) 86 dB(A) 80 dB(A) 80 dB(A)
Sound power level LwA 91 dB(A) 94 dB(A) 97 dB(A) 91 dB(A) 91 dB(A)
Vibration level a = 2,12 m/s
2
a = 1,17 m/s
2
a = 2,12 m/s
2
a = 2,59 m/s
2
a = 2,59 m/s
2
Drill capacity:
Wood 20 mm 20 mm 20 mm 20 mm 25 mm
Metal 8 mm 8 mm 6 mm 6 mm 8 mm
Masonry 0 mm N/A 0 mm 10 mm 10 mm