Stay tuned
Subscribe to our newsletter
via our website.
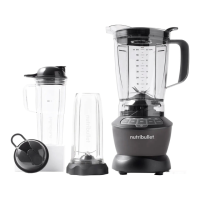
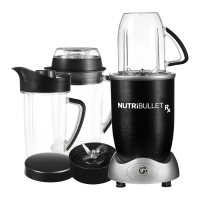
For original nutribullets
& Accessories,
recipes,
FAQ’s etc.
Happy with your
nutribullet?
Share your recipes, posts, tips
& tricks! Like & follow us
Tag your blends with:
#nutrilovers
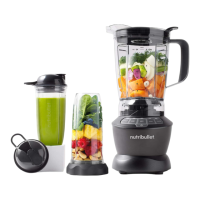
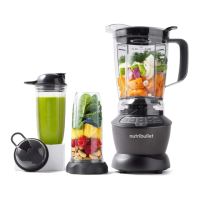
ingredients to the
cup, up to the MAX
line or less
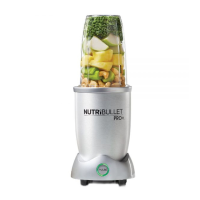
Fruit
Leafy greens
Add
50%
50%
Optional
liquid up to
the MAX line
Mandatory
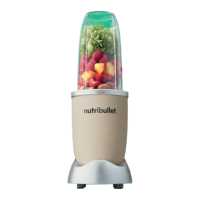
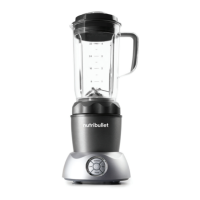
Making your soup /
sauce is simple!
less than 25% of the total
amount of ingredients
Nuts
Seeds
Proteins
Ice cubes
Congratulations.
How to make your smoothie.
We’re thrilled you’ve chosen to optimize your health and vitality. Since we want
your experience with nutribullet
®
to be fantastic, please read the manual with
safety and cleaning instructions before use and follow the steps below every
time to prepare a delicious smoothie, soup or sauce. Enjoy your nutribullet
®
.
nutribullet
®
lets you enjoy the taste and nutrients of a variety of fruit and leafy
greens.
Welcome to visit www.nutriliving.shop
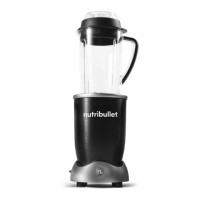
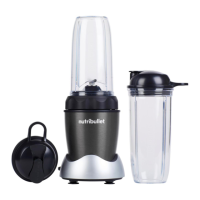
1.
MAX
TURN
the blade onto the cup, tighten it to make
sure it’s sealed.
PLUG
the powerbase into an electrical outlet
and press the power button, located
90˚ to the left side of the N-button (will
glow BLUE). Place the cup blade-side-
down onto the powerbase and the
SMART Technology function is activated
(N-button glows GREEN). The unit will
run for 1 minute before it automatically
turns o.
READY?
Turn the cup back to the right, lift,
remove and ENJOY!
To stop blending manually depress the
power button or simply lift the cup/
pitcher o the power base.
Never blend hot ingredients and
liquids (max. 21°C) in cups; the pitcher
with ventilation cap is suitable for hot
ingredients.
To avoid leakage, don’t overfill the cup/
pitcher and make sure blade and cup/
pitcher are securely screwed.
Never wash your blades in the dish-
washer (too hot) and never remove the
gasket.
Do not use your nutribullet
®
, its parts and
accessories in the microwave or freezer.
Take care of the powerbase; keep it
clean. Keep the 3 activator points clean
with a damp cotton swab.
TIP: To maintain optimum performance
please replace the blade every six months,
or earlier as needed.
Signals that it’s about time to buy a new
blade: bad smell, leakage of brown/
green liquid, increase of noise. Burning
air may also be novelty after purchase.
2.
4.
3.
NOTE
1 TWIST
the blade onto the
pitcher, tighten it to
make sure it’s sealed,
add ingredients and
(always) liquid.
2 SECURELY
attach the vented,
2-piece lid to the
pitcher
.
3 PLUG
the power base into an electrical outlet
and press the power button (N-button
glows BLUE). Place the pitcher blade-
side-down onto the po e SMART
Technology function starts (N-button
glows GREEN).
4 ACTIVATE
the 7-minute heating program by
pressing the GREEN N-button directly
for 2 seconds until it glows RED. After
optimum extraction the program will
automatically shut o and you can lift the
pitcher.
5 ENJOY
your homemade soup
or sauce after pouring it
into serving dishes!
 Loading...