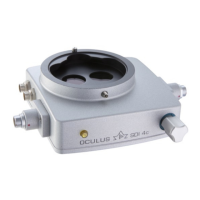
7 Use of the BIOM 4
12 / 34 Instruction manual BIOM 4 (G/54400/1011/en)
7.3 Preparing the BIOM 4 for use
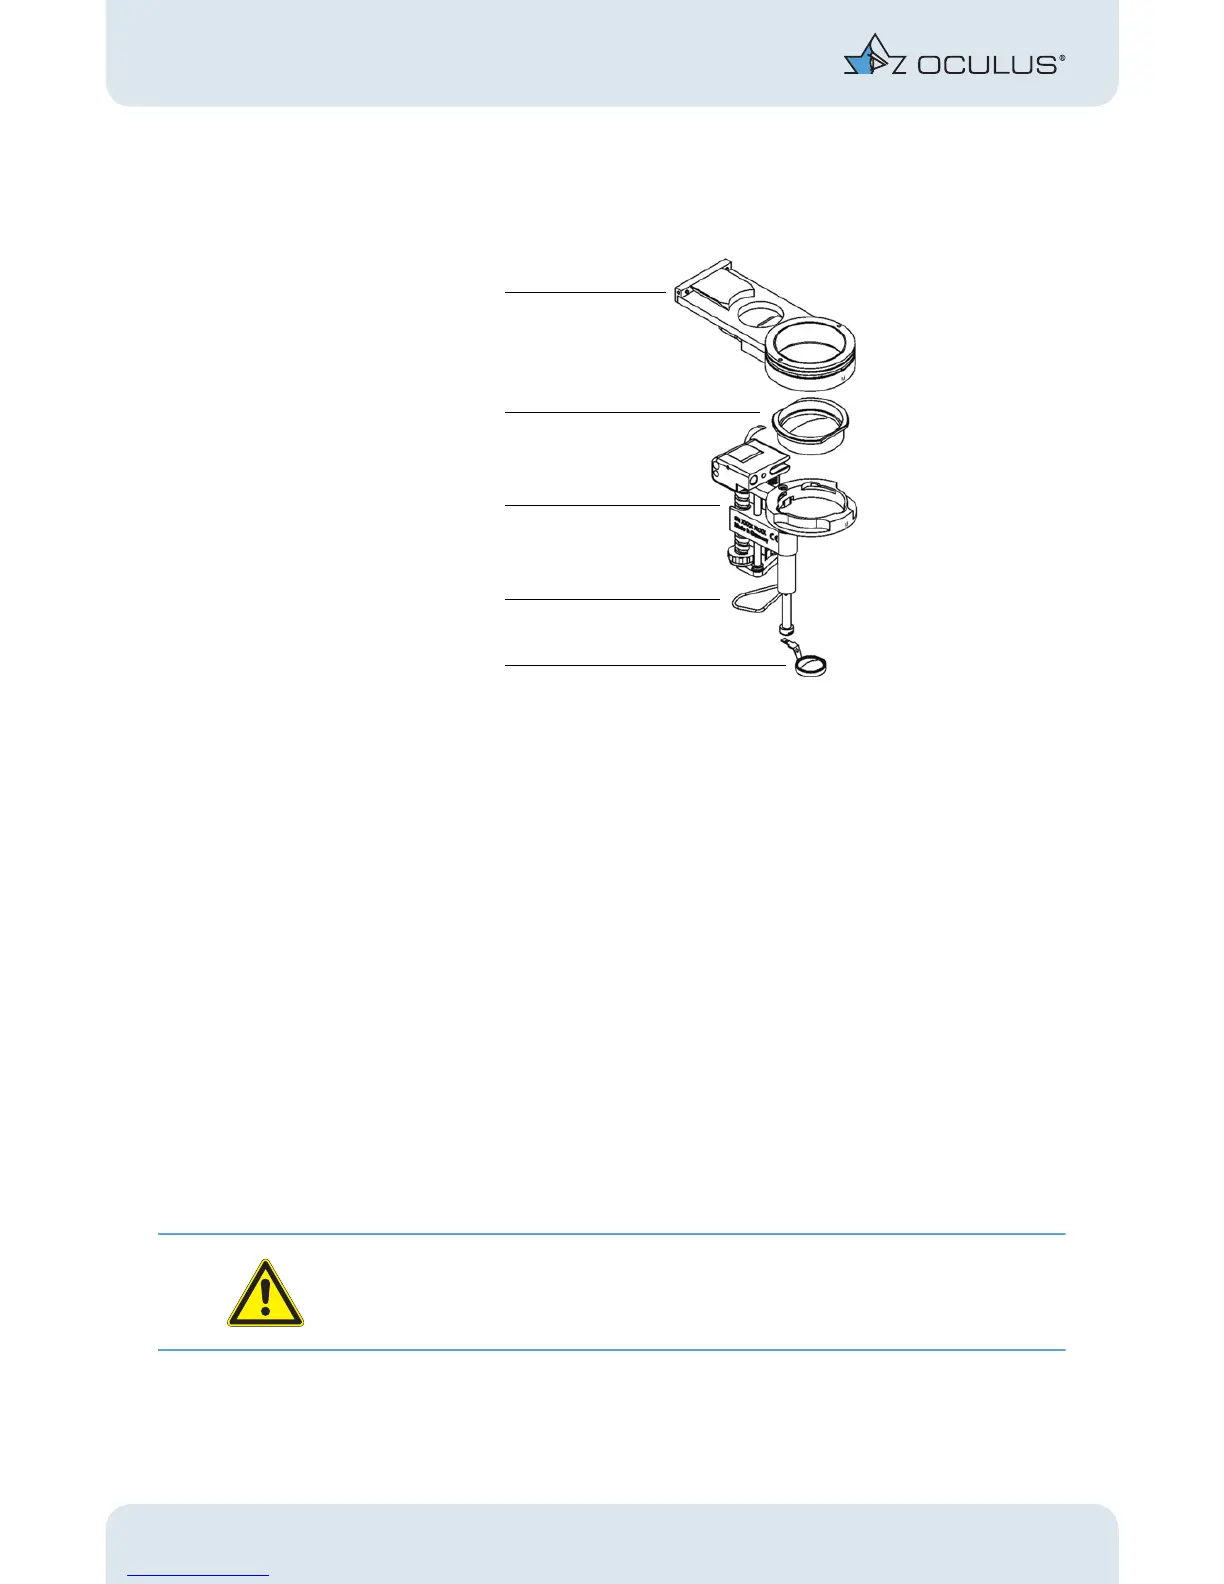
Put together the complete BIOM setup from the sterile components.
fig. 7-4: Necessary components of the BIOM 4c
Insert the reduction lens into the lens holder so that the side lugs sit in the recesses.
Turn the reduction lens clockwise until the bayonet catch engages. It is thus held at
that position.
Insert the front lens into the adapter provided for that purpose. Here again, a detent
prevents the lens from falling out. This detent must be overcome when inserting the
lens. Make sure that the lens is properly aligned.
For the BIOM 4c only:
Mount the drive belt at the BIOM 4c. For all three pulleys, the drive belt should run
in the recesses provided for that purpose, otherwise the function cannot be guaran-
teed. When inserting the belt, begin at the groove at the bottom end of the adjusting
wheel; this will make handling easier.
Now, using minimal effort, slip the BIOM 4 onto the adapter plate until it reaches
the limit stop. You must thereby overcome a detent that secures the connection.
Attention
Make sure that the BIOM 4 has been slipped on up to the limit stop. That is the only way
that safe handling and proper centering of the image are possible.
1 Adapter plate 4 Drive belt
2 Reduction lens 5 Front lens
3BIOM 4c