completely seated in the crankcase.
16. Remove tools from crankcase.
ROTARY SEAL PROPERLY SEATED ON
CRANKCASE
17. Carry out the final adjustment of the
water pump shaft as follows.
17.1 Instal1 M8×1.25 nut onto water pump
shaft.
17.2 Carefully thread M8 nut until the rotary
seal is flush with the end of water pump
shaft threads.
WATER PUMP SHAFT PROPERYL ADJUSTED
WISH ROTARY SEAL
NOTICE The water pump shaft must be
properly adjusted with rotary seal.
The water pump shaft must move freely
while pushing it toward the crankcase.
18. Install the following parts, see
procedure in this subsection
- WATER PUMP IMPELLER
- WATER PUMP HOUSING
19. Refill and bleed cooling system. Refer to
PERIODIC MAINTENANCE PRODUCEDURES
subsection.
20. Check cooling system for leaks
Water Pump Shaft and Seals
Replacement (Disassembled Engine)
Water Pump Shaft and Seals Removal
1. Remove the following parts:
- WATER PUMP HOUSING
- WATER PUMP IMPELLER
- WATER PUMP GEARS
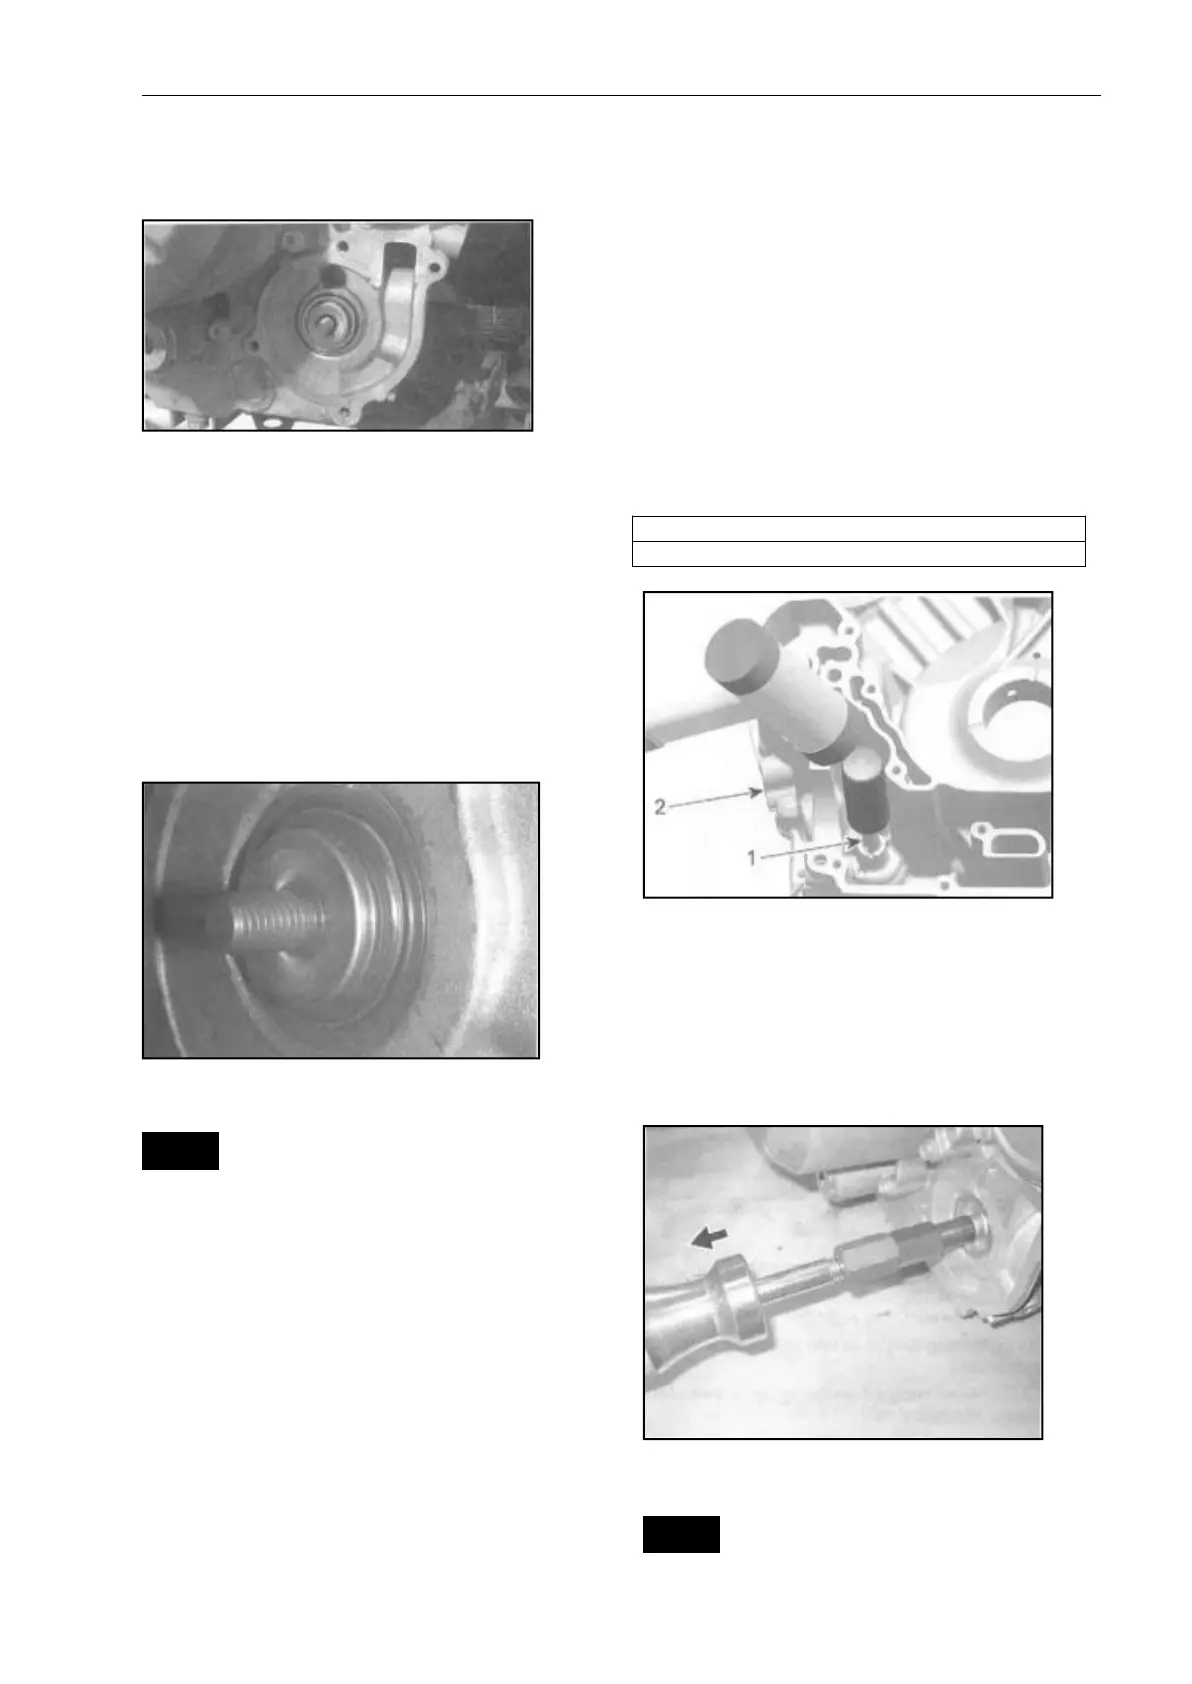
2. Push out water pump shaft with inner
portion of rotary seal from inside of
crankcase MAG side.
1. Water pump shaft
2. Crankcase MAG side
3. Remove outer part of rotary seal.
4. Install expander snugly against outer part
of rotary seal and pull seal out.
5.Remove oil seal from inside of crankcase
MAG side using a pusher tool.
NOTICE Be careful not to damage the