8.ENGINE
8-84
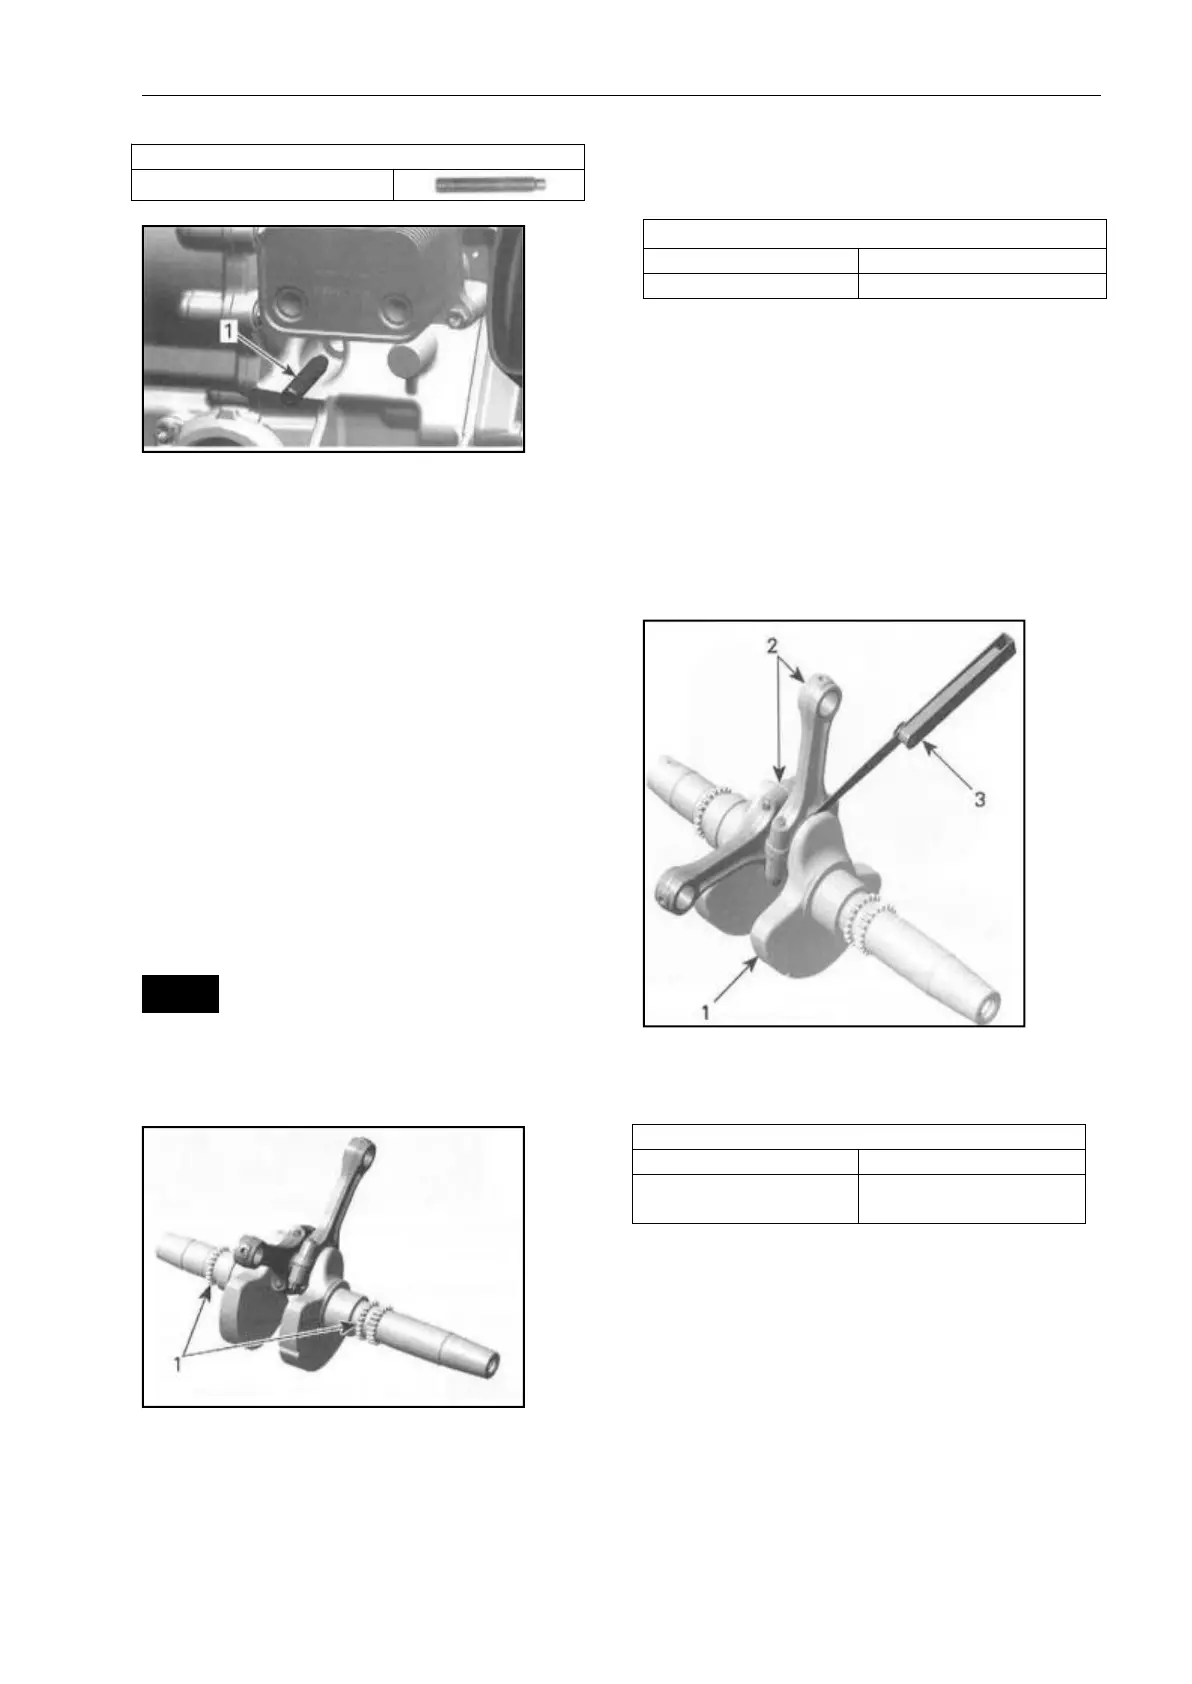
1. Crankshaft locking bolt
Gradually insert the tool in the crankshaft
groove. Make sure that the tool tip enters
the groove and does not jam on the
crankshaft balancer surface.
Removing the Crankshaft
Refer to CRANKCASE
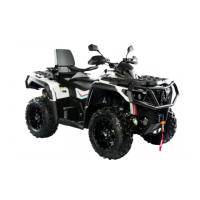
Inspecting the Crankshaft
NOTE: Check each bearing journal of
crankshaft for scoring, scuffing, cracks or
other signs of wear. NOTE: Replace
crankshaft if the gears are worn or
otherwise damaged.
NOTICE Components out of specifications
always have to be replaced .If this is not
observed, severe damage may be caused to
the engine.
1. Crankshaft timing gears
Crankshaft Axial Play
NOTE: Axial play needs to be measured
before splitting the crankcase.
Measure play on PT0 end, using a dial
indicator.
If play is out of specification, replace
crankcase and/or crankshaft.
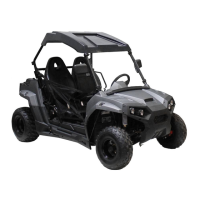
Connecting Rod Big End Axial Play
Using a feeler gauge, measure distance
between butting face of connecting rods
and crankshaft counterweight . If the
distance exceeds specified tolerance,
replace the crankshaft.
1. Crank shaft
2. Connecting rods
3. Feeler gauge
CONNECTING ROD BIG END AXIAL PLAV
Connecting Rod/Piston Pin Clearance
Refer to TOP END section.
Connecting Rod Big End Radial Play
NOTE: prior to remove connecting rod
from the crankshaft, mark big end
halves together to ensure a correct
reinstallation (cracked surface fits in
only one position).
Remove connecting rods from
crankshaft.