Type OTN2 / OTD2 with room or floor sensor English
Pollution class: 2
Pollution class 2, representative of air circulation in typical homes.
Overvoltage category: III
Pulse voltage 4 kV to IEC 60664-1.
Sensor installation
Floor sensor:
The floor sensor should be installed in standard conduit embedded
in the floor. The conduit should be sealed and positioned as close
to the floor surface as possible.
Room sensor:
The room sensor should be installed in a standard wall box or
mounted direct on the wall. Sensor cables can be extended up to a
maximum of 50 m in length using power cable. Two wires in a multi-
wire cable must, however, not be used if the cable is also used to
supply power to heating cables. The best result is achieved if a se-
parate cable, installed in a separate conduit, is used for the sensor.
Installation of thermostat
Built-in or external room sensor
The thermostat or external room sensor should be mounted on a
wall in such a way as to allow free air circulation around it. It must
also be positioned so as to prevent it from being aected by direct
heat sources (e.g. the sun), draughts from doors and windows, or
outside temperature (i.e. do not mount on outer walls). MICRO-
LINE has a built in fault circuit which switches the heating o if the
sensor is disconnected or short-circuited.
Thermostat installation
- Open cover.
- Unscrew cover and remove.
- Connect wires from rear as shown in wiring diagram.
- Mount thermostat in wall box - fit frame and cover.
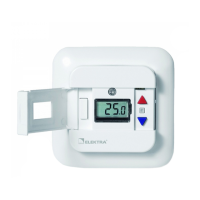
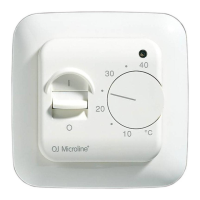
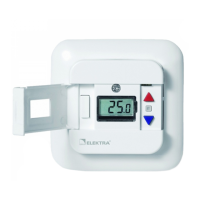
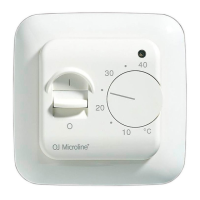
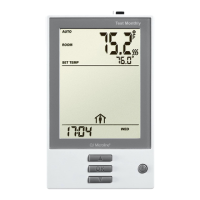
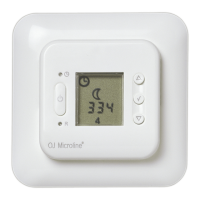
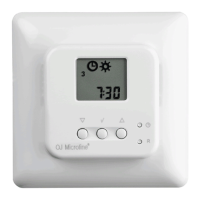
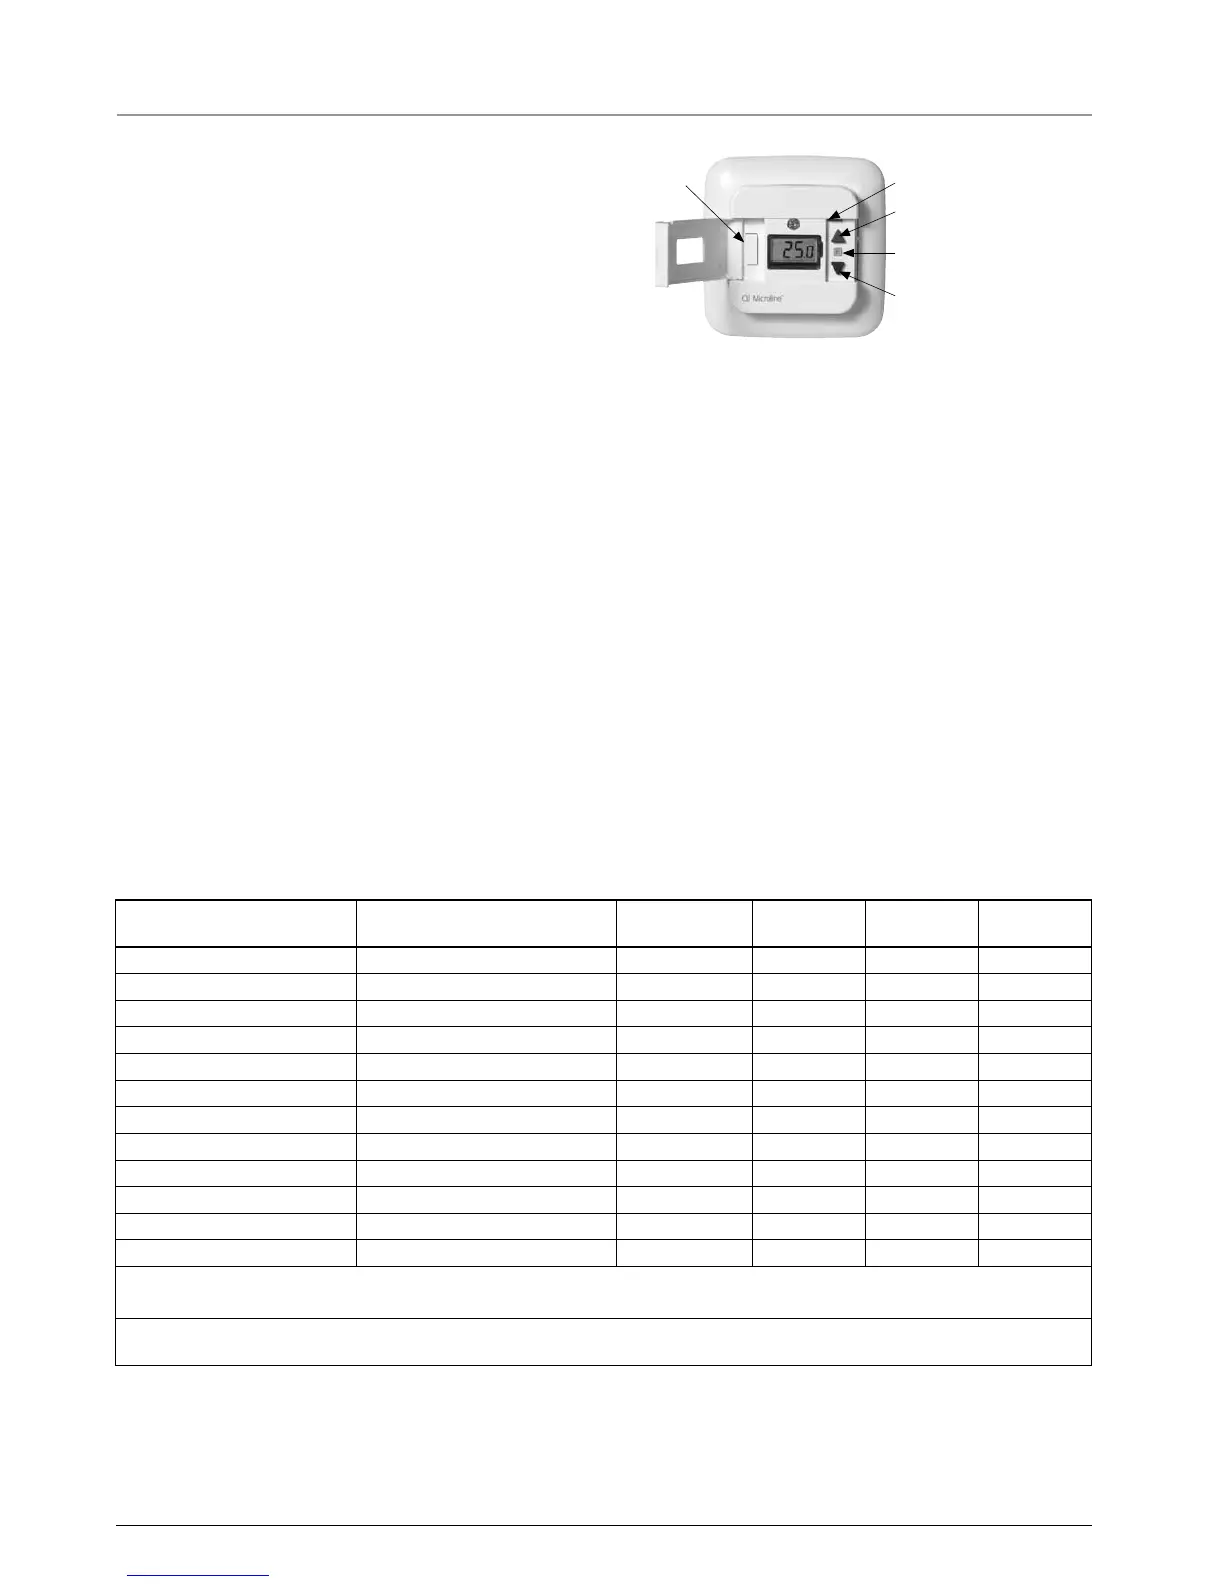
Temperature setting
Interrupter
LED
Increase temperature
Programming button (P)
Decrease temperature
MICROLINE has a temperature setting range of 0-40°C.
Set the wanted temperature with the arrow buttons, the set tempe-
rature shows in the display. The thermostat will calculate the best
way to control the heating system in order to achieve the desired
temperature. If necessary, fine adjustment can be performed after
1 or 2 days.
Night setback
The night setback/economy temperature function is activated via
a 230 V signal from an external timer connected to terminal S.
The function is factory set to 5°C (2-8° OTD2). The LED lights green
when the economy signal is active and red when heating is active.
Frost protection
If the signal is connected via a rectifier diode, the thermostat will
maintain a floor/room temperature of 5°C.
Settings
To set parameter values, press and hold the programming button
for 3 seconds. SCA Hi 40 will be shown on the display. First-
ly, SCA will be displayed for 1 second, followed by Hi, and finally
40. The required value can then be set using the arrow buttons. To
access the next parameter, press the programming button again.
If no buttons are pressed for 30 seconds, the program returns to
the initial display.
Parameter Shown on display Factory setting
OJ standard
OTD2 -1999 OTN2 -1991 OTN2 -1999
Max. temperature
SCA Hi 40
40°C (0-40°C) • • •
Min. temperature
SCA Lo 0
0°C (0-40°C) • • •
Max. limit temperature FLOOR
Li Hi 27
27°C (15-55°C) •
Min. limit temperature FLOOR
Li Lo 15
15°C (5-30°C) •
Measure floor temperature
FLo 24.5
•
Measured room temperature
ro 21.5
•
Application
APp A : Room sensor *1
• •
F : Floor sensor *2
• •
AF : Room with Limit sensor *2
•
C : Controller
•
Oset
oFF
0 0 (+/- 3°C) • • •
Night setback/ECO
nSb
5 5°C (2-8°C) •
*1 : Only available if floor sensor is not installed
*2 : Only available if floor sensor is installed
If Controller (C) is selected under Application, the floor and room sensors are disconnected and heating is controlled on a scale of 0-10, cor-
responding to 0-100% activated
Error codes
E1 - Sensor error. Sensor is short-circuited or disconnected. The LED is flashing red once.
E2 - Limit error. The temperature on the floor has surpassed max. limit temperature. The thermostat switch o the heating and the LED is fla-
shing red twice.
E5 - Overheating. The temperature is too high in the termostat and switch o the heating. The LED is flashing 5 times.