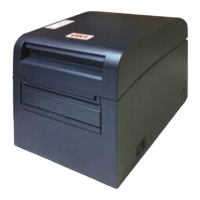
(2) Open the connectors cover at the rear of the printer by lifting it, and connect the AC adapter cable to the power socket.
Close the cover after connecting the cable.
Note 1: To connect the AC adaptor, place the printer on its side to make the connection operation easier to perform.
Note 2: Remove notch of connector cover with Nipper, to maintain the space for the cable of AC adapter. Otherwise,
the cable may be damaged and it way cause a failure.
Note 3: To prevent the adaptor from slipping out, the connector section is designed to be tight to fit. When inserting,
(1) pinch the base of the cable, (2) while sliding the outer section of the connector upwards, (3) and insert the
connector until it locks in place with a “click” sound.
(3) Confirm that the cable is connected firmly.
(4) Plug the other end of the power cord into the power outlet.
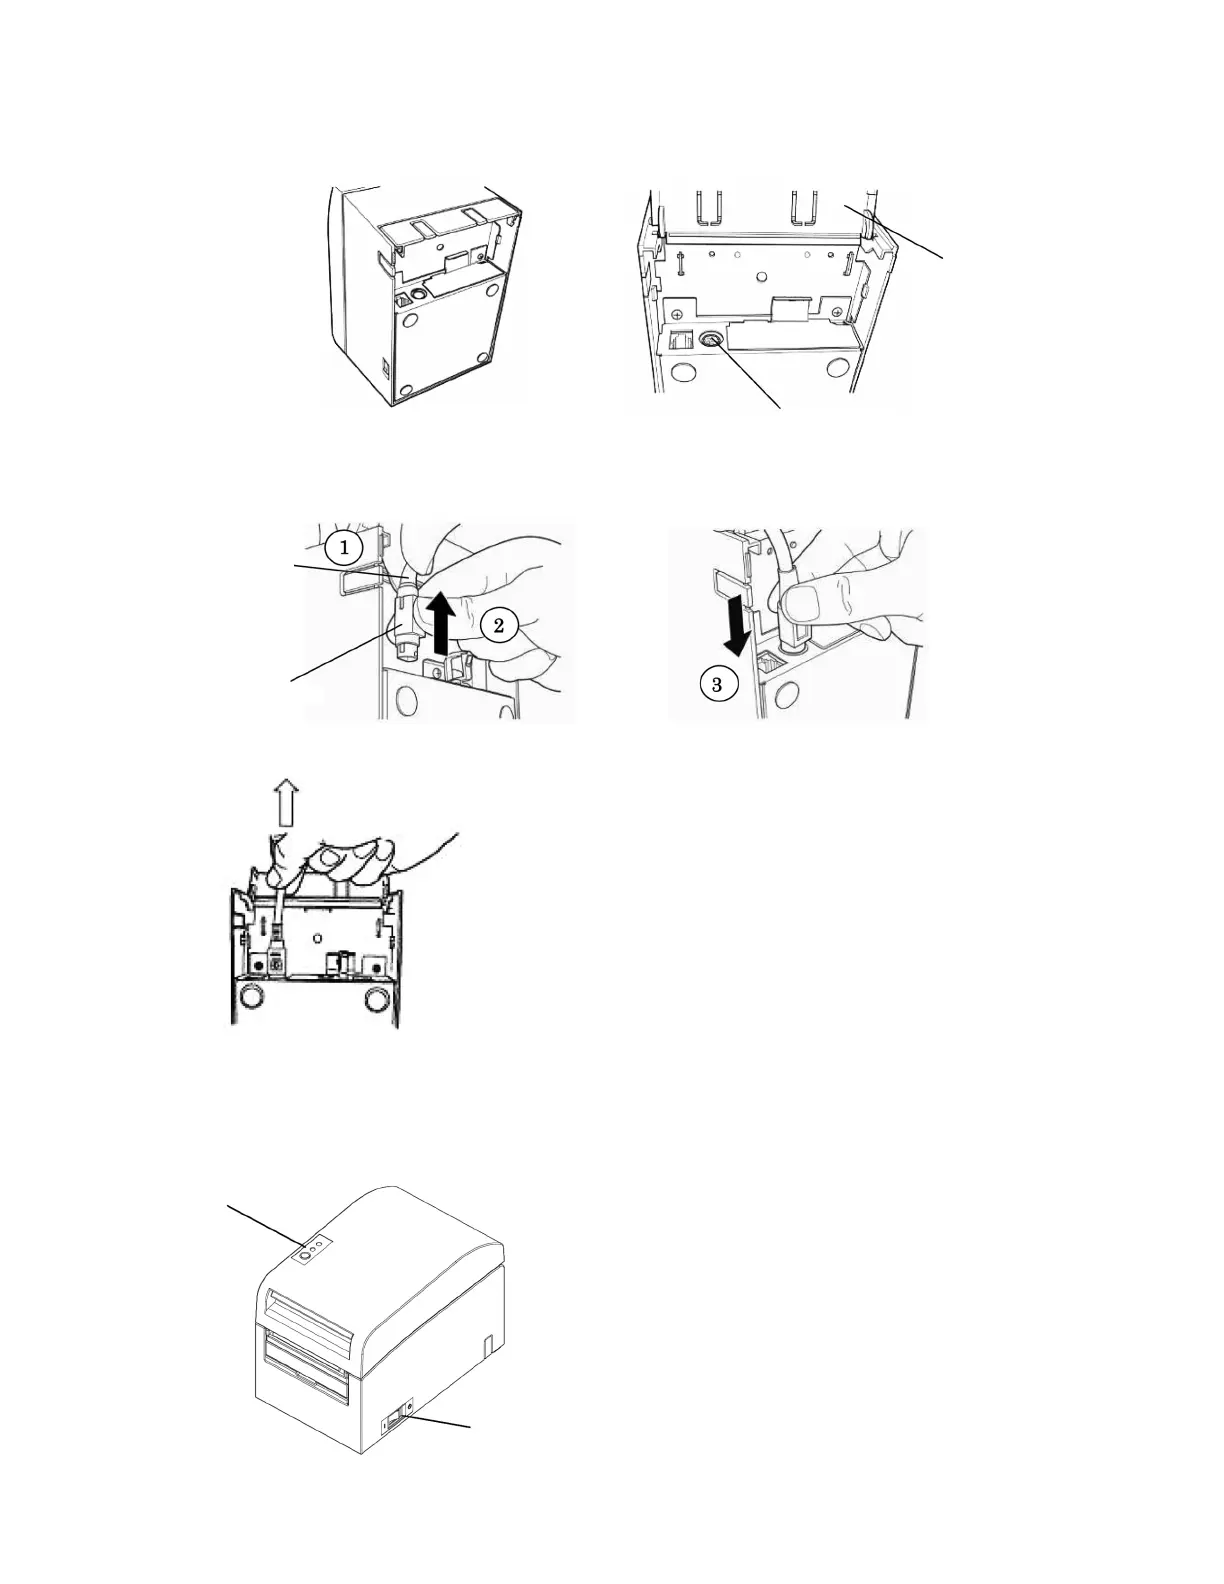
4. Turning on the Power
After the AC adapter is connected, turn on the power switch on the side of the printer. The POWER lamp on the control
panel lights up.