EN - 18
ENGLISH
When the condensate drainage is tted, pay much attention not to compress
the rubber hose.
In the event of operation during the winter with temperatures equal to or lower than 0° C, make
sure that the condensate drain pipe is protected from freezing in order to ensure draining.
In the event of prolonged operation during the winter with temperatures below 5°C, install the
optional basin heater kit.
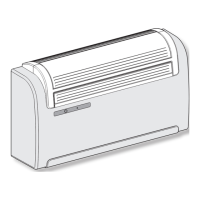
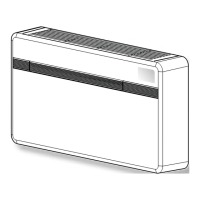
2.4.3 - Assembly of the air ducts and external grids
• Afterdrillingtheholes(withthecoredrill),inserttheplasticsheet(H)suppliedwiththeairconditioner
(g.11)insidethem.
Sincethesheet(H)wasmadefor202mmholes,youwillhavetocutoff130mmfromthelongsideof
thesheetforthe162mmholes(g.11).
The sheets must be 65 mm shorter than the length of the wall.
• Rollthesheet(H)andinsertitintothehole,payingattentiontothesplicingline,which must always
face upwards. (g.12).
Useanordinarycutterfortheforegoingoperation(g.12).
Topositiontheexternalgrids,proceedasfollows:
a. Applytheseal(G)tothewallange(D),ensuringitlinesupwiththeouteredgeoftheangeasindicated
inthegure13.
b. Fixthetwoangesusing2pegshavingadiameterof6mmandcheckthatthetwoxingholesare
horizontal(g.14-15-16).
c. Fitthesmalleyeletofthespring,withthelongstem,onthecappin(onbothcomponents)(g.17).
d. Insertthetwocaps(withspring),onthefrontpartoftheexternalgrid,onitstwohousings,pullinguntil
itclicks(g.18)andcouplethetwochainstothelargeeyeletofthespring.
e. Usingonehand,gripthetwochainsconnectedtothegrid;
f. Bendtheexternalgridsback,grippingthemwithyourfreehandwheretheybend,andinsertyourngers
insidethesinglens(g.19).).
g. Insertyourarmintothepipeuntilthegridprotrudescompletelyoutwards.
h. Reopenthegrid,beingcarefultokeepyourngersinsidethens.
i. Turnthegriduntilthensarefullyhorizontalandtilteddownwards.
l. Pullthechain,tensioningthespring,andcouplethechainringtothepinoftheinnerangethrough
whichthepipespass(g.20).
m. Usehandshearstocutoffanyexcesschainlinks.
Use exclusively the supplied grids (F), or grids with like characteristics.
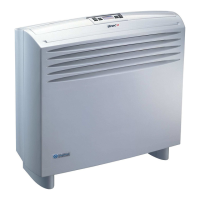
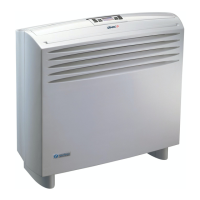
2.4.4 - Preparing the holes on the machine
IfØ202mmholesarebeingused,workasfollows:
a. If162mmpipesarebeingused,theremovaloperationofpartoftherearcovermustnotbeperformed.
b. Useplierstobreakthepreblankingoftherearcover(g.21-A).
c. Then,rotatethecoverparttoberemovedbackandforthwithyourhanduntilyoubreaktheremaining
preblankedpart(g.21-B).
d. Trimexcessiveinsulatingmaterialremainedinsidetheholeusinganutilityknife(g.21-B).
 Loading...