Toll Free 1-888-658-1658 www.outdoorlivingtoday.com sales@outdoorlivingtoday.com
Page 17
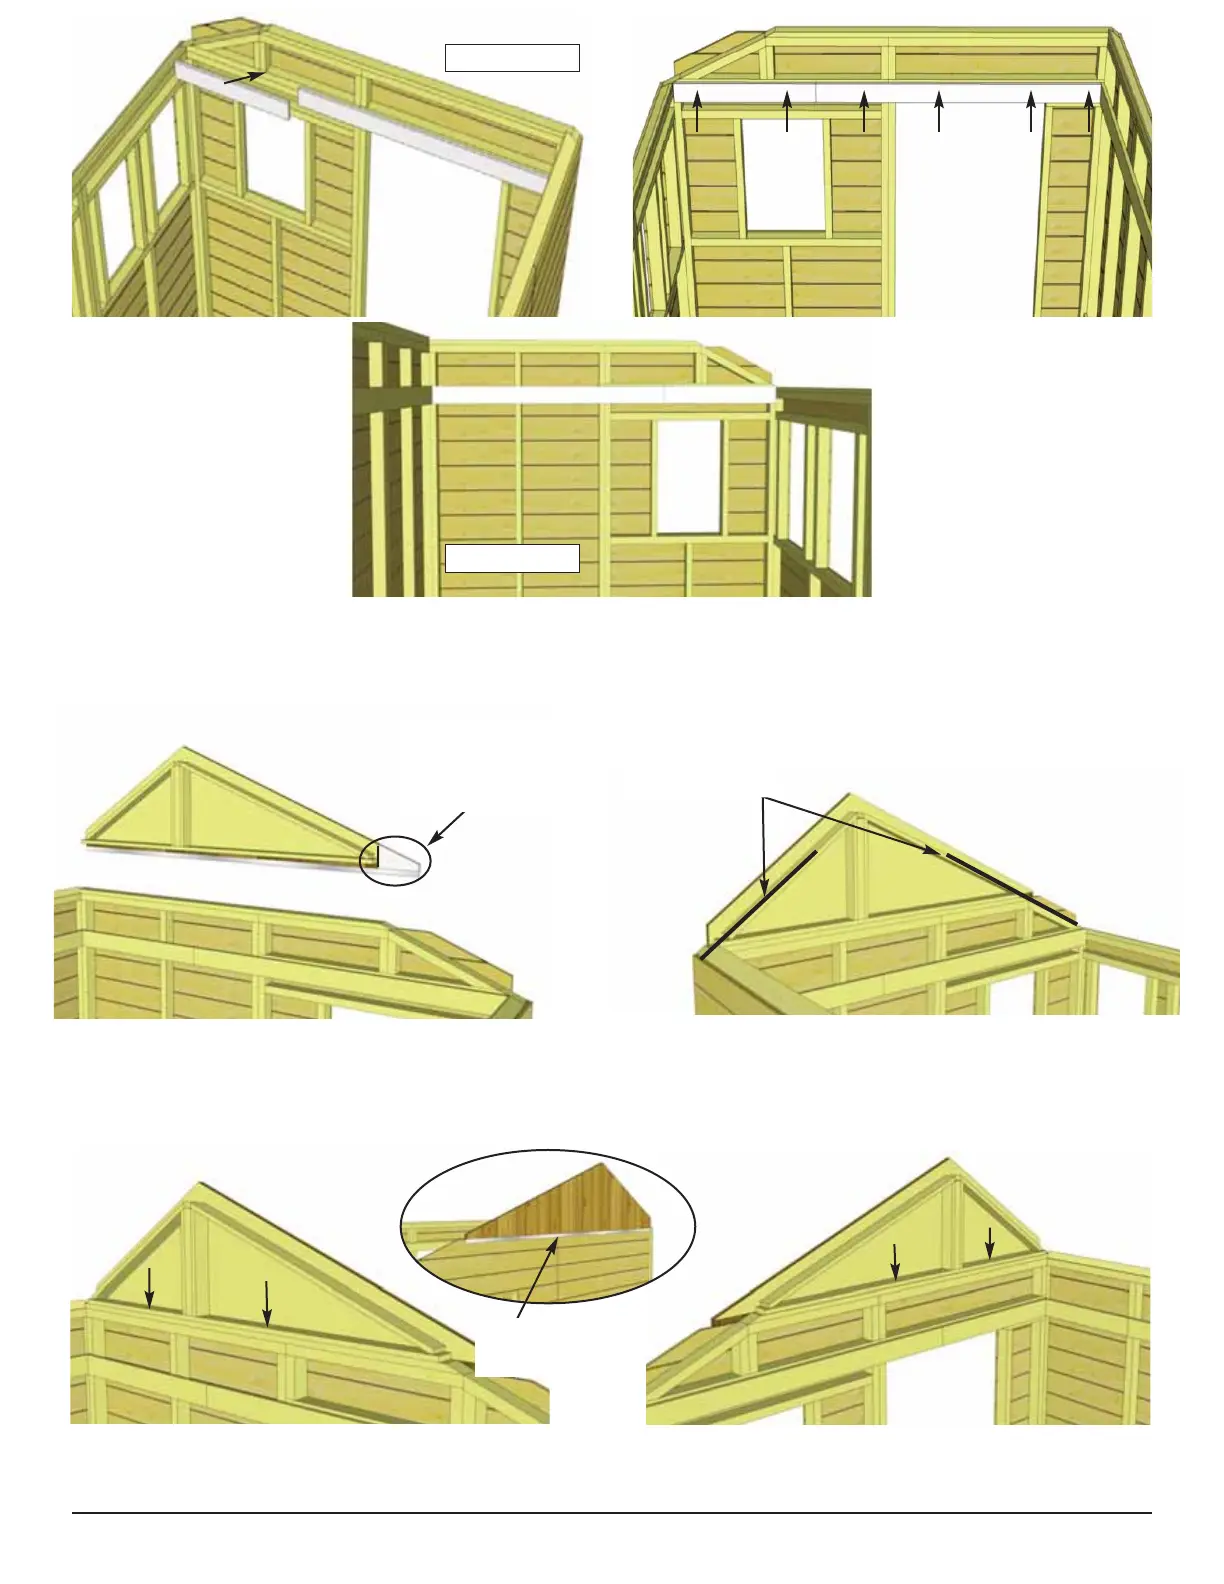
33. When Gable wall is positioned correctly, tack in place with 2 - 2” screws. Adjustment to Gable
may be required in Step 42. Complete other Gable Wall.
32. Lift up Gable Wall and place on top of rear wall. Gable side with 33 3/4” degree cut will align
with solid wall. Slide Gable Wall side to side and use a straight edge to line up angled
framing of gable with Top Plates and Wall. There is some tolerance, try for best fit on both sides.
Triangular Gable
Trim attached in
Step 63.
Flashing to
overhang wall
33 3/4 angle
22 1/2 angle
31. Attach Horizontal Wall Extender Braces (3/4” x 3 1/2” x 30”/60”) to front and rear walls 1/2”
below extender wall framing. Complete Front and Rear walls (60” and 30” long pieces) using the same
alignment. Fasten with 6 - 1 1/4” screws.
Front Walls
Rear Walls
Straight Edge