19
G
4. Starting up
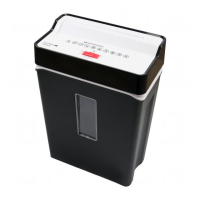
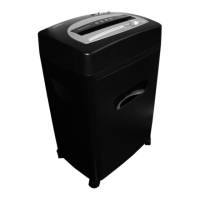
1. Remove the device carefully from the packaging.
Attention! The underside of the cutting mechanism attachment has sharp
edges. Risk of injury!
2. Replace the shredder attachment on the waste bin supplied.
Note! The shredder attachment must not wobble!
3. Set the waste bin and shredder attachment on an even surface.
4. Position the device near a power socket. However, do not position the waste bin and
shredder attachment near a source of heat or in the vicinity of water.
5. Connect the power plug to a power socket.
Note! Pay attention that the power cable is laid so that people or pets do not walk over
it or that other objects can be set down on it. Pay attention to the information regarding
power supply on the rear side of the device for the necessary precautions.
Safety information! For reasons of safety, the power socket to which the shredder
power plug is connected must be near to the device and freely accessible so that the
power supply can be disconnected quickly in an emergency!
5. Operation
Note! The recommended capacities stipulated in Chapter "Technical Data" must not
be exceeded, otherwise paper will jam! Do not forget that the thickness of the paper
increases when folded, as a result of which the recommended sheet capacity can be
exceeded. Also reduce the quantity of paper when shredding coarse paper.
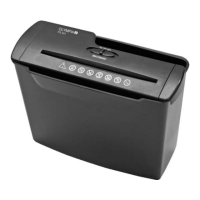
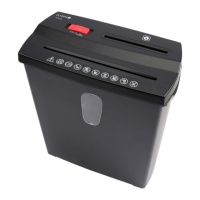
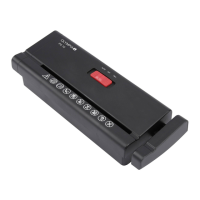
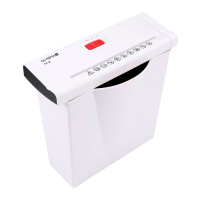
5.1 Sliding switch
The sliding switch is used to control the cutting mechanism in the paper shredder. The
sliding switch can be set to three positions:
• Position Rev: Continuous reverse running.
• Position O:Papershredderisswitchedo.
• Auto: In the Auto setting, the cutting mechanism starts automatically as soon as
you feed paper or a credit card into the infeed slot. The shredder switches to forward
running and draws in the paper or credit card. On completion of the shredding oper-
ation,thedevicecontinuesrunningforapprox.2to4secondsandthenswitcheso
automatically.
5.2 Switching the device on
1. Connect the power plug to a power socket.
2. Set the sliding switch to Auto.
 Loading...