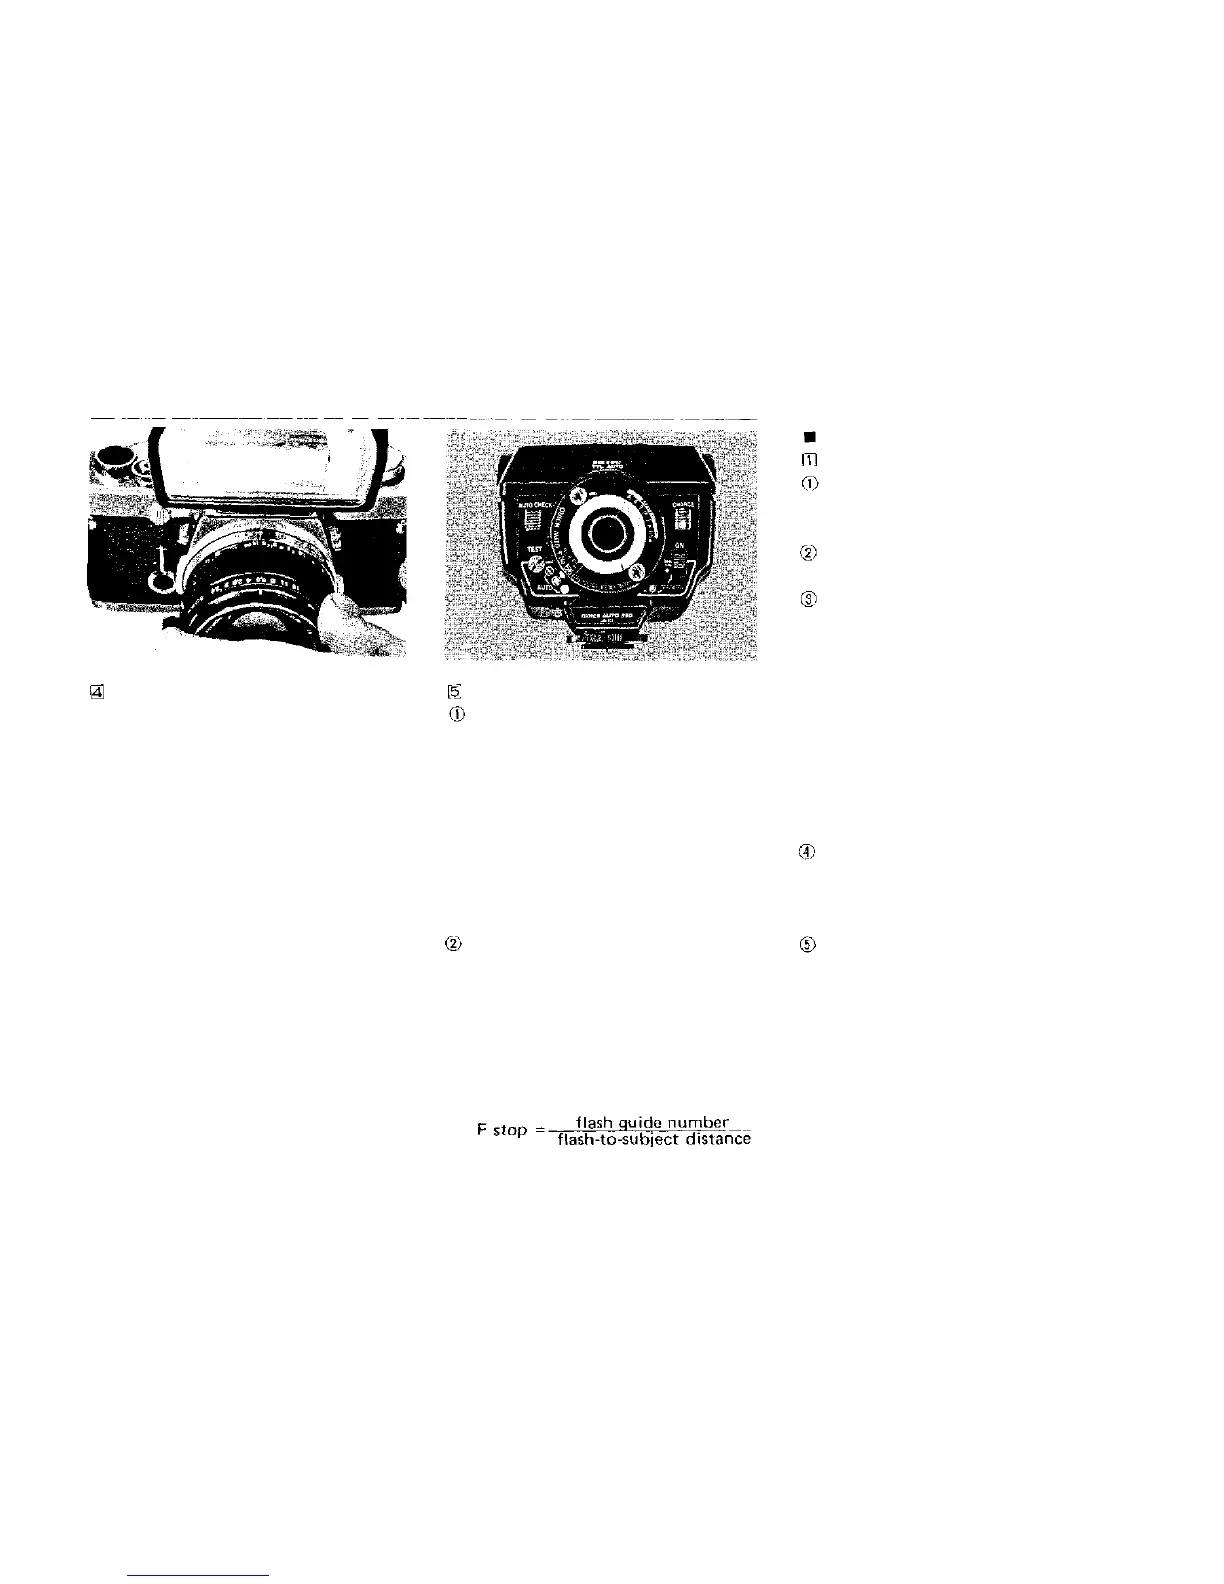
Set the shutter speed ring to a shut-
ter speed of 1/60 second or slower (all
shutter speeds indicated in blue on the
shutter speed ring).
Set the F stop on the aperture ring.
Auto Flash Exposure Control
Follow your flash equipment instruc-
tions for the selection of F stop for
automatic flash exposure control (in
case of the Quick Auto 310, one of
F4,
F5.6, F8; ASA 100).
* The TTL AUTO setting on the Quick
Auto 310 is exclusively for use with
the OM-2 and cannot be used with the
OM-1.
Manual Flash Exposure Control
Determine the correct F stop for proper
flash exposure by using the calculator
dial or exposure table provided with
your flash equipment. You may also
determine the correct F stop by using
the following formula:
DAYLIGHT FILL-IN FLASH
Manual Flash Exposure Control
If your electronic flash unit has
manual/auto flash exposure control, set
it for manual operation.
Focus on your subject to determine
the camera-to-subject distance.
Using the calculator dial, exposure
table, or guide number formula, deter-
mine the correct F stop for proper flash
exposure at the distance you found in
Step 2. Set this F stop with the camera
aperture ring. In case of the Quick Auto
310, after setting the auto/manual
switch dial to the "HI" position, read
the F number corresponding with the
planned flash-to-subject distance, using
the distance scale provided.
Turn the shutter speed ring until the
meter needle centers between the over-
and under-exposure index marks in the
camera viewfinder.
If the shutter speed is 1/60 second or
slower, you are ready to take the pic-
ture.
If the shutter speed is faster than 1/60
second, the flash will not fire if you
attempt to take the picture. Therefore,
you must readjust the exposure settings
27