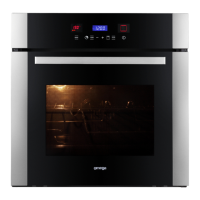
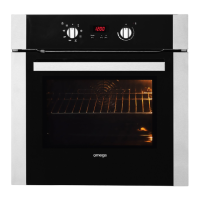
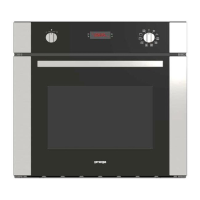
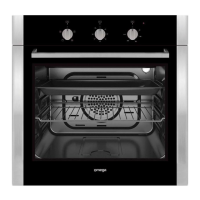
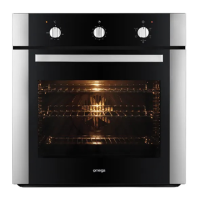
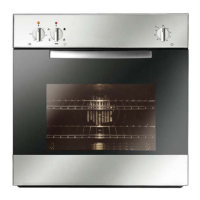
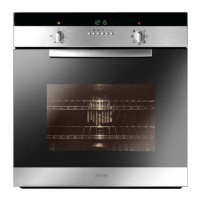
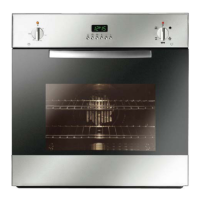
INSTALLATION OF THE OVEN
To install the oven into the kitchen a cutout should be made in accordance with the
dimensions shown in Fig. 1.
The apparatus is to be fastened to the top by means of the two screws provided in the kit
through the holes made on the oven uprights.
The cabinet in which the apparatus is installed shall be open on the back side to ensure
a sufficient air circulation and prevent overheating.
Leave a gap of at least 200 cm2 (see Fig. 1) for air circulation if the oven is installed in a
column; this is not necessary if the oven is installed under the work top.
WARNING
As the
apparatus
is to be
fitted
in your
kitchen furniture,
make
sure that all
surfaces
in
contact
with the oven can
resist a
temperature
of approx. 90°C.
Electricals
-
Absorbed po
wer:
oven top element:................................................................... 2400 W
oven bottom element: ............................................................ 2100 W
round element (hot air): ......................................................... 2300 W (on some models)
roasting jack motor: ............................................................... 4 W (on some models)
lamp: ....................................................................................... 25 W
hot air fan motor:...................................................................... 25 W
cooling fan motor:..................................................................... 25 W
- Maximum
absorbed
power: (see data plate).
- Supply
voltage:
(see data plate).