Do you have a question about the Omnimount OC120FM and is the answer not in the manual?
Critical safety warnings and liability disclaimers for product installation and use.
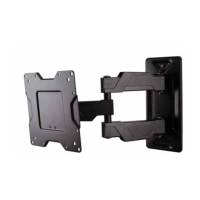
Details maximum weight capacity and screen size supported by the mount.
Lists necessary tools that must be supplied by the user for installation.
Inventory of all components, screws, and hardware included in the package.
Explains VESA mounting hole patterns and compatibility for TV displays.
Instructions for attaching the monitor to the mount using provided hardware.
Preliminary steps for mounting on wood studs, including setting parts aside.
Guidance on marking stud locations and drilling pilot holes for secure mounting.
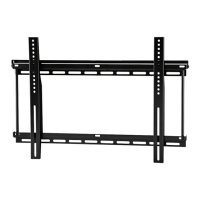
Steps for preparing to mount the bracket onto solid wall surfaces like concrete.
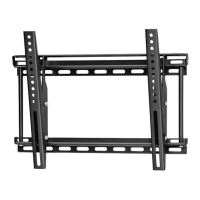
Instructions for attaching the wall bracket to wooden studs using lag bolts.
Instructions for attaching the wall bracket to solid walls using anchors.
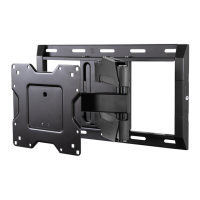
How to connect the main arm assembly to the previously mounted wall bracket.
Guide on lifting and securing the TV onto the installed arm assembly.
Steps to ensure the TV is perfectly level after hanging it on the mount.
Instructions for organizing and securing cables for a tidy installation.
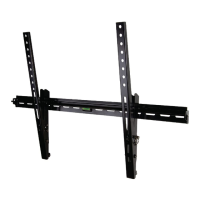
How to adjust the tilt tension for smooth and stable screen movement.
Specific warranty terms and service procedures for US customers.
Guidance for obtaining warranty service outside the United States.
Expresses gratitude and provides customer support contact details.
| Mounting type | Wall |
|---|---|
| Maximum VESA mount | 600 x 400 mm |
| Minimum VESA mount | 200 x 200 mm |
| Maximum screen size | 70 \ |
| Minimum screen size | 43 \ |
| Maximum weight capacity | 54.4 kg |
| Number of displays supported | 1 |
| Tilt angle range | -1 - 15 ° |
| Product color | Black |