Seite / Page 7
38628, Edition / Ausgabe 2012-05, Version 5
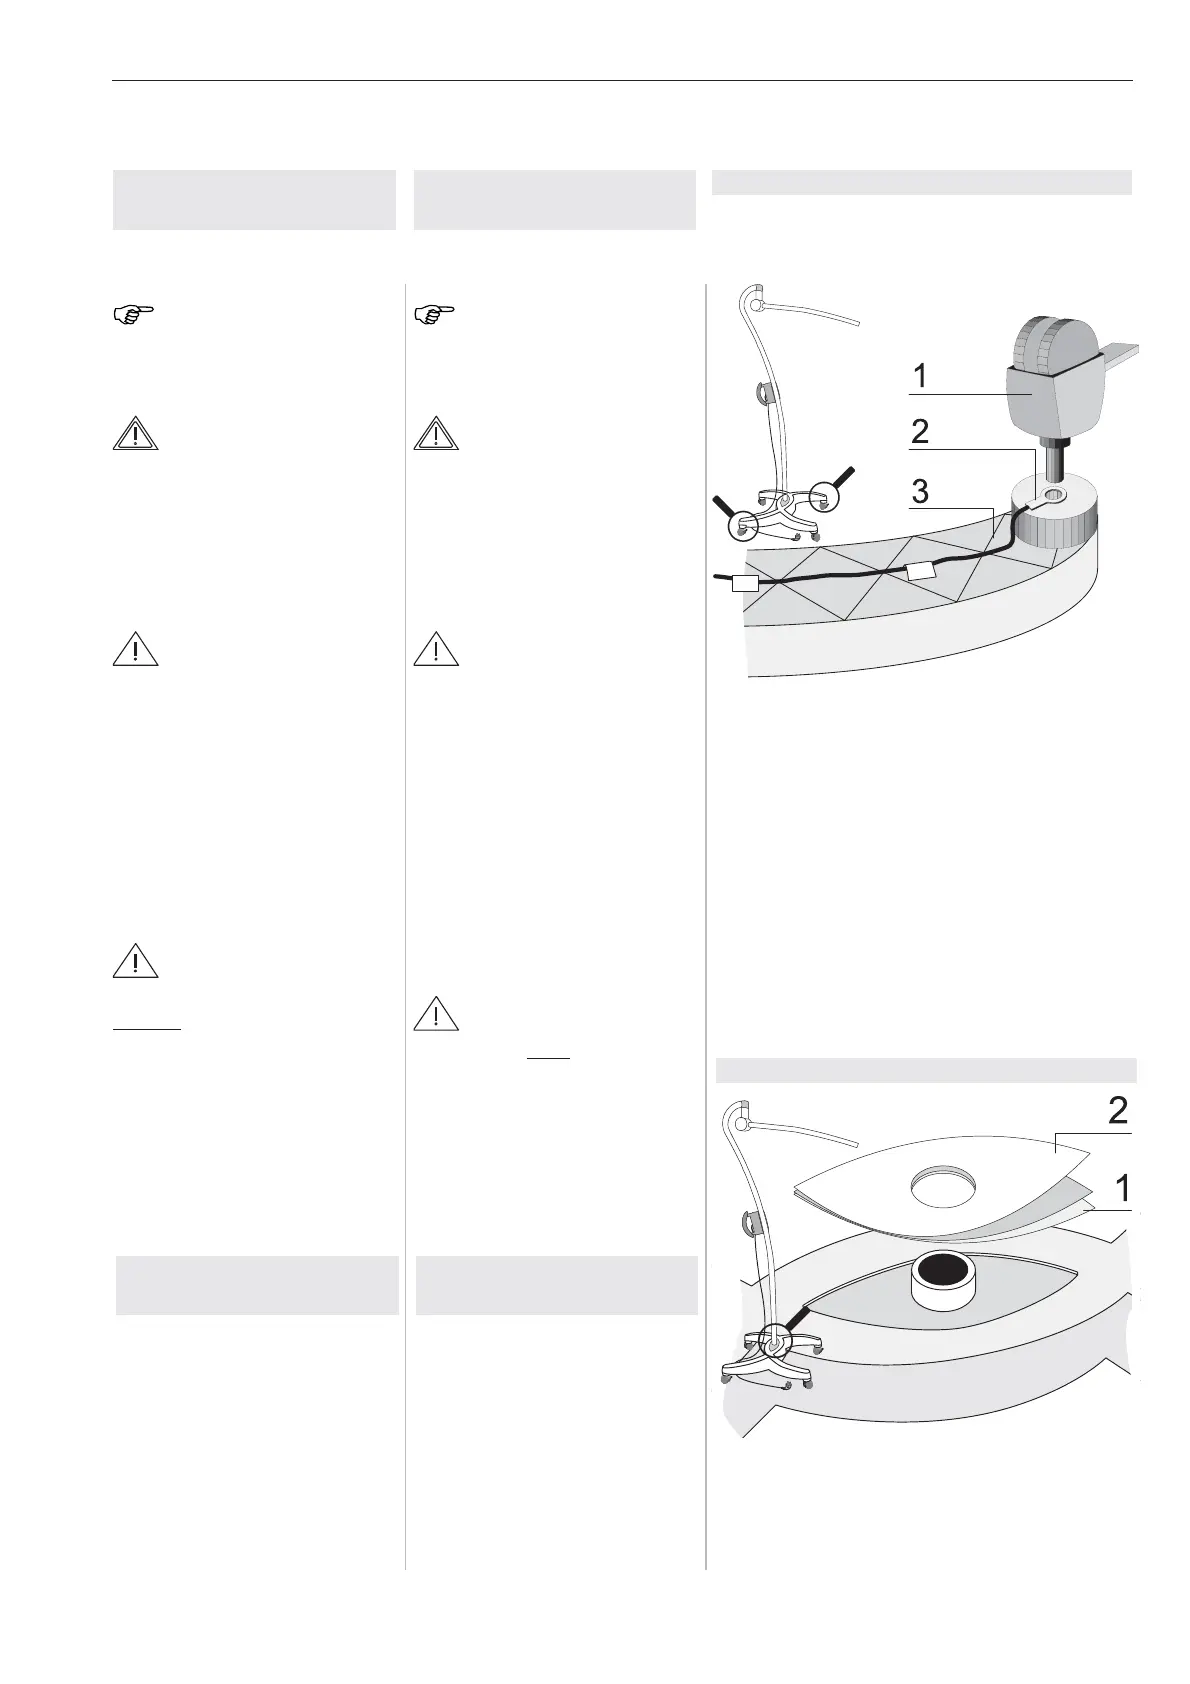
Figure / Abbildung 1
1 Anti-static rollers with brakes 2x
Antistatische Rollen mit Bremsen 2x
2 Ring cable lug of the PA cable 2X
Ringkabelschuh der PA-Leitung 2x
3 Tripod base
Stativfuß
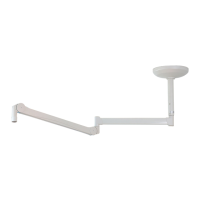
DeutschEnglish Figure / Abbildung
1 Adhesive foil
Klebefolie
2 Clear protective foil
Klare Schutzfolie
Figure / Abbildung 2
1 Rollen montieren
Abb. 1
HINWEIS – Versionen:
Bei der Ausführung Stativfuß 6,5kg
entfallen die Erdungsleitungen.
WARNUNG - Statische Auf-
ladung:
Ohne Montage der PA-Leitung
kann es zur statischen Aufladung
des Stativgerätes und zur Ablei-
tung auf Patienten kommen. Die
PA-Leitung montieren.
VORSICHT:
Die gebremsten Rollen immer di-
agonal anbringen (siehe Abb. 1),
da sonst Kipp-/Rutschgefahr be-
steht!
1. Zwei antistatische Rollen
mit Bremsen (1) durch den
Ringkabelschuh der PA-Lei-
tung (2) führen und vollstän-
dig in den Stativfuß (3) stek-
ken.
VORSICHT:
Der Stativfuß
ohne Zusatzgewicht
darf nur für 1-2 kg schwere Endge-
räte verwendet werden.
2. Zwei Rollen ohne Bremsen
vollständig einstecken.
3. Sicheren Sitz der Rollen prü-
fen.
1 Mounting the
rollers Fig. 1
NOTE – Versions:
For the 6.5kg tripod base version, no
earthing cables are required.
WARNING - Static charge
If the PA-cable is not installed, the
tripod base equipment may get
statically charged and the charge
may get transferred to the patient.
Install the PA-cable.
CAUTION:
The braked rollers must always be
installed diagonally (see Fig. 1) in
order to prevent tilting/slipping!
1. Guide two anti-static rollers
with brakes (1) through the
ring cable lug of the PA ca-
ble (2) and insert completely
in the tripod base (3).
CAUTION:
The tripod base should be used
without additional weight only for
end devices that weigh 1-2 kg.
2. Completely insert the two
rollers without brakes.
3. Check for firm seating of the
rollers.
2 Farbfolie
aufkleben Abb. 2
1. Augenförmige Vertiefung rei-
nigen.
2. Klebefolie (1) abziehen,
Farbfolie in die augenförmige
Vertiefung einlegen und
gleichmäßig andrücken.
3. Klare Schutzfolie (2) abzie-
hen.
2 Sticking on the
color foil Fig. 2
1. Clean eye-shaped recess.
2. Pull out the adhesive foil (1),
place the color foil in the eye-
shaped recess and press it
uniformly.
3. Pull off the clear protective
foil (2).