18
onsenproducts.com
onsenproducts.ca
800-996-5559
support@onsenproducts.com
This water heater comes with a ½” – ⅜” gas com-
pression tting already connected to the ½” gas in-
let during the assembly portion of the manufacturing
process. In the event that the gas compression tting
has been removed, make sure to connect it by apply-
ing gas tape or compound to the ½” gas inlet threads
to ensure the connection is sealed and to prevent
a gas leak. ALWAYS CHECK FOR GAS LEAKS AFTER
APPLYING GAS TAPE / COMPOUND.
4
5
6
DANGER
Turn on the incoming water supply and wait for the water lines to
completely ll with water (water pressure must be between 10 – 80
PSI for ignition to occur).
Open the gas valve on the LP gas tank.
IMPORTANT: Check for gas leaks by spraying a mixed solution of wa-
ter and soap on the gas inlet connection. If bubbles start to form, close
the gas valve and seal the gas connection properly before repeating
the gas leak test.
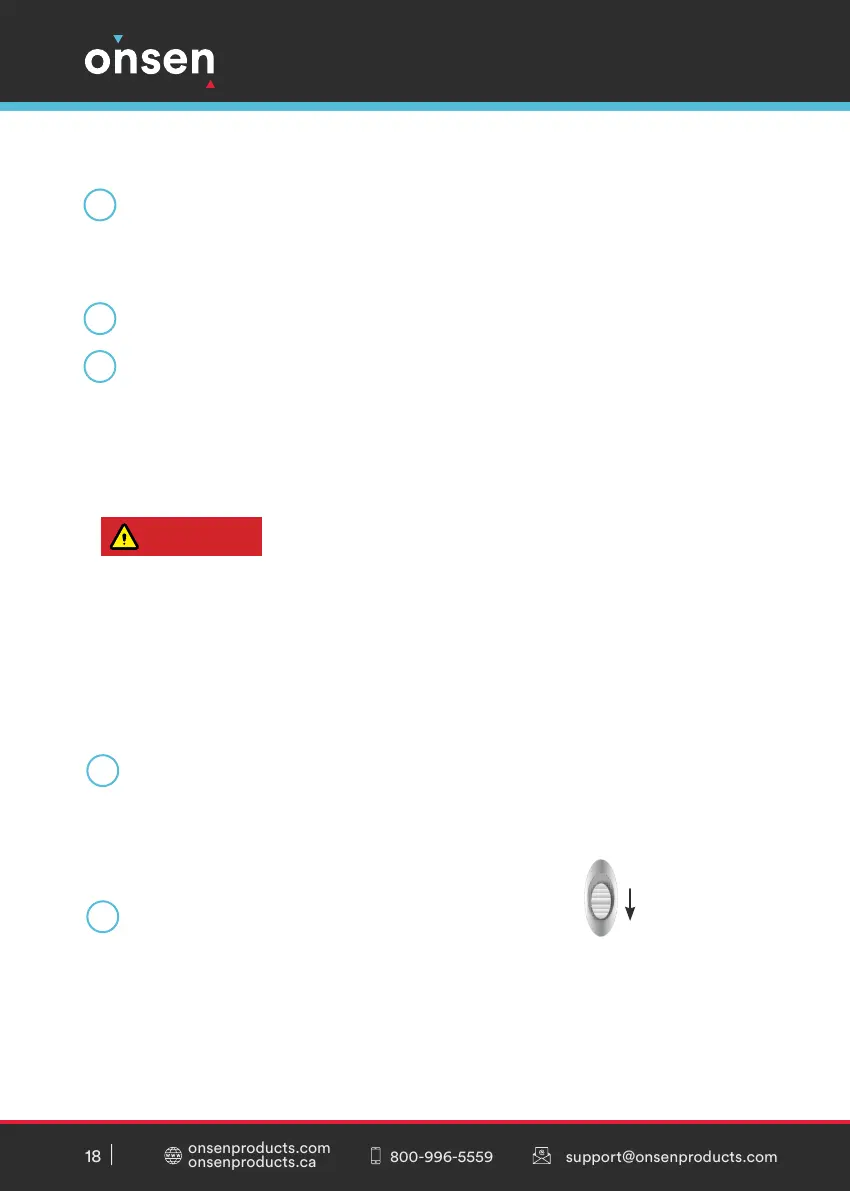
Push button located at the bottom of the water heater to the ON po-
sition by pressing down on the red dot. Please note that pushing the
button will not turn on the LCD screen yet, which lights up when igni-
tion occurs at Step 9 below.
Push the showerhead button to the ON position (this will allow
for water to circulate inside the water heater and kick start the igni-
tion sequence).
7
8