Angle adjustment
Delivery condition: Neutral zero position (“0” ≙ 0°) (Figure 19)
There are two possible uses:
1st option: Fixed ankle (xed setting): The upper and lower adapter screws are
not separated (Figure 19).
2nd option: Limited freedom of movement (ROM setting): For use as soon as
movement is permitted (Figure 20). The distance between the adapter screws
determines the extent of the ankle joint’s range of movement (ROM).
The range of movement can be changed in 5° increments from -15° of dorsal
extension (lifting of the toes) to +30° of plantar exion (equinus position = toes
inclined).
Note: The use of a range of movement (ROM) is the decision of the doctor /
physiotherapist.
Changing the angle setting
Upper adapter screw: End stop for plantar exion (equinus position = toes
inclined) Lower adapter screw: End stop for dorsal extension (lifting of the toes)
Remove the key from the holder (Figure 21) and insert it into the screw. Turn
the key horizontally (Figure 23). Lift the screw and push it into the desired
position (Figure 24). Turn the key vertically (Figure 25). Repeat the steps above
if necessary with the other screw.
Note on treating Achilles tendon injuries in the equinus position: With a xed
angle setting between 15° and 30°, please use the wedge sole (Figure 22)
included in the box.
Fitting and changing the sole
Removing the sole
Push both unlocking buttons simultaneously (Figure 13).
Fitting the sole
Position the VACOped straight and centred on the sole before pushing it against
the sole (you will hear two clicks) (Figure 14).
Adjusting the sole length
Remove the sole (see Fitting the sole) and push the unlocking button. Pull the
toe section to the desired length (Figure 15).
Anpassen des Wadenumfangs
Push the buckle out of the lower shell (Figure 16). Push the buckle to the
desired position. Position A = large calf circumference, Position B = small calf
circumference (Figure 17). Push the buckle into the required hole (Figure 18).
Repeat the process on the opposite side.
English
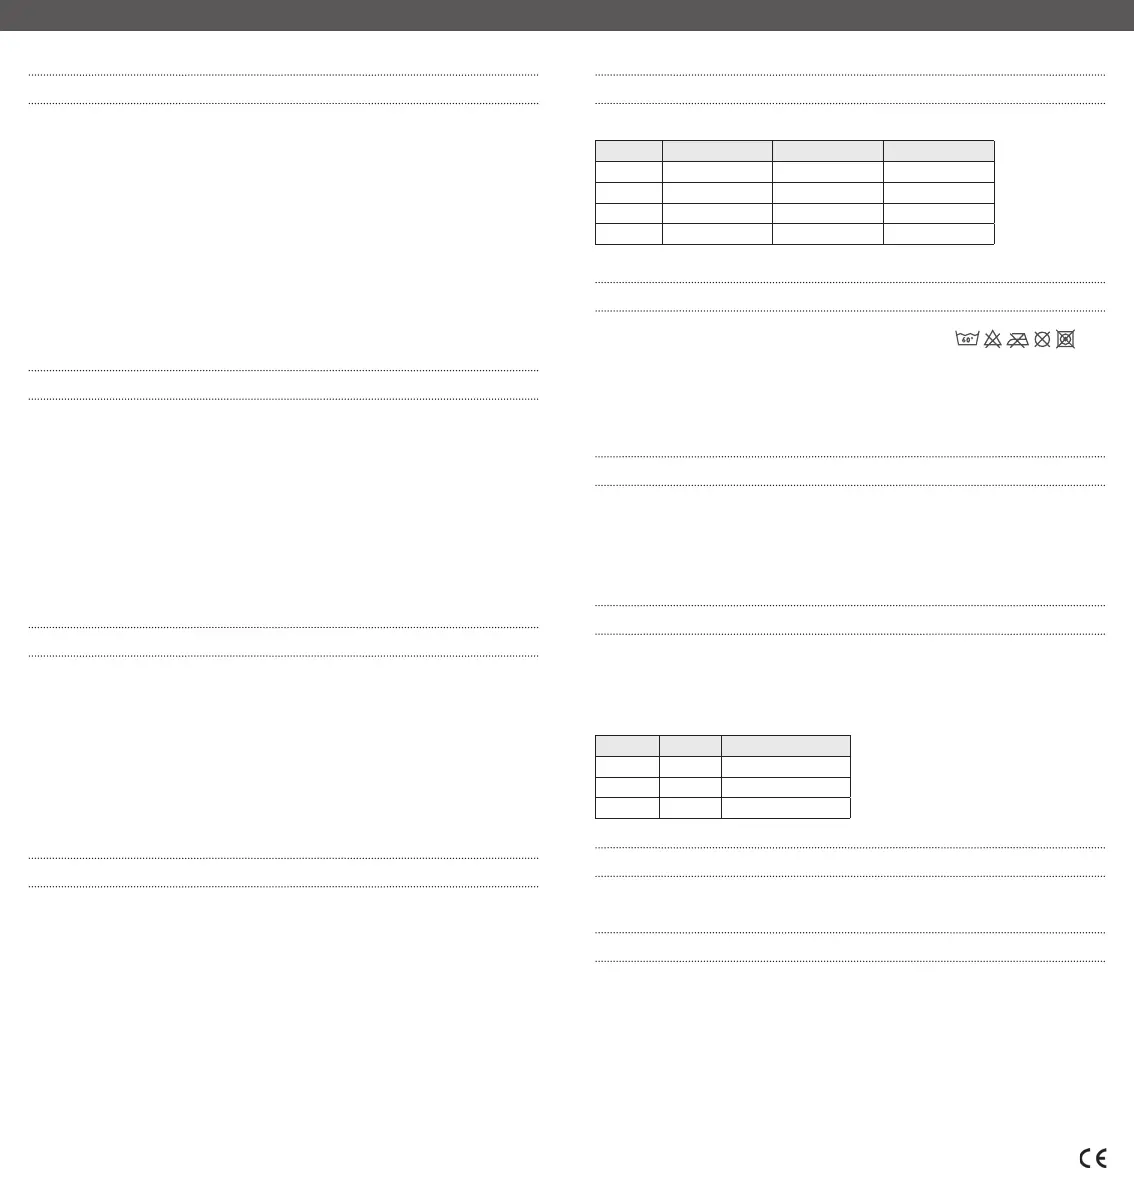
Product characteristics
The product can be worn on the left or right.
Small Medium Large
EUR 35 – 41 39 – 44 44 – 50
UK 2 ½ – 6 5 ½ – 10 9 ½ – 14
US (M) 3 ½ – 7 6 ½ – 10 ½ 10 ½ – 15
US (W) 4 ½ – 7 ½ 7 ½ – 11 ½ 11 ½ – 16
Cleaning and maintenance
●
Lower shell: Dishwasher at 60 °C
●
Strap: Washing machine at 40° C
●
Terry liners: Washing machine at 60 °C
Remove the vacuum cushion from the Terry liner before washing it. Close
the zip and Velcro fasteners again for washing.
●
Vacuum cushion: Surface disinfection
Pressure points/problem solving
Remove the orthosis from your foot. Pull the valve ring to allow air to ow into
the cushion. Spread the cushion lling evenly at the pressure point. Re-t the
orthosis (see How to use). Using a nger, check that there are enough small
spheres in the cushion between the pressure point and the outer lower shell.
Technical data/parameters
Materials used:
Hard lower shells (PP); Liners (cotton/PU foam); Cushion sleeve (PVC); Filler
material (EPS spheres); Strap (PP fabric); Sole (EVA); Upper shell (EVA/PP). All
parts and components are latex-free.
Note: Not made from natural rubber latex.
Weight Dimensions
Small 1.140 g 27,5 x 13 x 41 cm
Medium 1.520 g 31 x 14,5 x 45 cm
Large 2.020 g 33,5 x 16 x 49 cm
Warranty
The warranty is provided in line with statutory regulations.
Storage conditions
Store in a dry and hygienic place and protect from direct sunlight.
1 1 1 1
....................................................................................................................................................
...............................................................................................
.
..
1 1 1 1
---------------------------------------------
··········································································································································································
 Loading...