12 13
1. Unplug your Optimum 9400 from the power.
2. Locate cushion pad on top of machine and remove.
3. Locate small hole in side of blender top, just below drive socket.
4. With the hole at eye level, turn the drive socket by hand (this will not cause damage to the
motor) until you can see the Phillips head screw through the hole.
5. Insert small Phillips head screwdriver into hole (Small/PH1 screwdriver) and turn counter-
clockwise (anti-clockwise) for 4-5 full rotations. You can use your other hand to check after each
turn if the drive socket will come o freely by gently trying to lift it o. Please note: undoing the
screw too far may have the screw fall out into the blender, please ensure care is taken to avoid
this from occurring.
6. Gently pull the drive socket up o the motor shaft.
7. Inspect drive socket, ensure the plastic socket still has a square shape to match the motor shaft.
If this is not the case the drive socket has been stripped out and requires replacement.
8. Check that top of motor is free of debris and identify hole for screw to go back into.
9. Place replacement drive socket, if required back onto blender. Ensure screw lines up with both
the hole in the side of the blender casing and the locating hole in the motor shaft.
10. Push drive socket down firmly and tighten screw back up firmly.
11. Place cushion pad back on blender, ensuring the “FRONT” is located to the front of the blender
(controls end). Please ensure the cushion pad is firmly fastened down in all places including
around drive socket, if not secured firmly the drive socket may rub on the cushion pad can
cause smoke and damage to both drive socket and cushion pad.
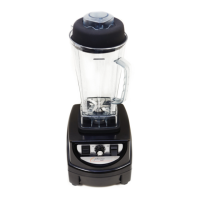
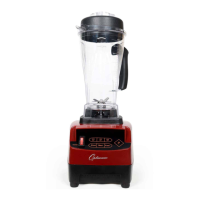
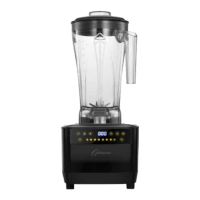
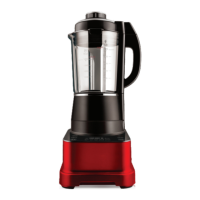
1. Lid: Avoids spillage from the jug and with its removable plug/insert.
2. Lid Plug/Insert: Prevents liquid from spilling out of the top of the jug, the plug does not fit
snugly in place to allow steam to vent while blending hot contents. It is removable to allow
adding ingredients while blending and also to use the tamper device.
3. Jug/Bowl: The jug contains foods and liquids while blending. Markers on the side of the jug
indicate quantities and maximum fill level.
4. Blade Assembly: This is the business end of the blender, allowing the chopping and blending
of contents. It’s unique design makes it suitable for blending both wet and dry contents. Blade
assemblies are made of Grade 304 (1/18 Stainless Steel).
5. Rubber Cushion Pad: Secures the jug snugly on the top of the blender to ensure safety while
blending, it also reduces vibration while blending.
6. Tamper Device: Allows you to push contents into the blade assembly to ensure a smooth
consistency, it is required to make recipes for Nut Butter and also blending frozen
contentseectively.
7. Blender Base: Contains the high quality motor and associated electronics to ensure the
blender preforms at its peak and can protect itself to avoid overheating.
8. Motor/Control Board: Controlled by a PCB to regulate blending speed, contains highly
developed technology to raise the RPM of the blades in case of stalling (blades stopping due
to thick contents). Also contains a warning buzzer to warn user of potential overheating and
excess load on the motor.
9. Overload Protection Switch: This button, located on the base of the blender ensures the motor
is protected from rapid heat rise.
10. Blade Removal Tool: Assists with the removal of the Blade Assembly as directed by the
Warranty and Support team, www.froothiesupport.com.
11. Nut Milk Bag: Specifically designed to filter nut milks and separate juice and pulp to create
delicious pulp-free juice.
REPLACING THE DRIVE SOCKET TECHNICAL INFORMATION
TO ORDER REPLACEMENT PARTS VISIT
WWW.FROOTHIEINTERNATIONAL.COM
AND SELECT YOUR PREFERRED COUNTRY.
Only for EU countries. Do not dispose of electric appliances together with household
waste material! In observance of European Directive 2002/96/EC on waste electrical
and electronic equipment and its implantation in accordance with national law, electric
appliances that have reached the end of their life must be collected separately and
returned to an environmentally compatible recycling facility.
 Loading...