55
FOCUS
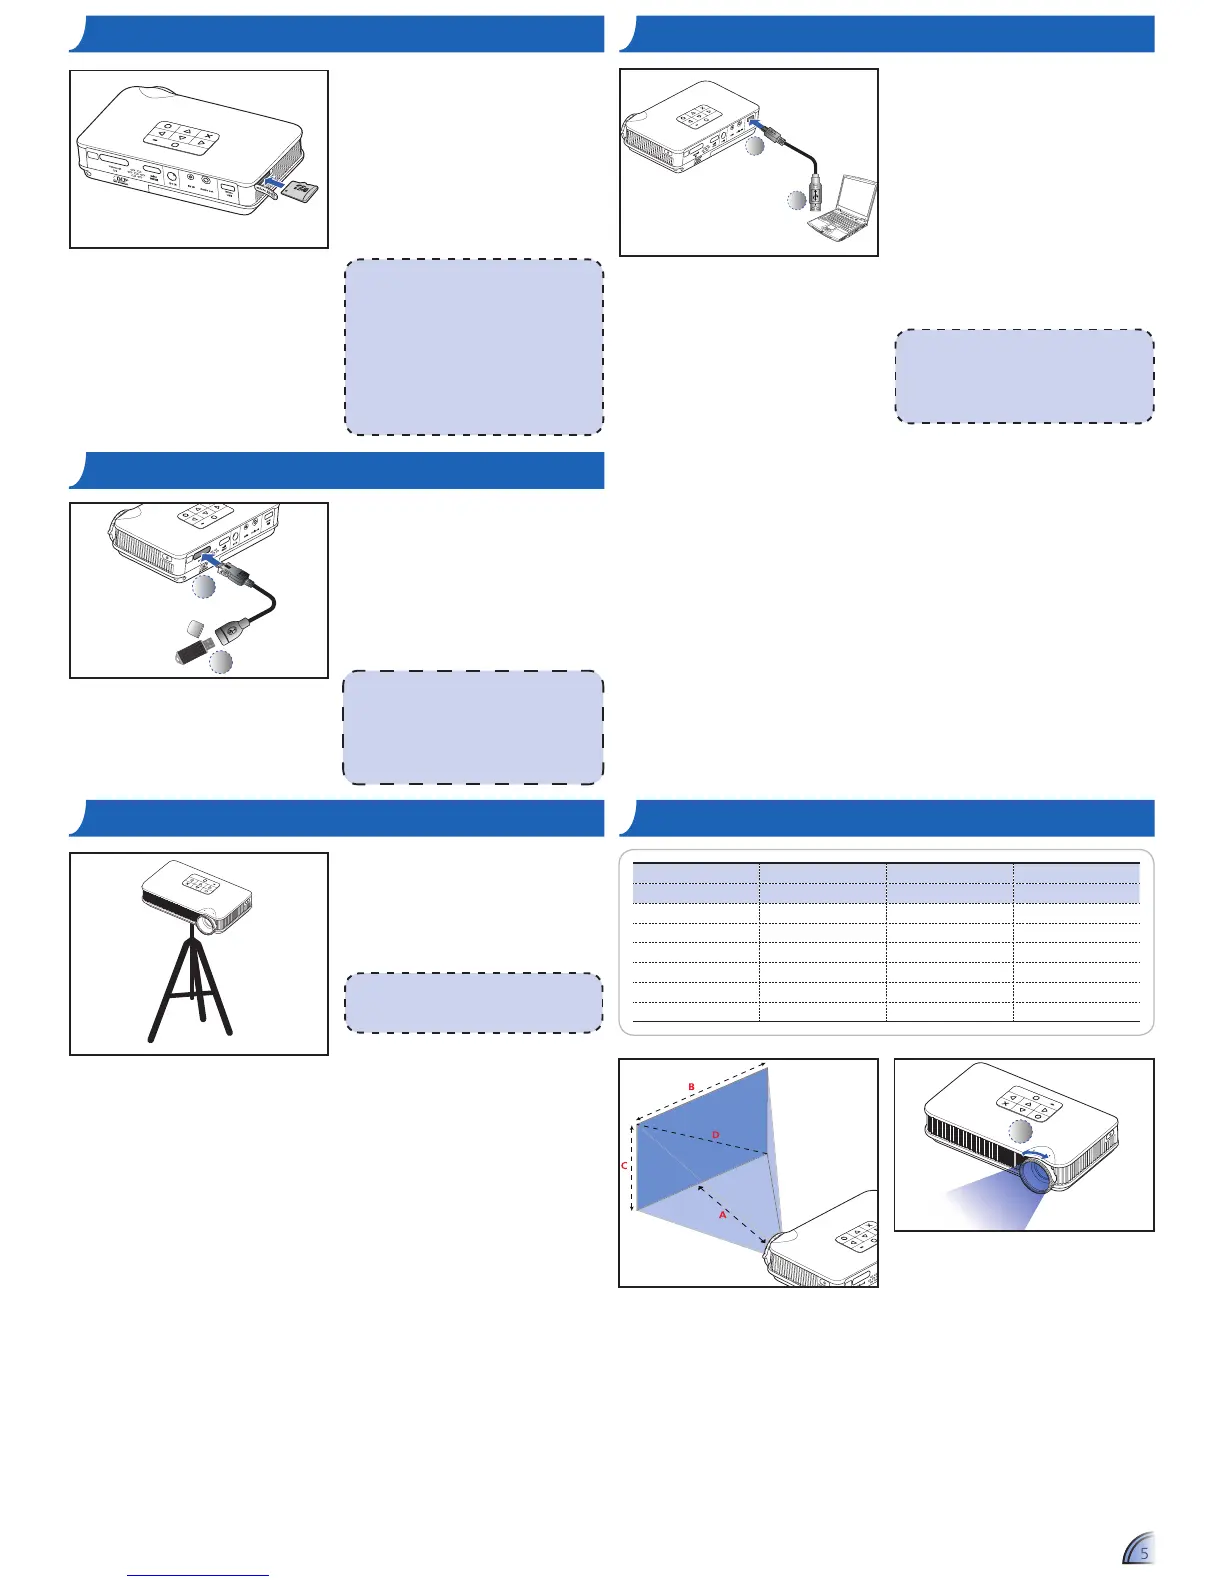
Screw a standard tripod into the screw
hole on the projector.
B
Projection Distance (A) Screen Size - Width (B) Screen Size - Height (C) Screen Diagonal (D)
Meter inch (mm) (inch) (mm) (inch) (mm) (inch)
0.2 0.66 110 4.3 62.7 2.5 127 5
0.4 1.31 221 8.7 125.4 4.9 254 10
0.6 1.97 331 13.0 188.1 7.4 381 15
0.8 2.62 448 17.4 250.8 9.9 508 20
2.4 7.87 1325 52.2 752.3 29.6 1524 60
4.8 15.75 2651 104.4 1504.5 59.2 3048 120
FOCUS
1
Adjust the focus (
)untiltheimageis
clear.
<Note>
The tripod is an optional accessory.
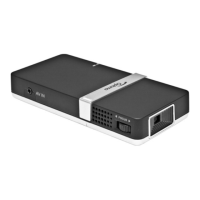
uSe a trIpoD StanD aDjuSt the projecteD Image
By default, the projector displays from
theinternalmemory.Howeverifa
microSD card is inserted, the projector
readsfromthemicroSDcardrst.
Insert a microSD card into the slot with
the gold contacts facing down.
<Note>
• ToremovethemicroSDcard,pushthe
card to eject it from the slot.
• DonotremovethemicroSDcardwhile
the projector is projecting image from
the card. This can cause data loss or
damage the card.
• Supports microSD card size up to 32GB.
• The microSD card is not included in the
package.
InSert Data Source - mIcroSD carD
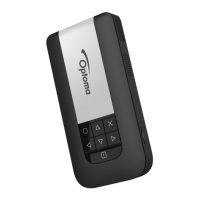
connect computer for Data tranSfer
1
2
MOLEX
You can transfer data to the projector
internal memory or the microSD
card.
1. If turned on, turn off the projector.
2. Connect a laptop or PC using the
supplied USB to micro USB cable.
3. Turn on the projector.
See"HowtoTransferDatavia
USB" on page 23.
<Note>
The laptop/PC can only detect the input
source when the projector is switched on.
The projection will stop when this connection
is made.
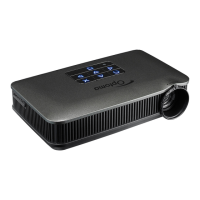
The projector reads data from the
USBashdriverstifoneisinserted.
ConnecttheUSBashdrivetothe
projectorusingaUSBcable(forash
drive).(
~
)
InSert Data Source - uSB (external Source)
<Note>
1.USBcable(forashdrive)isnotincluded
in the package.
2.TheprojectoronlysupportsUSBash
drive(upto5V/150mA)withFAT32format.
3.USBharddiskdriveisnotsupported.
2
1
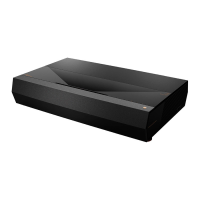
Theprojectorprojectsmediales
directly from data sources: internal
memory, microSD card, or external
source(USB).

 Loading...