6
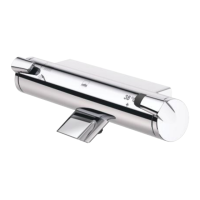
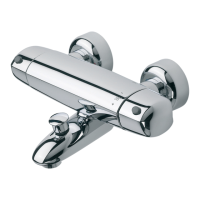
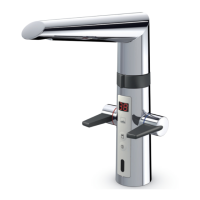
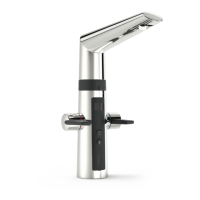
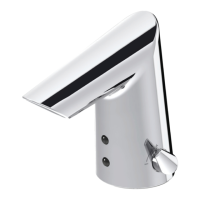
Oras Optima
Technical data:
Min. working pressure: 1 bar
Max. working pressure: 10 bar
Test pressure: 16 bar
Max. water temperature 80°C (recommending water temperature + 55°C – + 65°C)
Installation (see diagram 1)
The Oras Optima is a mixer faucet with a faucet interval of 150 + 3 mm and a nut thread of G3/4. Warm
water is connected to the left and cold water to the right. Incoming water must not be cross-
connected!
Temperature regulation (see diagrams 2 & 3)
– turn temperature regulating handle (1) towards limit stop
– pull out temperature regulating handle
– turn on water
– regulate water temperature as desired (e.g. 38°) using temperature regulating handle (1)
– pull inside of handle straight out and replace it so that limit stop button reaches shoulder (5) in
regulating socket
– press temperature regulating handle into place
Regulating water volume (see diagram 4)
– turn volume regulating handle (6) to shut position (green limit stop button points to right)
– grip handle firmly and pull it out (if necessary, wrench carefully using, e.g., screw-driver)
– remove limit stop ring (7). By turning limit stop ring clockwise the flow declines and by turning it
anti-clockwise the flow increases at limit stop.
– press limit stop ring back into desired position
– press volume regulating handle into place (when limit stop button points to right)
If the automatic diverter in an Optima fitted with a diverter does not stay on under a residue
flow, the flow at limit stop must be increased (see instructions above)
Cleaning waste filters (see diagram 5)
– turn off water supply to faucet
– remove cover from temperature regulating handle (1), limiter (5) and the covering plates (8&9) at
both ends of faucet
– unscrew waste filters (11)
– clean filters, replace if necessary
– assemble faucet
– switch on water supply and check to see that faucet is operating correctly
Servicing thermostatic element (see diagram 5)
– switch off water supply to faucet
– release covering plate (9)
– remove servicing tool, the plate key (10) from inside faucet
– unscrew thermostatic element (12) from faucet frame
– ensure that no impurities have been left between the different halves of the thermostatic element
by turning halves in opposite directions
– clean thermostatic element under running water, e.g., using a soft brush
– if the thermostatic element has been damaged, it must be replaced
– lubricate the 0- rings using o-ring grease (Oras 911311) and screw back into faucet frame
– assemble faucet
– switch on water supply and check that faucet is operating smoothly and regulate temperature if
necessary
english


 To Next Page