Do you have a question about the Oregon Scientific BAR122HGA and is the answer not in the manual?
| Brand | Oregon Scientific |
|---|---|
| Model | BAR122HGA |
| Category | Weather Station |
| Language | English |
Provides contact information for product support and assistance.
Details the product's warranty period, terms, and conditions for defects.
Instructions on how to silence or deactivate an active alarm.
Clarifies how the main unit's °C/°F setting affects remote sensor display.
Instructions for proper unit handling, cleaning, and avoiding damage.
Lists operational ranges and resolutions for temperature and humidity measurements.
Step-by-step guide to manually setting the current time and date.
Step-by-step instructions for setting the daily alarm time and enabling it.
Details the unit's ability to predict weather based on atmospheric pressure changes.
How to switch between different clock display formats (e.g., time, date).
Information on automatic clock synchronization via radio signal and optimizing reception.
Explains indicators showing rising, steady, or falling trends for measured parameters.
How to display and clear stored maximum and minimum temperature/humidity readings.
How to set upper and lower limits for temperature and humidity alarms on Channel 1.
Explains the kinetic wave display which shows signal receiving status.
How to activate and deactivate automatic scanning of remote sensor readings.
Explains icons indicating comfortable, too wet, or too dry environmental conditions.
Simple procedure to display temperature/humidity from main unit or remote sensors.
Steps to take if remote sensor signals are lost or the display is blank.
Explains interference from other devices and how reception recovers.
Initial setup steps including battery insertion and signal synchronization.
Signals when batteries in the remote or main unit need replacement.
Instructions for using the table stand or wall mount for the main unit.
Explains how to use the reset button to restore factory default settings.
Steps for inserting batteries into the main unit's compartment.
Steps for installing batteries and selecting channels for the remote sensor unit.
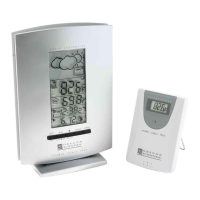
Lists and describes the components of the remote thermo-hygro sensor.
Describes the two-line LCD and LED indicator on the remote sensor.
Explains the slide switches for temperature units and sensor channels.
Details the reset button, battery compartment, wall mount, and table stand for the remote unit.
Outlines crucial initial setup steps for optimal device operation.
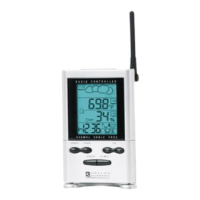
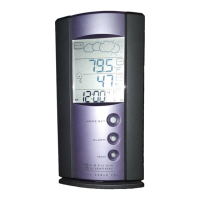
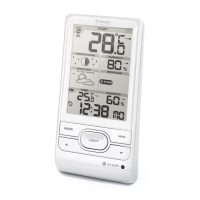
Details the four-line LCD, weather forecast window, and battery-low indicator.
Explains icons indicating radio reception status and alarm activation.
Describes buttons for memory, channel selection, and display/time setting.
Explains buttons for US time zone selection and alarm time adjustment.
Details buttons for setting HI/LO temperature/humidity alarm limits.
Describes buttons for daily alarm, time zone toggle, and resetting unit settings.
Identifies wall-mount hole, battery compartment, table stand, and remote antenna.
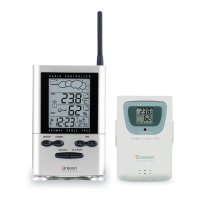
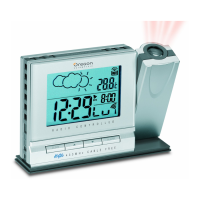
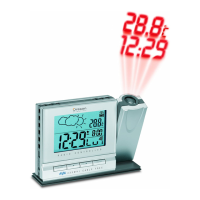
Overview of the digital weather forecaster with remote sensor and radio-controlled clock.
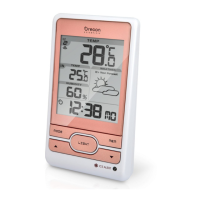
Describes the LCD, weather forecast window, and various indicator icons on the main unit.
Details the functions of buttons like MEMORY, CHANNEL, MODE/SET, and alarm controls.