3
GB
BATTERY INSTALLATION
This unit is operated by 2 pieces of UM-4 or AAA-sized 1.5V
batteries.
Battery Installation:
1. Remove the battery compartment door.
2. Insert two AAA-sized (UM-4) 1.5V batteries as shown.
3. Press [RESET] .
4. Replace the battery compartment door.
'AAA' UM-4 1.5V
'AAA' UM-4 1.5V
'AAA' UM-4 1.5V
'AAA' UM-4 1.5V
Note: Make sure the polarities are correct.
When the power level of the installed batteries is low, the low battery
indicator [
] will light up. In this case, replace with new batteries.
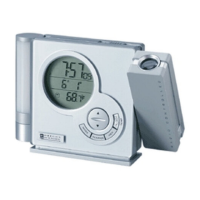
ANTENNA SELECTION
To utilize the radio-controlled clock function, first you must select
an antenna to be applied.
The following antennas are included in the package:
1. EUROPE (DCF-77 signal)
2. JAPAN-WEST/ USA/ UK (JJY-60/ WWVB-60/ MSF-60
signal)
3. JAPAN-EAST (JJY-40 signal)
123
Simply plug in the antenna as shown and the auto-reception of the
radio signal will be activated automatically.
The respective icon for the plugged in antenna will be shown on the
top-right corner of the LCD display accordingly.
 Loading...