10
Battery Models BX975 and BX650
Operation
• Do not use the handle to hang the battery for storage.
• Secure the battery from excessive shifting during transportation.
• On an open trailer, orient the battery socket to the rear of the trailer to avoid damage to the socket
during travel.
During normal use, the internal cells of the battery generate heat in addition to warm or hot
working conditions. This could cause the battery to be above the charging temperature when
plugged in for charging. To start charging sooner, place the battery and charger in a cool location
with air flow around the battery.
Batteries stored in cold locations may need to be warmed to begin charging. For a battery that is
below charging temperature, warm in a heated space but do not place directly in front of a heat
source.
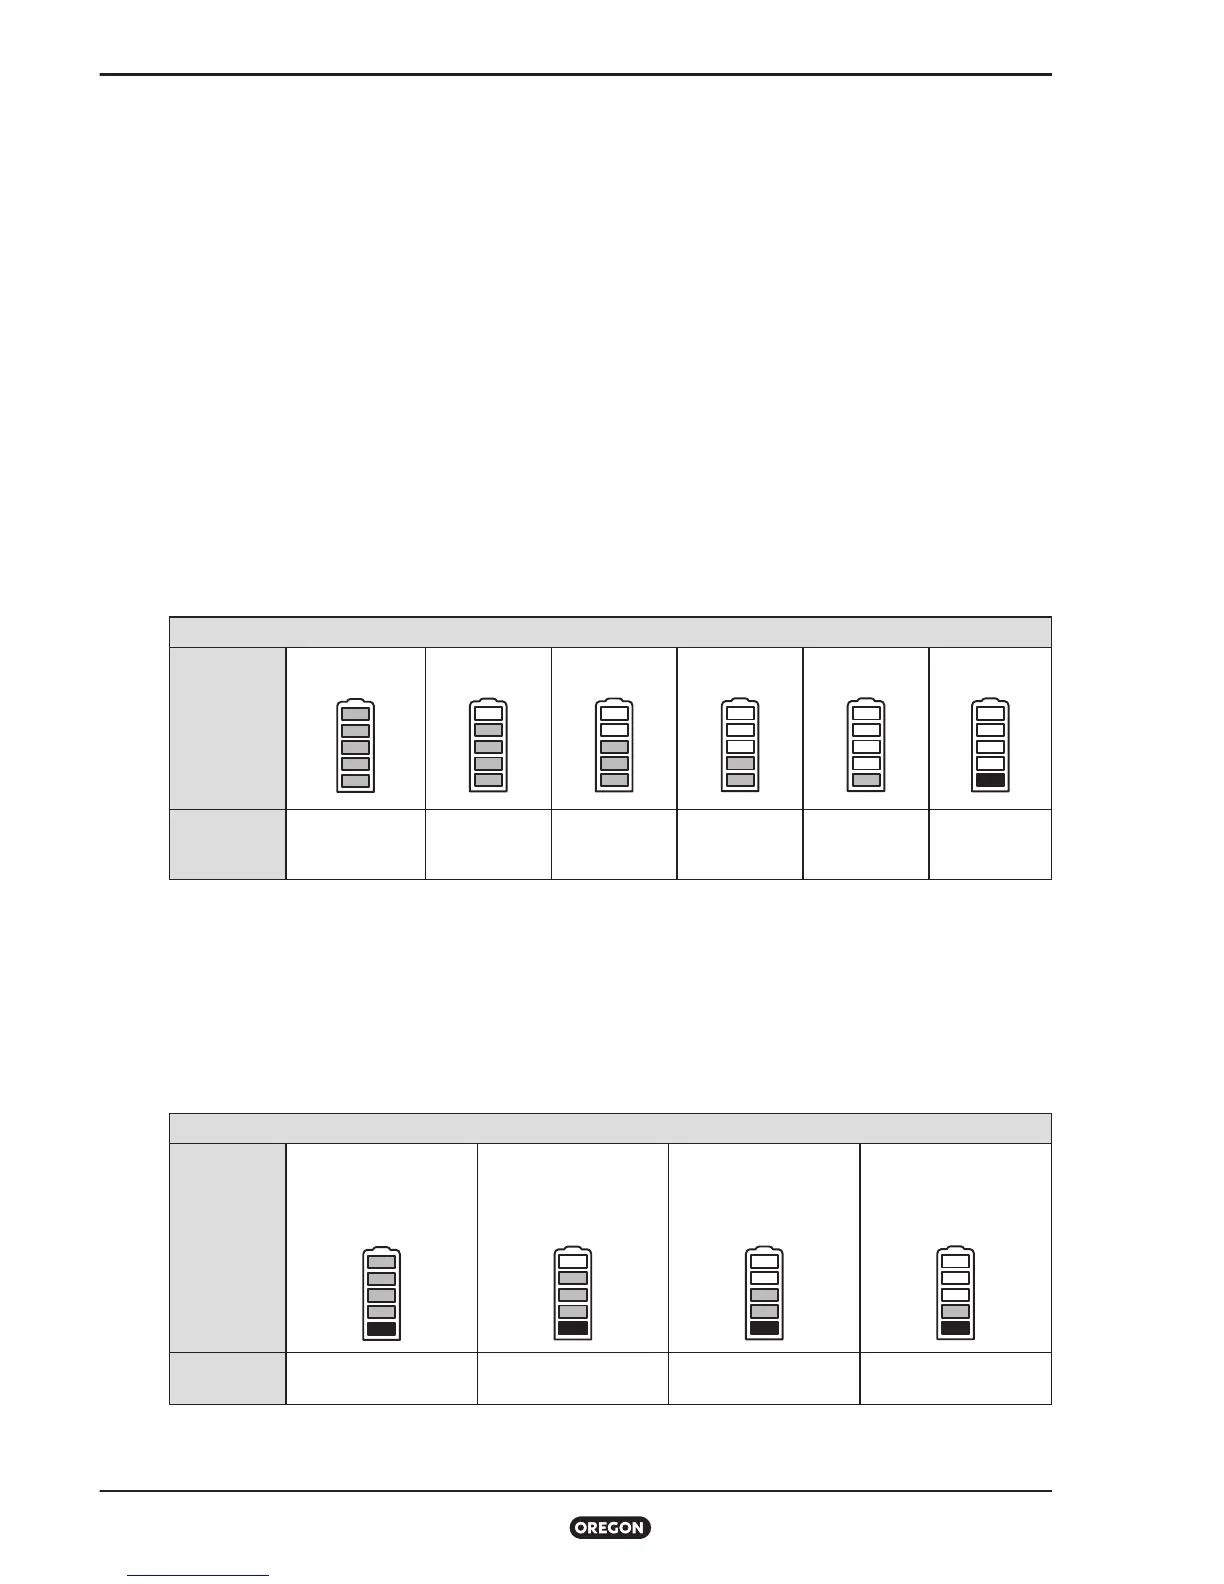
Battery Charge State Indicator
To determine the battery's charge state, press and release the battery indicator button.
Charge state is shown in the table below.
INDICATORS
LEDs
5 green LEDs 4 green LEDs 3 green LEDs 2 green LEDs 1 green LED 1 red LED
MEANING
Full charge
100% to 81%
80% to 61% 60% to 41% 40% to 21% 20% to 10%
Low power
<10%
Battery Duty-Life Indicator
All rechargeable lithium ion batteries lose capacity with each full charge cycle. Over time, you may
notice that your battery does not provide the same amount of run time as it provided when first
purchased. To determine the current capacity of the battery, press and hold the battery indicator
button for seconds.
INDICATORS
LEDs
4 green LEDs
1 red LED
(blinking)
3 green LEDs
1 red LED
(blinking)
2 green LEDs
1 red LED
(blinking)
1 green LED
1 red LED
(blinking)
MEANING 100% to 81% 80% to 61% 60% to 41% 40% to 21%