3. ASSEMBLY AND TRANSPORT INSTRUCTIONS
ASSEMBLY
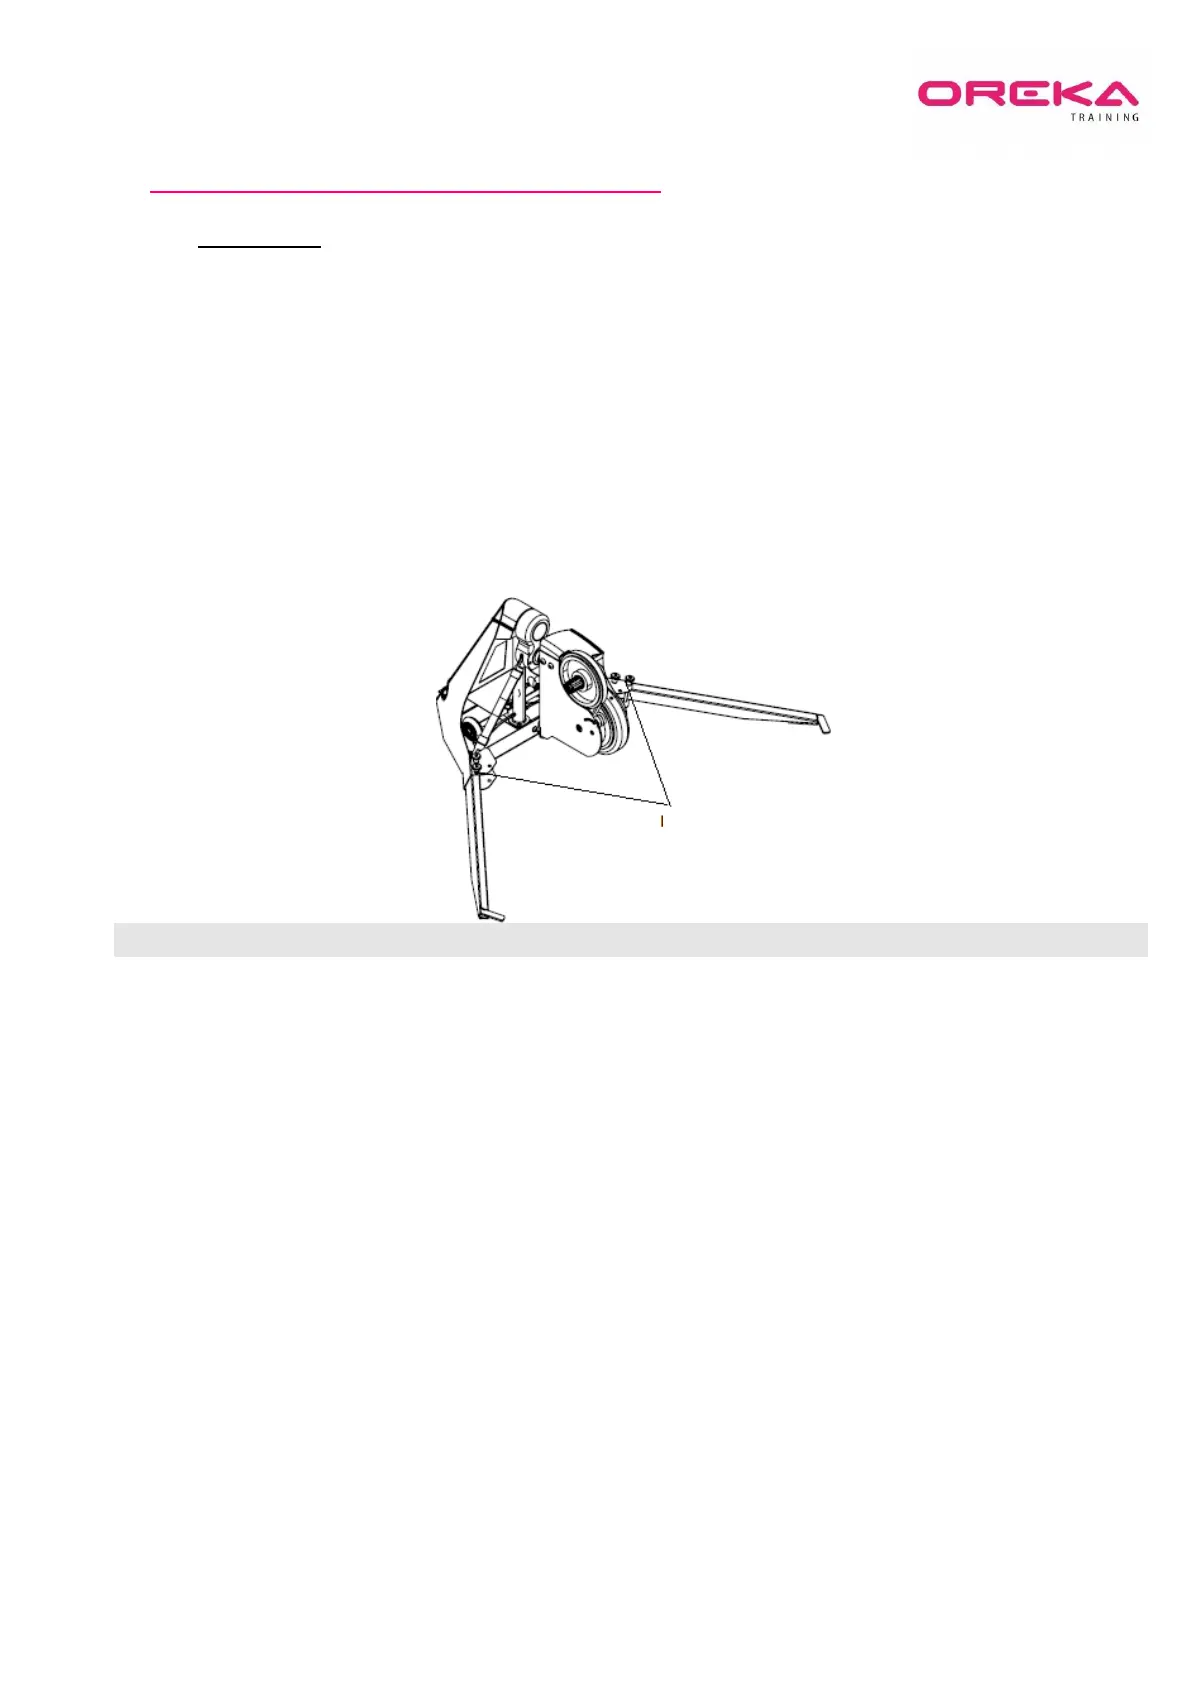
To assemble the Trainer for the first time, unfold the two legs as indicated in the following image, and make
sure the two positioning and support pins of the Trainer are firmly positioned. These legs only have two
possible positions, which are interchangeable using the pins.
POSITION FOR USE
Adjusting the bicycle
-Adjust the bicycle as you would for the road. The same saddle height, handlebar height, distance from saddle to
handlebars and position of pedals.
-For the first session it is recommended to begin pedalling slowly and without a simulator. Also test the functioning
of the Trainer at different speeds and different intensities with the Oreka App, which is available for iOS/Android.
Once you are familiarised with the feeling of the Trainer, turn on the simulator.