5
3. Preparing the Telescope
for Operation
Aligning and Using the Finder Scope
The included 5x24 nder scope provides a wide eld of view at
5x magnication (the “24” in 5x24 is the diameter of the nder’s
front lens in millimeters). This makes it easier to nd your observ-
ing target and center it for viewing in the main telescope.
Before you can use the nder scope, it must be aligned with the
main telescope.
1. First, remove the dust cap (J) from the front of the tele-
scope.
2. Then, with the 20mm eyepiece (H) already in the focuser
from step 9 above, point the telescope at a well-dened
land target (e.g., the top of a telephone pole) that’s at least
a quarter mile away. When pointing the telescope, be sure
to loosen the azimuth lock knob and twist the pan handle
counterclockwise to allow the telescope to rotate freely about
both axes horizontal and vertical axes (see Figure 12).
3. Center the target in the main telescope’s eyepiece. (You
can get even a more precise alignment by switching to the
9mm eyepiece and centering the target object in it.)
4. Now look in the nder scope. Use the three thumbscrews
on the nder scope bracket to center the target object on
the intersection of the crosshairs in the nder’s eld of
view. Start by loosening one thumbscrew a half turn or so,
then lightly tightening one or both of the others and see of
the target object moves closer to the crosshairs, or farther
away. Keep adjusting the thumbscrews accordingly until
the target object is centered.
5. Now make sure the object is still centered in the tele-
scope’s eyepiece. If it isn’t, re-center it then adjust the nd-
er scope’s alignment again. When the object is centered
in the telescope eyepiece and in the nder scope, the
nder scope is properly aligned with the telescope. The
nder scope’s alignment should be checked before every
observing session.
Operating the Tripod and Pan Head
The GoScope III 70mm refractor features a standard, “altaz-
imuth” pan head mount, which permits motion along two per-
pendicular axes: altitude (up/down) and azimuth (left/right). This
makes pointing the telescope easy and intuitive. To move the
telescope in the azimuth direction, loosen the azimuth lock knob
a turn or so (Figure 12), then take hold of the pan handle and
gently move it left or right. To move the telescope in altitude, twist
the pan handle counterclockwise then move the tube up or down
to the desired position. You can then re-tighten the azimuth lock
knob and the pan handle, or you can leave them slightly loose so
that you can freely move the tube in any direction when desired.
The top plate of the pan head can also be tilted 90-degrees
laterally by loosening the tilt lock knob (see Figure 12). While
this feature may not be particularly useful when viewing with the
telescope, it can come in handy if you replaced the telescope
Figure 4.
The assembled tripod with pan head.
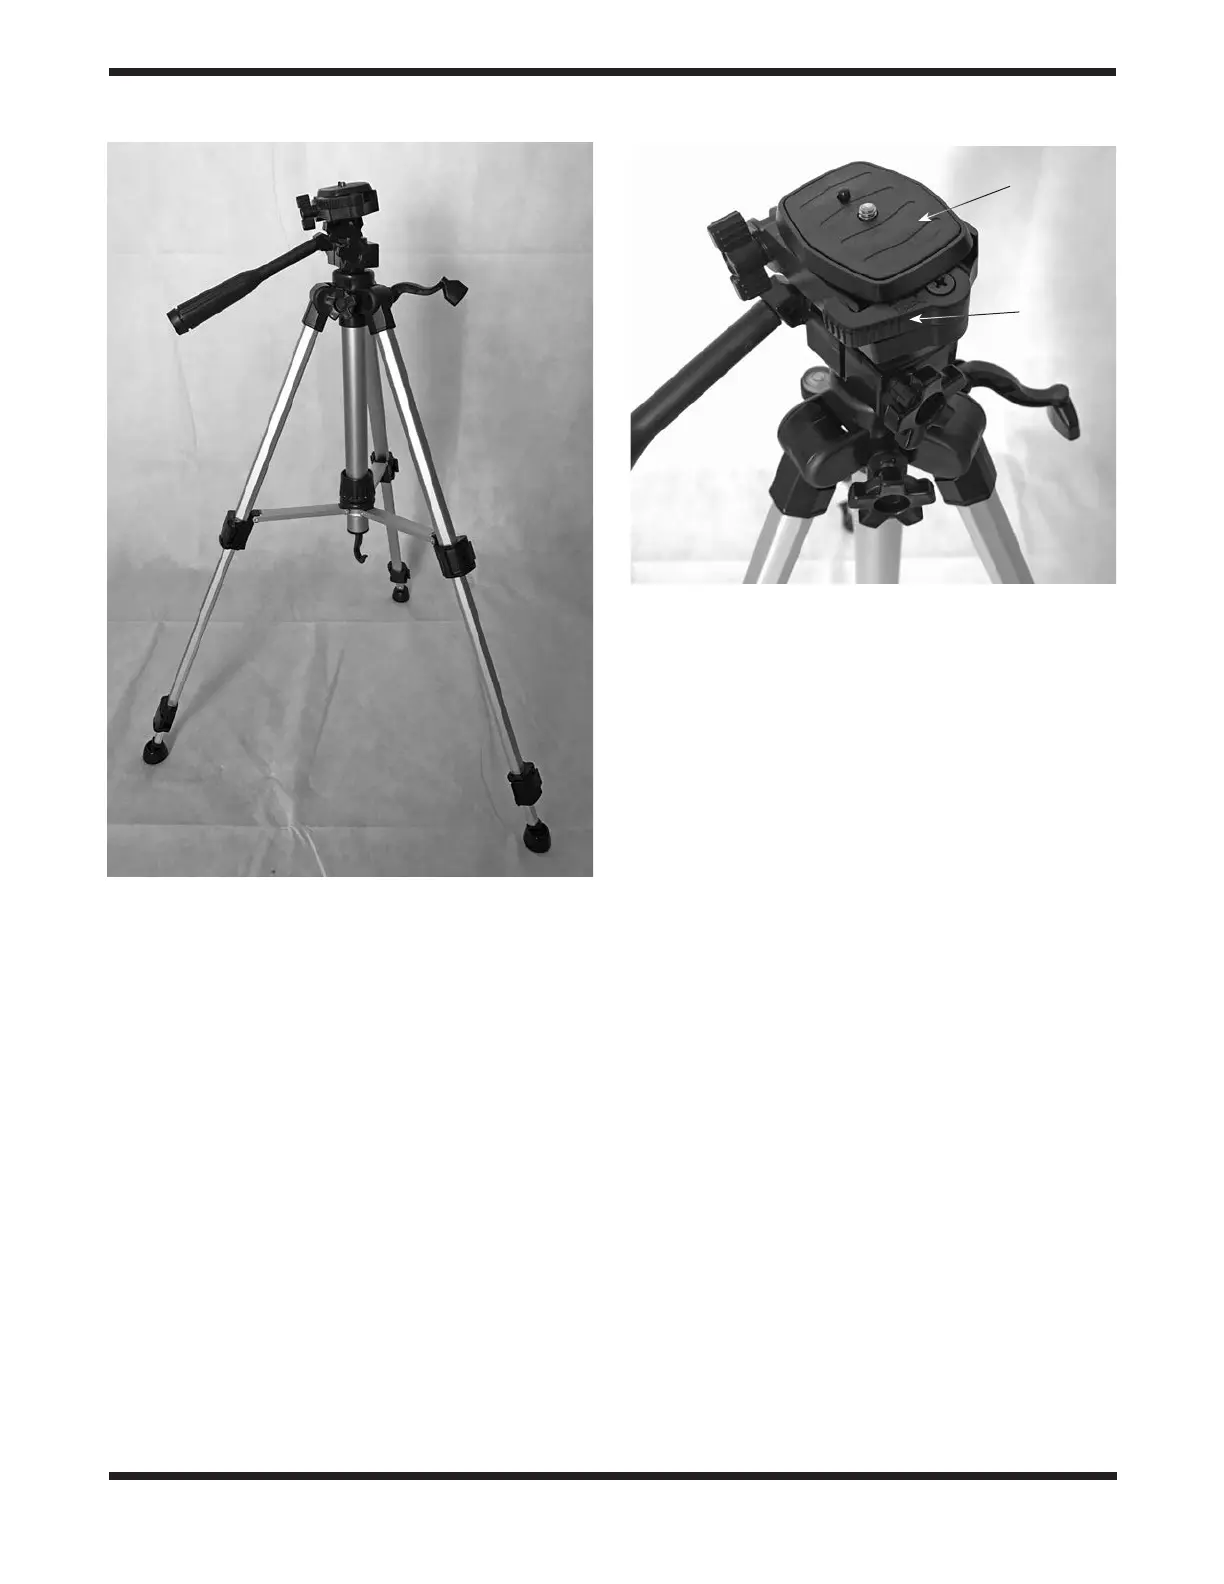
Figure 5. Remove the quick-release plate from the pan head by
rotating the lock lever to the open position.
Wing nut
Quick-release plate
Lock
lever
 Loading...