7
This level of magnication assumes you have ideal atmospheric
conditions for observing (which is seldom the case).
Keep in mind that as you increase magnication, the brightness
of the object viewed will decrease; this is an inherent principle
of the laws of physics and cannot be avoided. If magnication is
doubled, an image appears four times dimmer. If magnication is
tripled, image brightness is reduced by a factor of nine!
So start by using the lower-power 20mm eyepiece, then try
switching to the 10mm eyepiece later if you want to boost the
magnication.
Focusing the Telescope
To focus the telescope, turn the focus wheels (Figure 12) for-
ward or back until you see your target object in the eyepiece.
Then make ner adjustments until the image is sharp. If you’re
having trouble achieving initial focus, rack the focuser draw-
tube all the way in using the focus wheels, then while look-
ing into the eyepiece slowly turn the focus wheels so that the
drawtube extends outward. Keep going until you see your tar-
get object come into focus. Note that when you change eye-
pieces you may have to adjust the focus a bit to get a sharp
image with the newly inserted eyepiece.
What’s That Hook?
You may have noticed a hook at the bottom of the tripod’s center
post (see Figure 3). That’s called a ballast hook, and it allows
you to hang a weight on the tripod to help stabilize it if, say, it’s
windy outside. Carry a plastic bag with you and ll it with what-
ever is at hand, such as rocks or sand. Then hang the bag from
the hook.
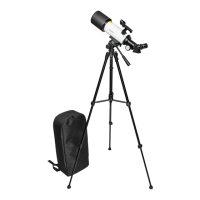
4. Viewing with the GoScope
III 70mm
The Orion GoScope III 70mm is equipped with the optics
to give you a “correct-image” view, similar to what you can
see with binoculars. Because of this, the GoScope III is an
excellent terrestrial telescope for viewing terrestrial scenes
during daylight hours. But it also excels for nighttime viewing,
enabling you to see hundreds of craters on the Moon, the four
major moons of Jupiter, the major cloud bands on Jupiter and
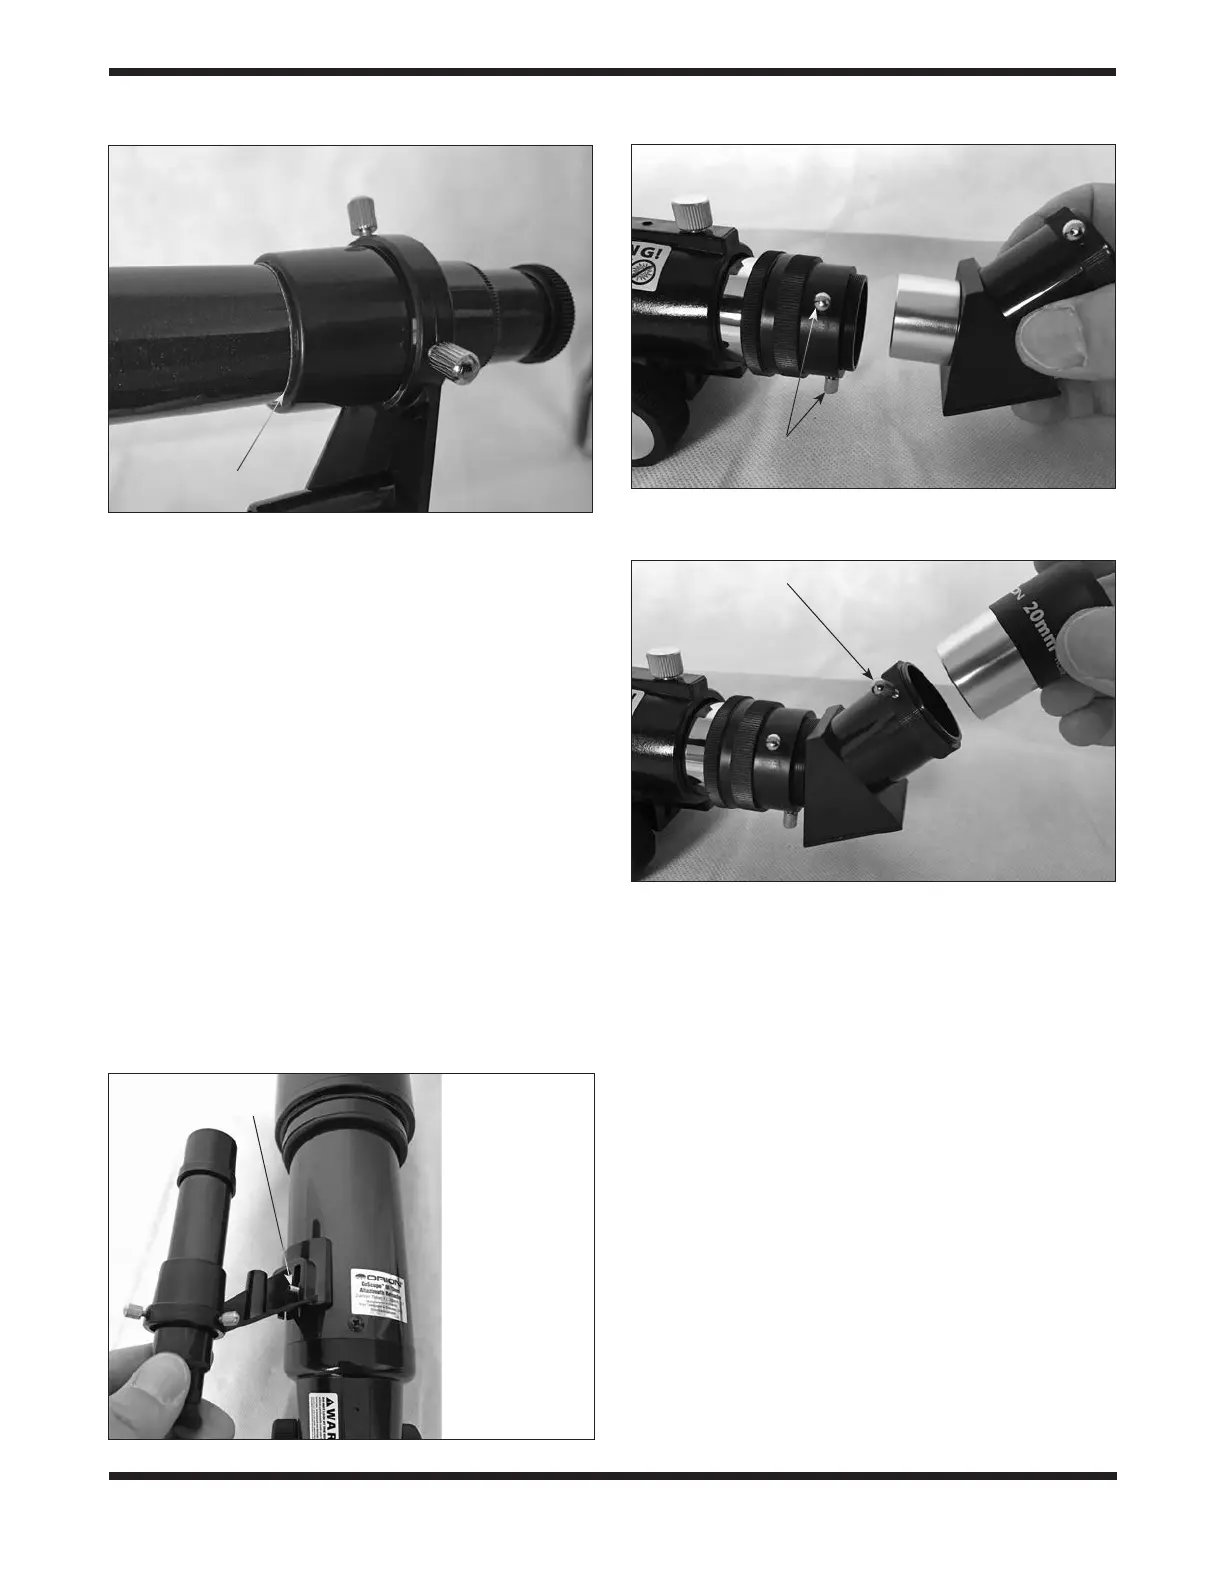
Figure 8. Slide the nder scope tube, eyepiece end rst, into
the bracket, making sure the plastic strip surrounds the tube. The
strip should be just barely visible when the nder scope is fully
inserted, as shown.
Figure 9. To
install the nder
scope bracket,
remove the two
thumb nuts on
the optical tube
to expose the
threaded posts,
then place the
bracket over the
posts. Replace the
two thumbnuts to
secure it.
Edge of plastic strip
Threaded post
Figure 10. Insert the 45-degree correct-image diagonal into the
focuser drawtube and secure it with the two thumbscrews.
Figure 11. Insert the eyepiece into the diagonal and secure it
with the thumbscrew.
Thumbscrews
Thumbscrew
 Loading...