4 5
focus and to keep the image centered on the camera’s film frame. SteadyPix
Deluxe eliminates those problems by locking the camera lens in position rela-
tive to the eyepiece. Such coupling also allows the camera to move in syn-
chrony with the eyepiece if the telescope is motor driven.
To get the best pictures with the SteadyPix Deluxe, we recommend using an
eyepiece with a long (around 20mm) eye relief. The Orion Epic ED series, for
example, has very long eye relief. Long eye relief will allow the camera to see
the whole field of view in the eyepiece. Some eyepieces, especially high-power
designs, may not have enough eye relief to project the entire field of view into
the camera lens, that is, even when the camera lens is right up against the
eyepiece, the views will still be constricted.
4. Using the SteadyPix Deluxe
To set up and use the SteadyPix Deluxe:
1. On the underside of most cameras you will find a threaded hole that
will accept the SteadyPix Deluxe’s Camera attachment post. Attach the
camera by inserting the post into the threaded hole of your camera.
Certain inexpensive cameras may not have this threaded socket and
therefore will not be compatible with the SteadyPix Deluxe.
2. Begin by setting up the camera as far away from the eyepiece clamp as
possible.
Note: some cameras have lenses that expand outward beyond the camera
body when powered on. Take caution that you have allowed sufficient clear-
ance before aligning the camera with the eyepiece.
3. Locate the object you wish to photograph in your telescope. Before
attaching the SteadyPix Deluxe, focus the image in the telescope’s
eyepiece using the telescope’s focuser. Make sure the telescope mount
is locked down once you have centered your target. Also confirm that the
eyepiece is securely locked down in the telescope focuser.
4. Loosen the eyepiece clamp adjustment knob until the clamp is wide
enough to fit around the body of the eyepiece. Then place the clamp over
the eyepiece and tighten the eyepiece clamp adjustment knob until the
SteadyPix Deluxe is secure on the telescope.
5. Loosen the 1/4"-20 camera adjustment post, then slide the camera along
the depth adjustment plate towards the eyepiece. Loosen the shaft knob
just a bit and adjust the depth adjustment plate so that the eyepiece will
line up with the camera lens. Do this by sliding the camera along the
lateral adjustment plate to match the orientation of the camera lens with
the eye lens of the eyepiece. The camera lens and eyepiece will likely
need to get quite close to each other to work properly, but make sure they
do not touch or else damage to the eyepiece or camera lens may occur.
6. Look at the camera’s viewscreen or viewfinder to see if the object is there.
If not, some finer adjustments may need to be made. Try bringing the
camera lens closer to the eyepiece, or adjust the camera support plate by
loosening the shaft knob and moving it left or right and up or down. Keep
making minor adjustments until the image from the eyepiece takes up as
much space in the viewscreen or viewfinder as it possibly can. Be sure to
tighten the 1/4"-20 camera attachment post when you are ready.
7. Focus the camera, and shoot the picture.
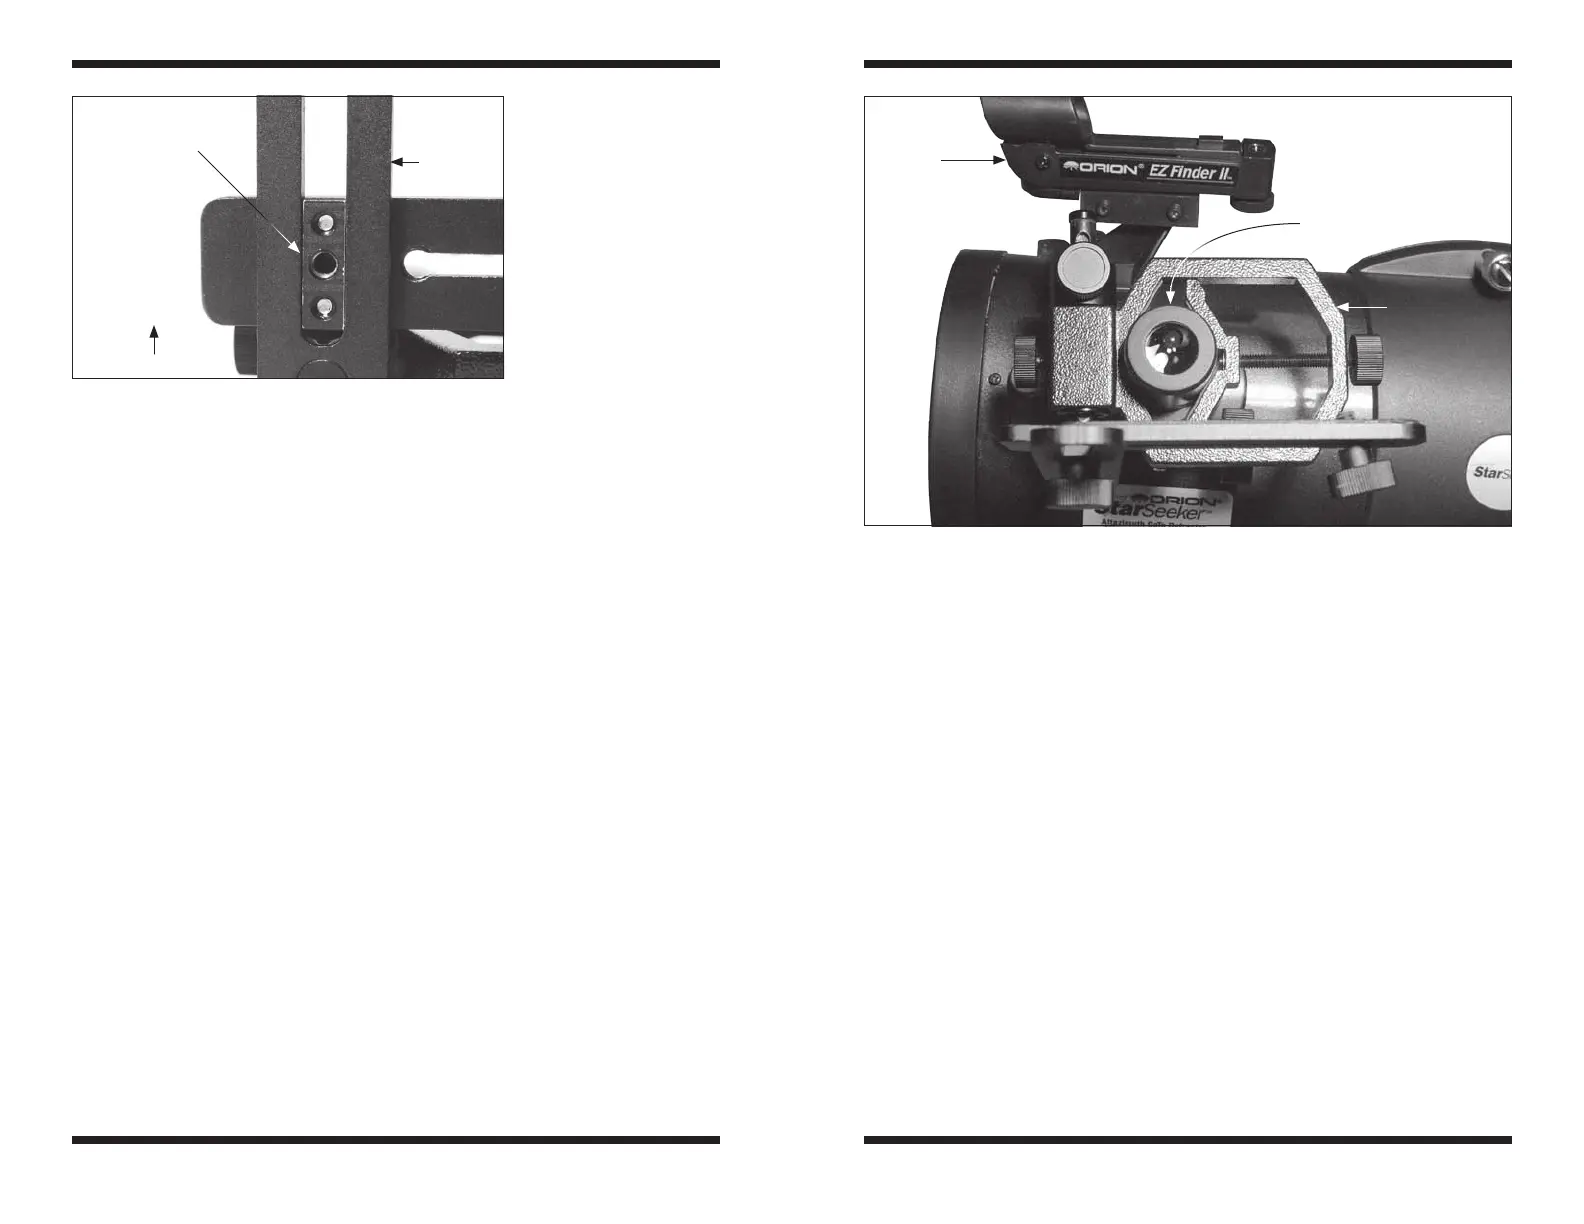
Figure 4. The SteadyPix Deluxe mounted to an eyepiece in a reflector telescope.
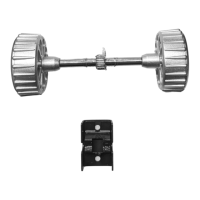
Figure 3. Mount the
Lateral support plate into
the Depth adjustment plate
by placing the mounting
block in the slot.
Lateral support plate
Lateral support plate
mounting block
Depth
adjustment
plate
Eyepiece
Reflex
sight
SteadyPix
Deluxe
 Loading...