8 9
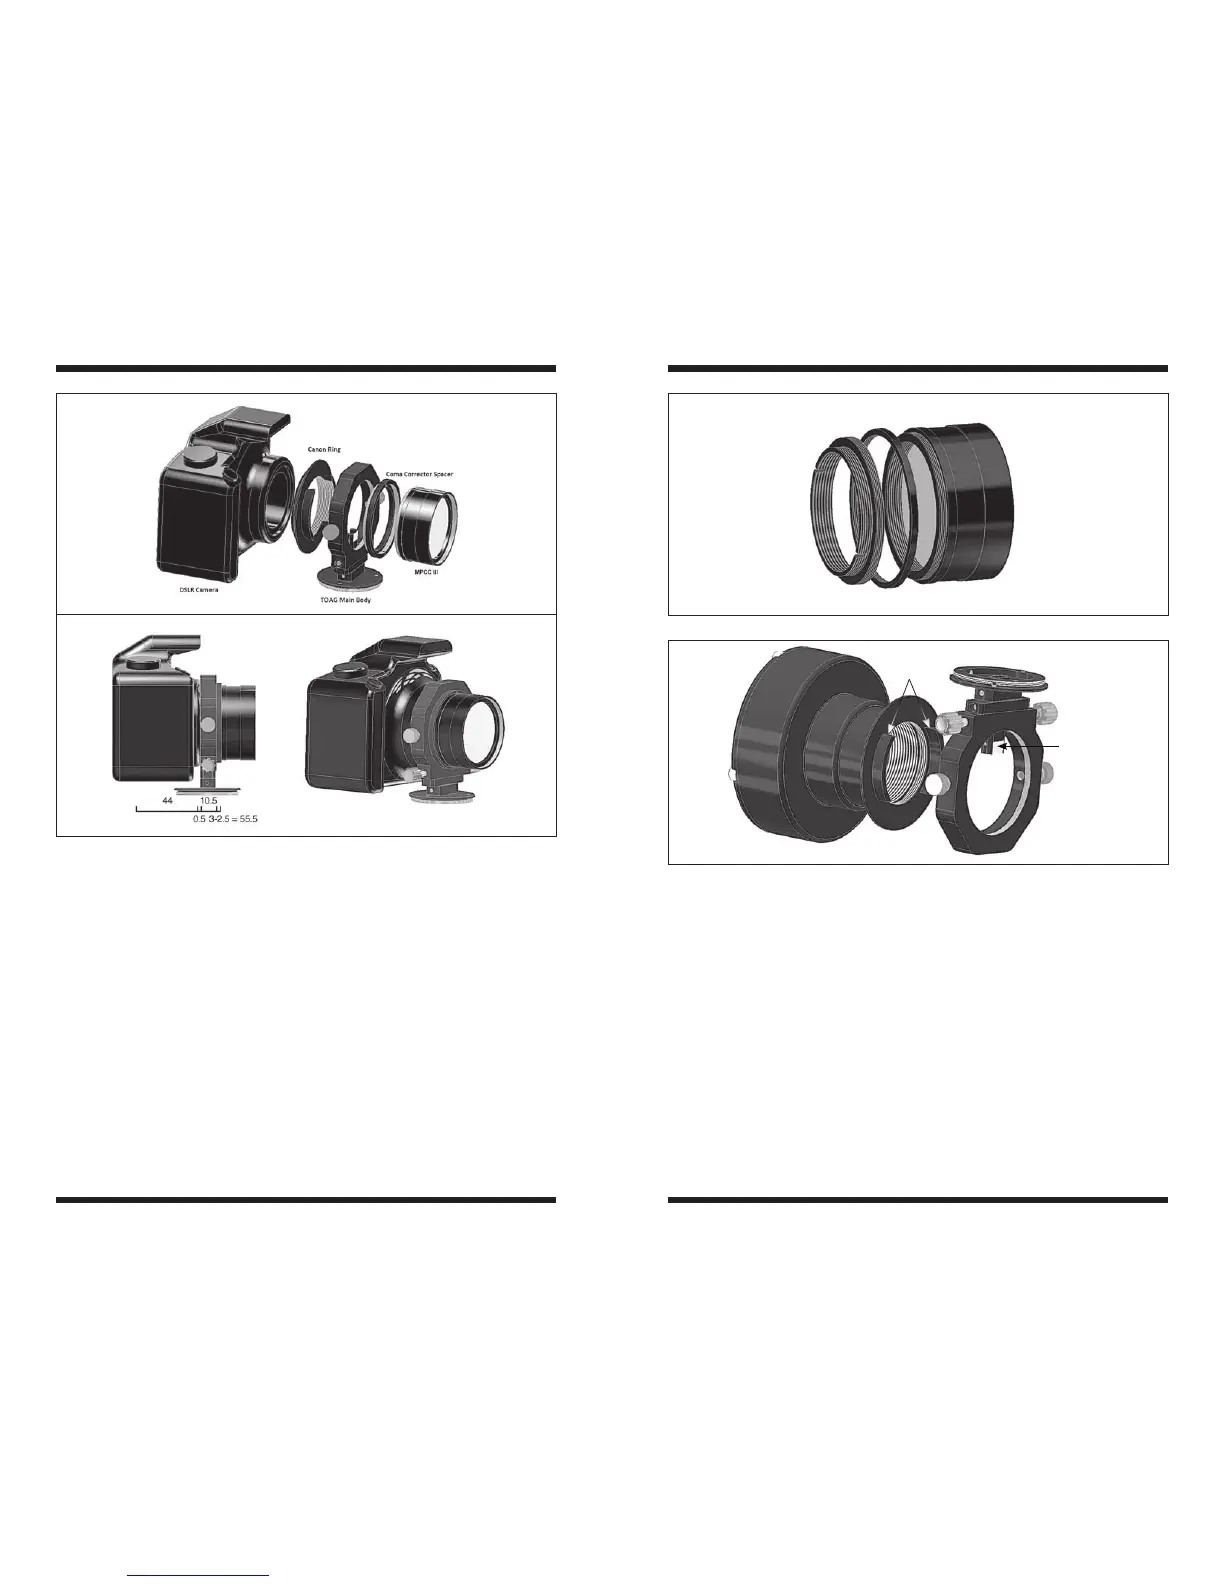
included). This coma corrector is optimized for a working distance of 55mm for
an f-ratio of f/4.5.
Refer to Figures 1 and 6 as you do the following:
a. Start by removing the step-down ring (#5) from the TOAG and replace it
with the Coma Corrector Spacer (#6).
b. Prepare the MPCC III to be installed into the TOAG by removing the
T-ring and M48 flange from the MPCC as shown in Figure 7. The MPCC
now has M48-male threads exposed that can be threaded to the spacer.
c. Thread the MPCC to the TOAG body. The total distance from the
MPCC III to the camera sensor is now about 55.5mm (Figure 6b), within
the MPCC III specification.
d. The TOAG/Camera/Coma Corrector can now be installed in your
telescope’s focuser.
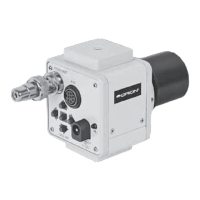
2.1.3. CCD Imaging Camera and Autoguider
(Using the StarShoot G3 and StarShoot AutoGuider as an example)
Dedicated CCD imaging cameras usually have fairly short back-focus require-
ments. This allows more flexibility when setting up the imaging train. Filter
wheels and other dedicated accessories are normally difficult to use with the
limited back-focus of Newtonian reflectors and normal off-axis guiders; an Orion
TOAG is thin enough to allow their use.
To adapt a CCD imaging camera to the TOAG:
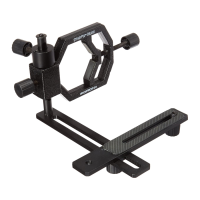
a. The supplied Camera T-thread Adapter (#4) with its male T-threads
should be installed on the main camera (Figure 8).
b. The Camera T-thread Adapter lips should be parallel to the prism tube.
This allows the prism to freely move side-to-side if required. Place the
camera with the installed ring into the TOAG and tighten the two (lower)
lateral thumbscrews. It is important to keep the system as solid as
possible.
Figure 7. Removing the MPCC III T-threads adapter to expose the M48 threads.
Figure 6. a) DSLR Camera with TOAG and MPCC spacer, b) Coma-corrector at the
required distance to the camera sensor.
Figure 8. The camera adapter “lips” are shown parallel to the pick-off prism tube.
“Lips”
Prism
b.
a.