41
-
1. The compactor must be placed on a at and lev-
elled surface. Disconnect the light cable, hydraulic
brake hose and the drag bar.
2. The tractor must be parked on the compactors le
side, in a 90° angle to the compactors longitudinal
axe. Also aligned with the input sha on the hy-
draulic gear box.
3. Connect the hydraulic hoses to a single operang
outlet on tractor.
4. Level the compactor, see chapter 4.3.3
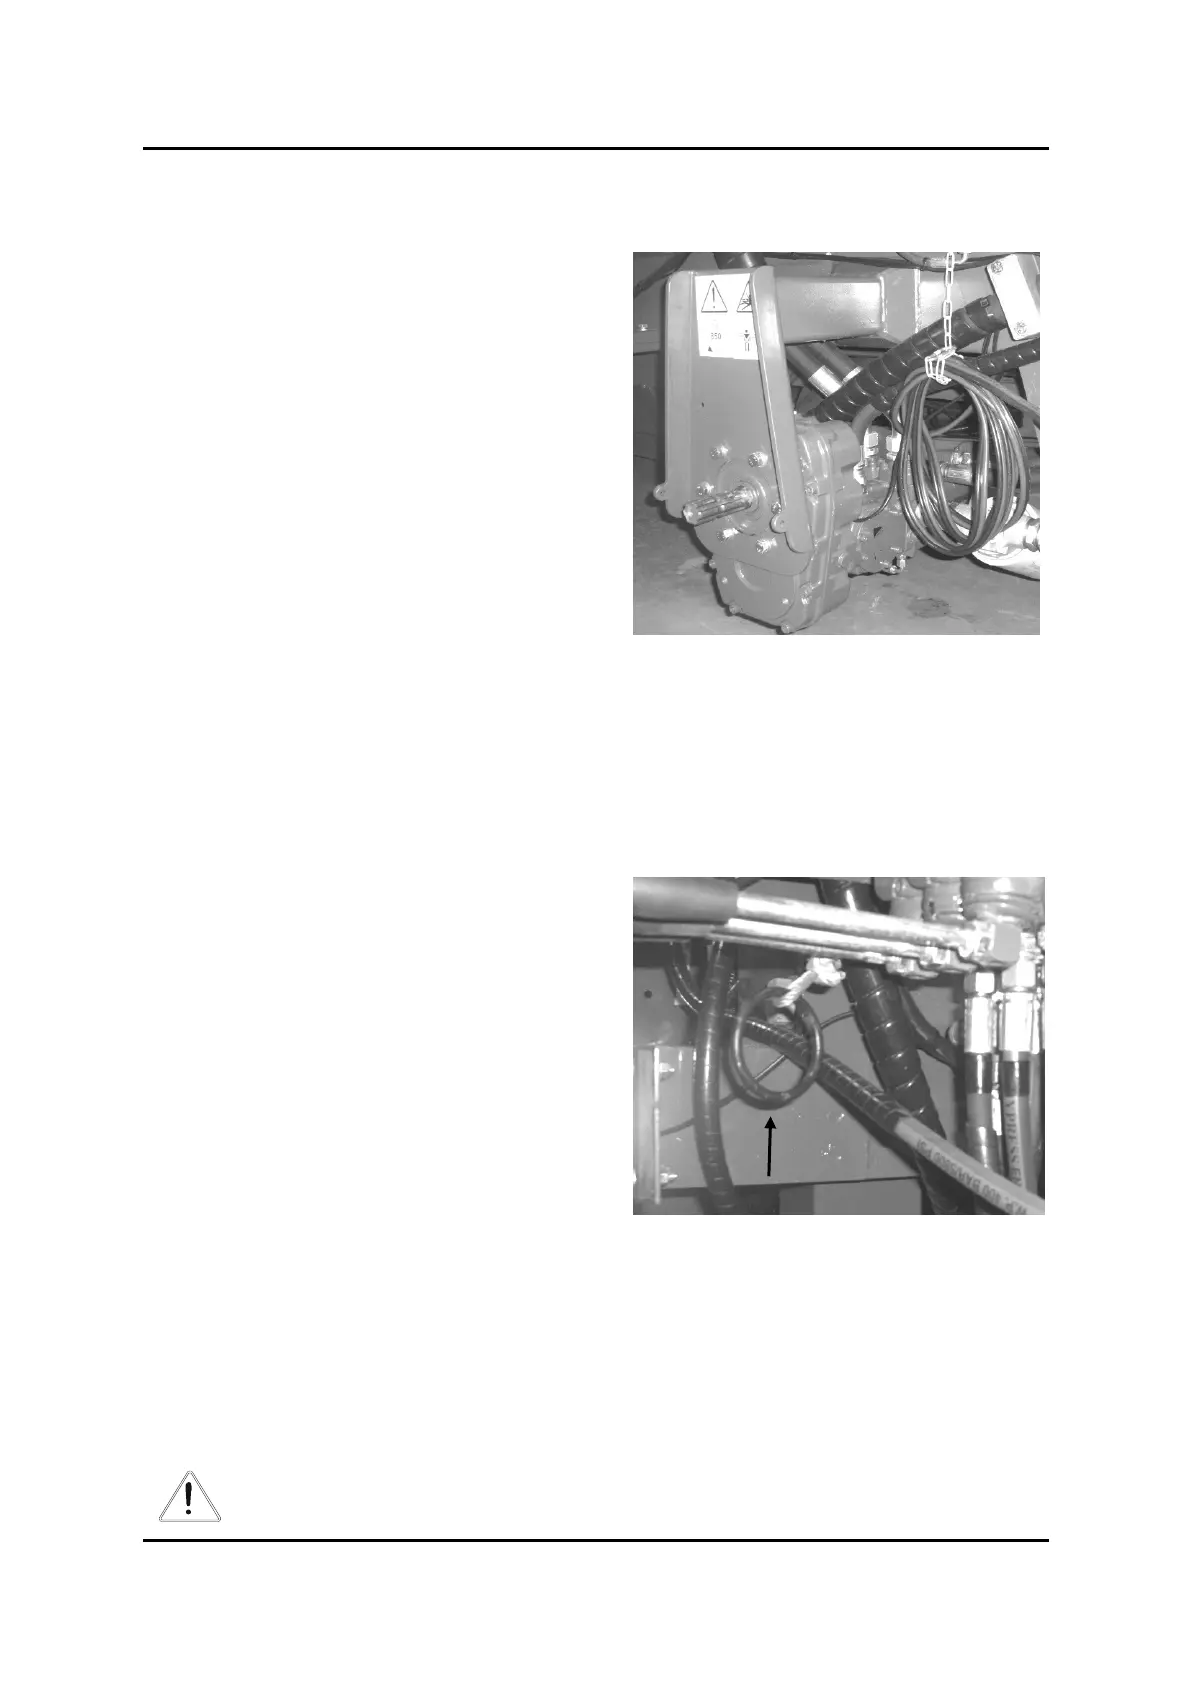
5. Pull the ring unl the safety pin is released. Hold
the ring while maneuvering the drag bar, oper-
ang hydraulic handle nr 3. Aer approx. 10cm of
movement on the drag bar, release the ring. Then
keep on moving the drag bar all the way in.
6. Open the safety valves on feeder table liing cylinders. Lower the feeder table to ideal working
height. Operate lever nr.6. to lower the table. See chapter 4.8
7. Mount the side plates and covers on the feeder table.
8. The four main hydraulic valves must be in open posion. See chapter 4.8
9. Connect the PTO axle according to supplier guidance. The PTO guard must be in order and secured on
both sides with chains. Read operators manual,
that was supplied with the axle.
10. Connect the power supply cable to the tractors
baery. Se chapter 4.4.3
11. Acvate the tractors PTO and hydraulics. Run trac-
tor on idle to allow a RPM on the PTO axle approx-
imately on 300 RPM. Keep running unl tempera-
ture on the hydraulic oil has reached operaonal
temperature. Confer procedure i chapter 4.4.5.
The rise the PTO speed to 850 RPM
12. Set the wrapper table in horizontal posion, using
the control box. Lay down the bale unloader (fork)
-
-
-
-
Hydraulic pump, gear box input-sha
Transport safety pin - release ring
3
 Loading...