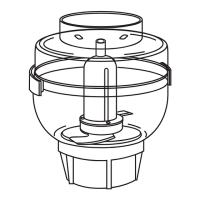
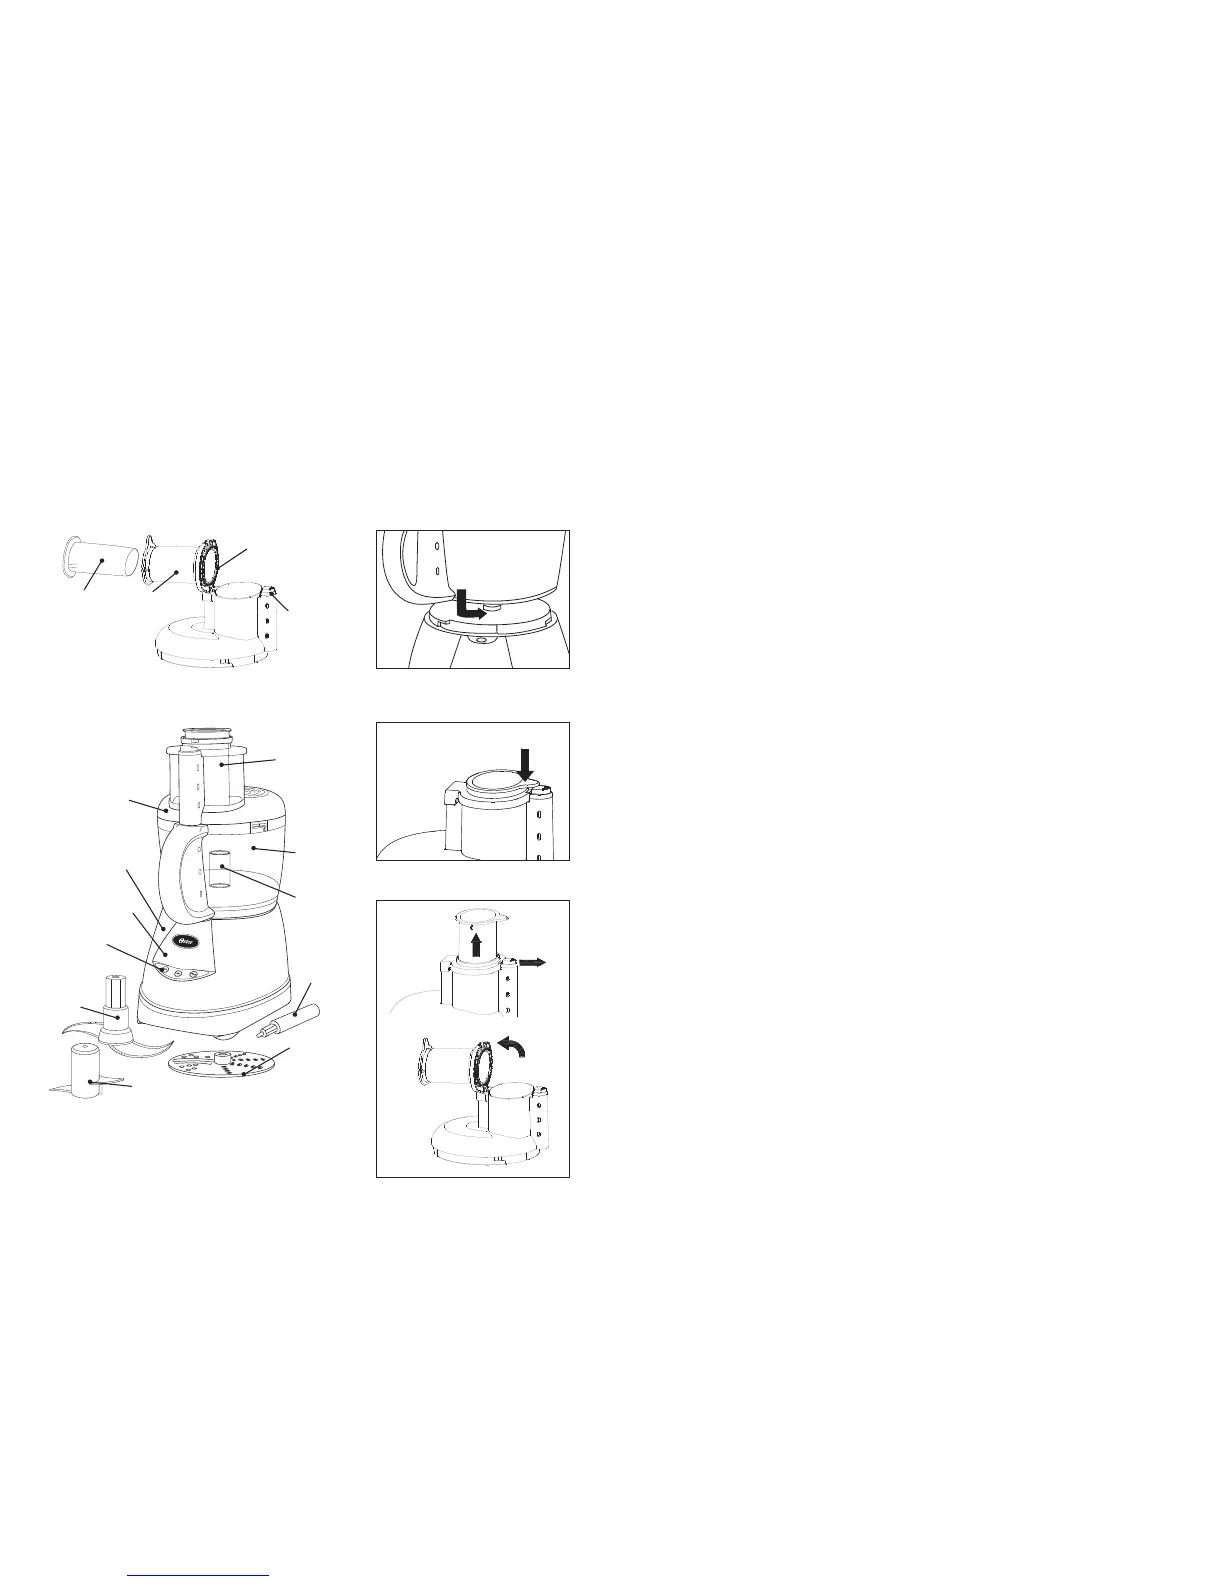
FIG.2
FIG.3
1
2
3
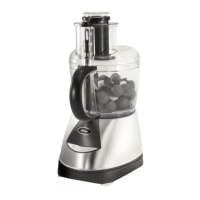
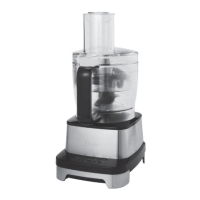
Opening Food Chute Lid
Locking Food Chute Lid
Locking Bowl to Base
FOOD
PUSHER
MOVABLE
LOOP
FOOD
CHUTE LID
SLIDE
BUTTON
BEFORE USING YOUR OSTER
®
FOOD PROCESSOR
Before using your OSTER
®
Food Processor for the first time, clean the bowl, cover,
food pusher, disk blade, chopping blade and dough blade. For more cleaning details see
“C
LEANING, STORING AND CARING FOR YOUR OSTER
®
FOOD PROCESSOR” section.
THE BLADES ARE EXTREMELY SHARP. USE CAUTION
HANDLING BLADES.
ASSEMBLING YOUR OSTER
®
FOOD PROCESSOR
Before you begin, PLEASE BE SURE THAT THE ELECTRIC CORD IS
UNPLUGGED.
1. Set food processor on a dry, level surface with the control buttons on the
motor housing to the front.
2. Place the bowl without the cover, with the handle left of switch panel over
the drive shaft on the motor base. Rotate the bowl until it drops down evenly
on the base. Hold handle and turn the bowl counterclockwise until it locks
firmly into position. The bowl handle will be positioned above the control
buttons. See Fig.1
NOTE: Each time you re-assemble your food processor, be sure to attach
the bowl first and lock it into position. The unit will not operate if the bowl
does not lock onto base. Then, attach the cover making sure it is locked.
3. Place the chopping blade, dough blade or slicing/shredding disk over the drive
shaft, rotating it slightly until it drops into place. Chopping and dough blades
only fit on blade shaft one way. The slicing/shredding blade is convertible.
One side is for slicing and the other side is for shredding. Insert blade onto the
blade shaft with the blade of your choice facing up. (See Fig.2) THE BLADES
ARE EXTREMELY SHARP. USE CAUTION HANDLING BLADES.
USING YOUR OSTER
®
FOOD PROCESSOR
Follow the directions above to assemble your Oster
®
Food Processor.
Using the Chopping Blade and Dough blade attachments:
1. With cover off of the bowl add ingredients.
2. Attach the cover onto the bowl so that the food chute is on the left side of
the bowl. Turn counterclockwise until the cover locks into place. The food
chute will be directly above and in line with the handle.
Note: Unit will not operate if the cover is not locked onto bowl.
3. Make sure the food chute opening is locked, by pressing down on the tab of
the movable loop on to the food chute. See Fig.2