13
13
basket
10. Place the basket into machine at an angle
with the pointed end on the right side.
11. Close glass door and plug unit in.
12.
Turn on timer to desired cooking time and observe
the basket rotate one or more times to be sure
that food is secure and basket is rotating correctly
and that nothing is hitting the door, heating
element or heat shield.
13. After timer has stopped and bell has rung, unplug
electric cord and allow the basket and food
several minutes to cool down before removing.
14. Remove the door by undoing the safety latch
and lift up and out on the right side. Always
assume that both the Rotisserie and food
are hot after cooking.
15. Position a plate or platter beneath the basket with
one hand and secure the basket with the other
hand. Lift up on the left side of the basket and
pull the pointed end out of the hole on the right
side, then carefully remove platter with basket.
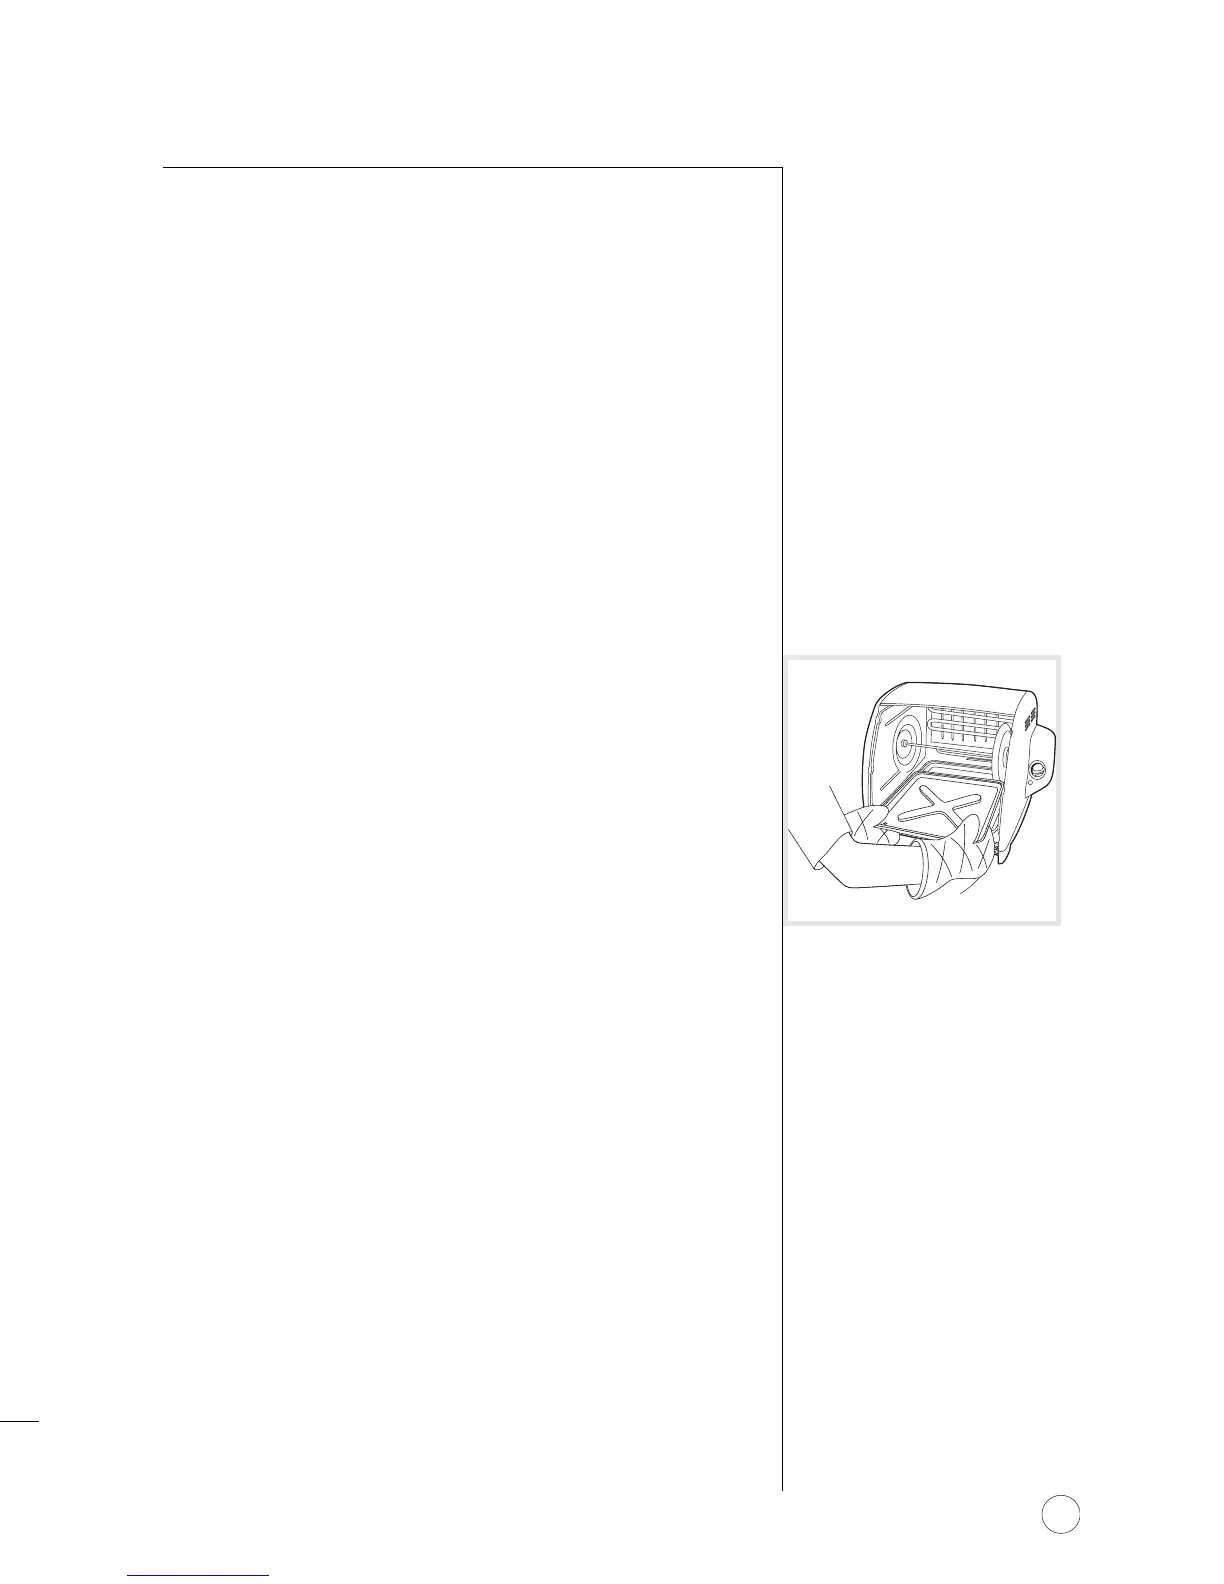
16. Once the unit has cooled down and while using
protective gloves or oven mitts, remove drip tray
from unit. (Be very careful: contents of drip tray
are extremely hot.) (Figure 9)
17. Place platter on clean counter, while using heat
resistant gloves. Remove fastening pins at the side
of basket. (Be very careful: food and basket may
be extremely hot.) If necessary, use fork or tongs
to assist in removing basket lid as it may be hot.
18. Use a fork or tongs to remove food from basket.
19. Enjoy !
10.Coloque la canasta dentro de la máquina en un
ángulo con el extremo con punta en el lado
derecho.
11.Cierre la puerta de vidrio y conecte la unidad a la
toma de corriente.
12.
Encienda el reloj y seleccione el tiempo de cocción
deseado. Observe cómo gira la canasta una o más
veces para revisar que los alimentos están
correctamente colocados dentro ésta y que gira
libremente sin rozar la puerta, el elemento
calefactor o el escudo de calor.
13.Después de que el reloj se ha detenido y que
escuche la señal de la campana, desconecte el
cordón eléctrico y permita que la canasta y los
alimentos se enfríen durante unos minutos antes
de sacarlos.
14.Quite la puerta desabrochando la aldabilla de
seguridad, levantando la puerta hacia arriba y
afuera en el lado derecho. Siempre asuma que
tanto el Asador como la comida están calientes
después de cocinar.
15.Levante el lado izquierdo de la canasta y jale
el extremo con punta fuera del orificio en el lado
de la derecha, después remueva cuidadosamente
el platón con la canasta, sosteniendo la canasta
con una mano.
16.
Después de que la unidad se enfríe, mientras utiliza
guantes resistentes al calor,
quite la bandeja
del goteo
.
(Tenga cuidado: los contenidos de la bandeja de
goteo estan extremadamente calientes.)
(Figura 9)
17.Póngase los guantes protectores y coloque el
platón sobre una superficie limpia. Remueva los
seguros en la parte lateral de la canasta. (Tenga
cuidado: los alimentos y la canasta pueden estar
extremadamente calientes.) Si es necesario,
utilice un tenedor o pinzas para remover la tapa
de la canasta, ya que puede estar muy caliente.
18.Utilice un trinche o pinzas para quitar
los alimentos de la canasta.
19.¡Disfrutelos!
FIGURE 9
canasta
FIGURA
9