• TheLEDwillstayonaslongastheunitisattachedtothepowercordandthe
cord is plugged in to the wall.
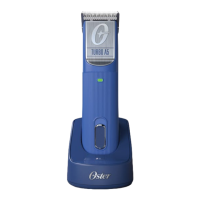
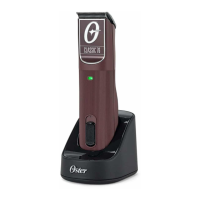
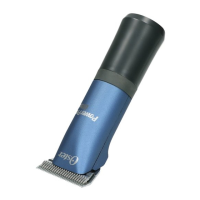
ABOUT THE LiION BATTERY
NOTE: To ensure that the new battery reaches its full potential, the battery should
be completely drained after the first use. This operation will only have to be
performed once.
Itwilltakenomorethan120minutesforthebatterytobefullychargedwhen
fully discharged.
The full potential of the battery will be reached after approximately 5 to 10 times
the clipper is plugged into charger or power supply cord, even if not fully drained.
Additionally, to ensure the longevity of this powerful battery the clipper must be
operated with properly cleaned, sharpened and oiled blades at all times.
When the battery is fully charged, the clipper can be used for up to 2 hours
without being connected to the power supply. This capacity is attained after
approx. 1 - 5 charging cycles.
Thesebatteriesarenotreplaceable.ForinstructionsondisposaloftheLiION
batterypleaserefertothe“BATTERYDISPOSAL”sectionatendofthismanual.
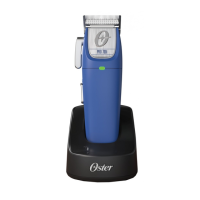
OPERATING THE UNIT
The clipper is designed to operate in either cordless or corded mode. The
preferred method is cordless as it ensures a longer life for the battery.
Always apply one to two drops of the provided blade lubricant or other Oster
™
approved lubricant to the blades before use.
Blades should be properly cleaned after each use.
Cutting efficiency may drop and the blades and motor may be damaged if hair
is dirty or hair styling agents have been applied. Always ensure that hair is
clean before using the clipper.
WARNING
Never leave unit unattended while the unit is running or while the switch is in the
ON position. Always turn the unit OFF before placing in charging stand or before
using the accessory cord.
CORDLESS OPERATION
• Removetheclipperfromthechargingstand.(Seesectiontitled“CHARGING
THEUNIT”beforeinitialuse.)TheLEDshouldturnoff.
• Turntheclipperonusingthe“On-Off“switchlocatedonthetopoftheunit
and use the clipper.
• Turntheclipperoffwhennishedusing.
5
• Coverthebladeswiththeprovidedbladeguardtoprotecttheblades.
• Iftheclipperdoesnotturnon,thenthebatterymaybefullydepleted
and may have to be partially charged prior to re-use. Follow the charging
procedure and let the battery charge for approximately 120 minutes.
CORDED OPERATION
The clipper has been designed to use the auxiliary power cord if the battery is
lowandtheunitwillnotturnonasaresult.Ifthebatteryislowandtheunithas
stopped working or you notice that the power has decreased, then you may still
operate the unit by plugging in one end of the power cord into the unit and the
other end into an approved wall outlet.
• TurntheunitOFFbymovingtheswitchtotheOFFposition.
• Plugthepowercordintoanoutletwiththeratedvoltageforyourunit.
• Plugtheotherendintotheclipper.Notethatthecordwillonlytintothe
clipper with the proper orientation.
• EnsurethattheswitchontheunitisintheOff(O) position.
• TurntheclipperONusingtheOn-Offswitchandusetheclipper.
• Turntheunitoffwhennishedusing.
• Coverthebladeswiththeprovidedbladeguardtoprotecttheblades.
• Insertclipperintochargingstandorplugintothepowercord.(Seesection
titled“CHARGINGTHEUNIT”.)
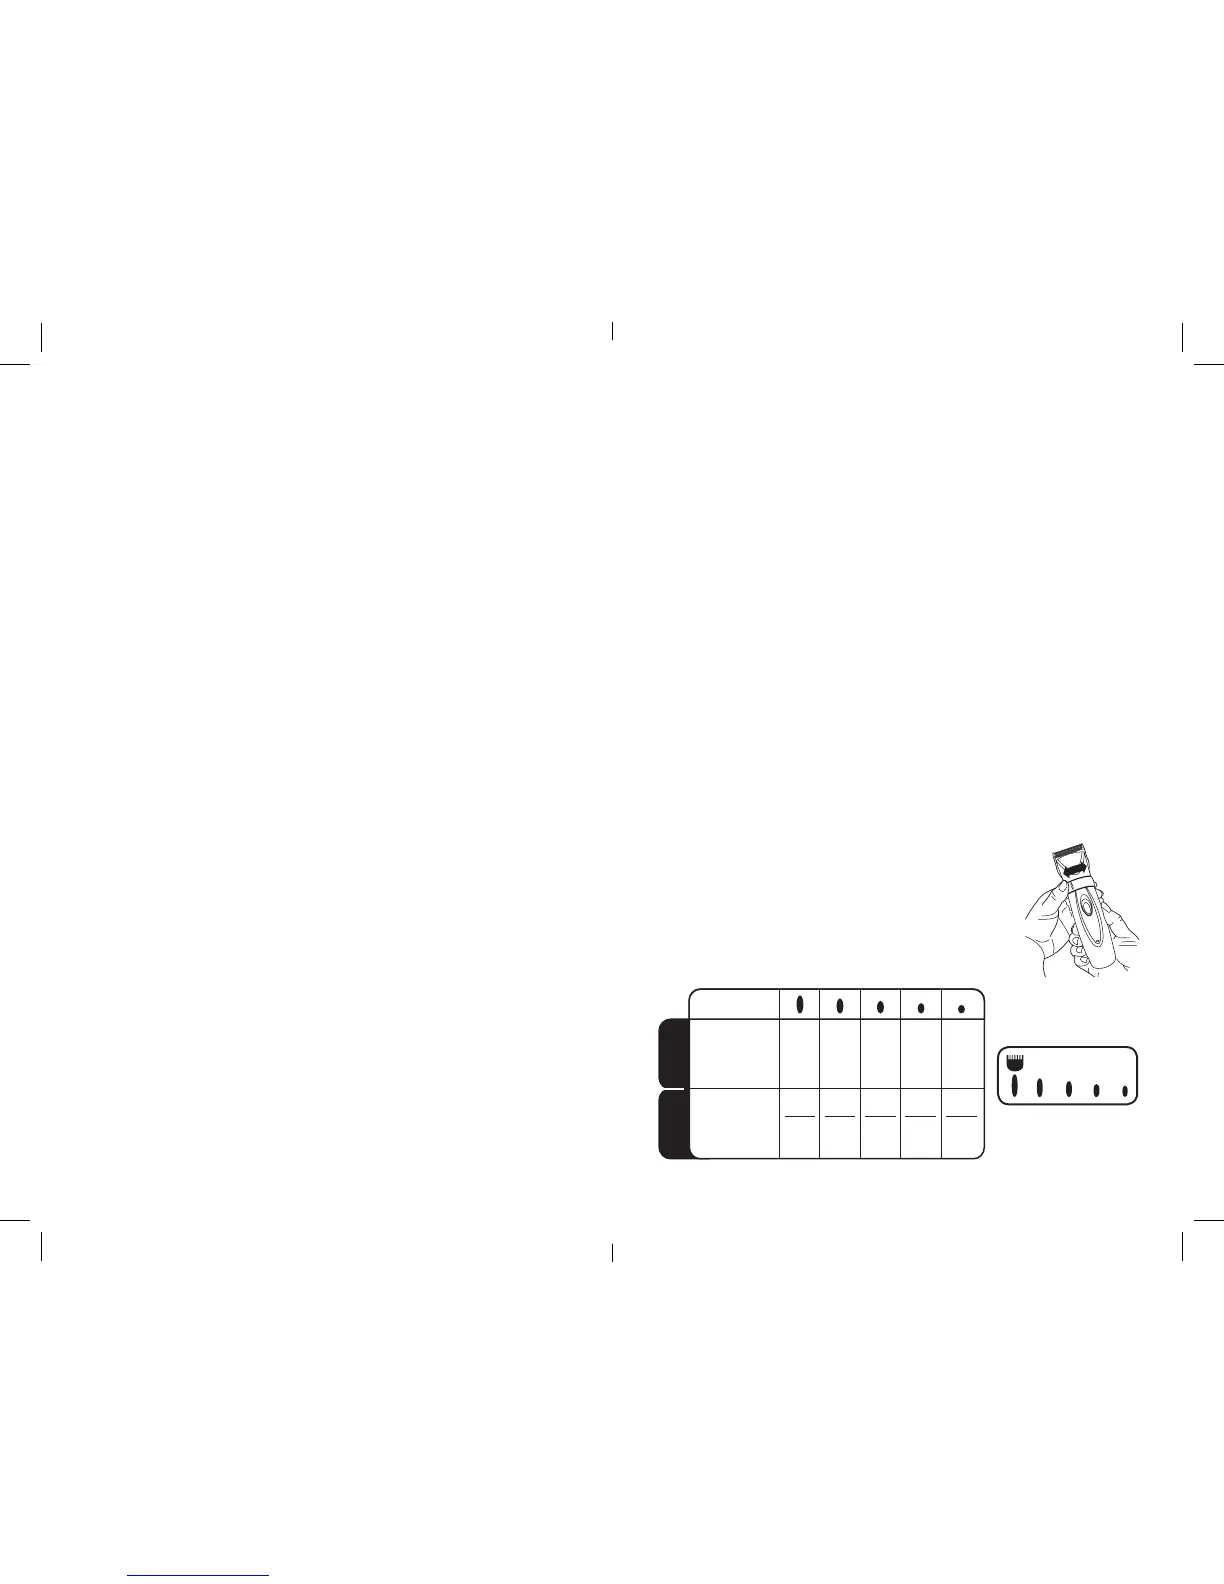
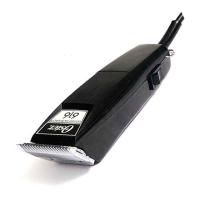
BLADE ADJUSTMENT
This unit is equipped with a rotary blade adjustment
mechanism. Please refer to the blade size chart for hair
length for each setting.
• Turnthebladeadjustmentringrighttolefttoincrease
the length of hair left on the scalp.
• Turnthebladeadjustmentringlefttorighttodecrease
the length of hair left on the scalp.
6
2.6
(2,6mm)
9
5/64”
(2mm)
2.4
(2,4mm)
10
1/16”
(1,5mm)
2.0
(2,0mm)
15
3/64”
(1,2mm)
1.2
(1,2mm)
30
1/50”
(0,5mm)
0.5
(0,5mm)
40
1/100”
(0,25mm)
SETTING
BEAUTY
ANIMAL
Blade
Sizes
Blade
Sizes
#1
#1