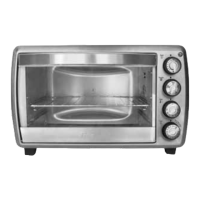
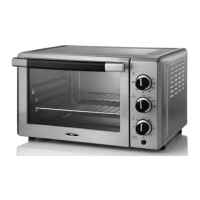
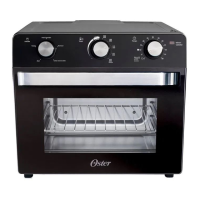
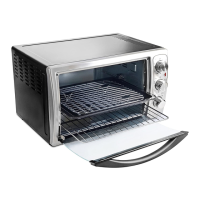
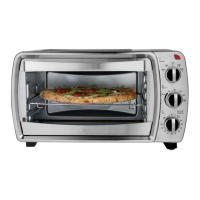
Figura 1 Figura 2 Figura 3
Español-20
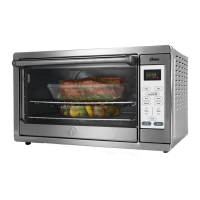
INFORMACIÓN SOBRE SU HORNO PARA MOSTRADOR
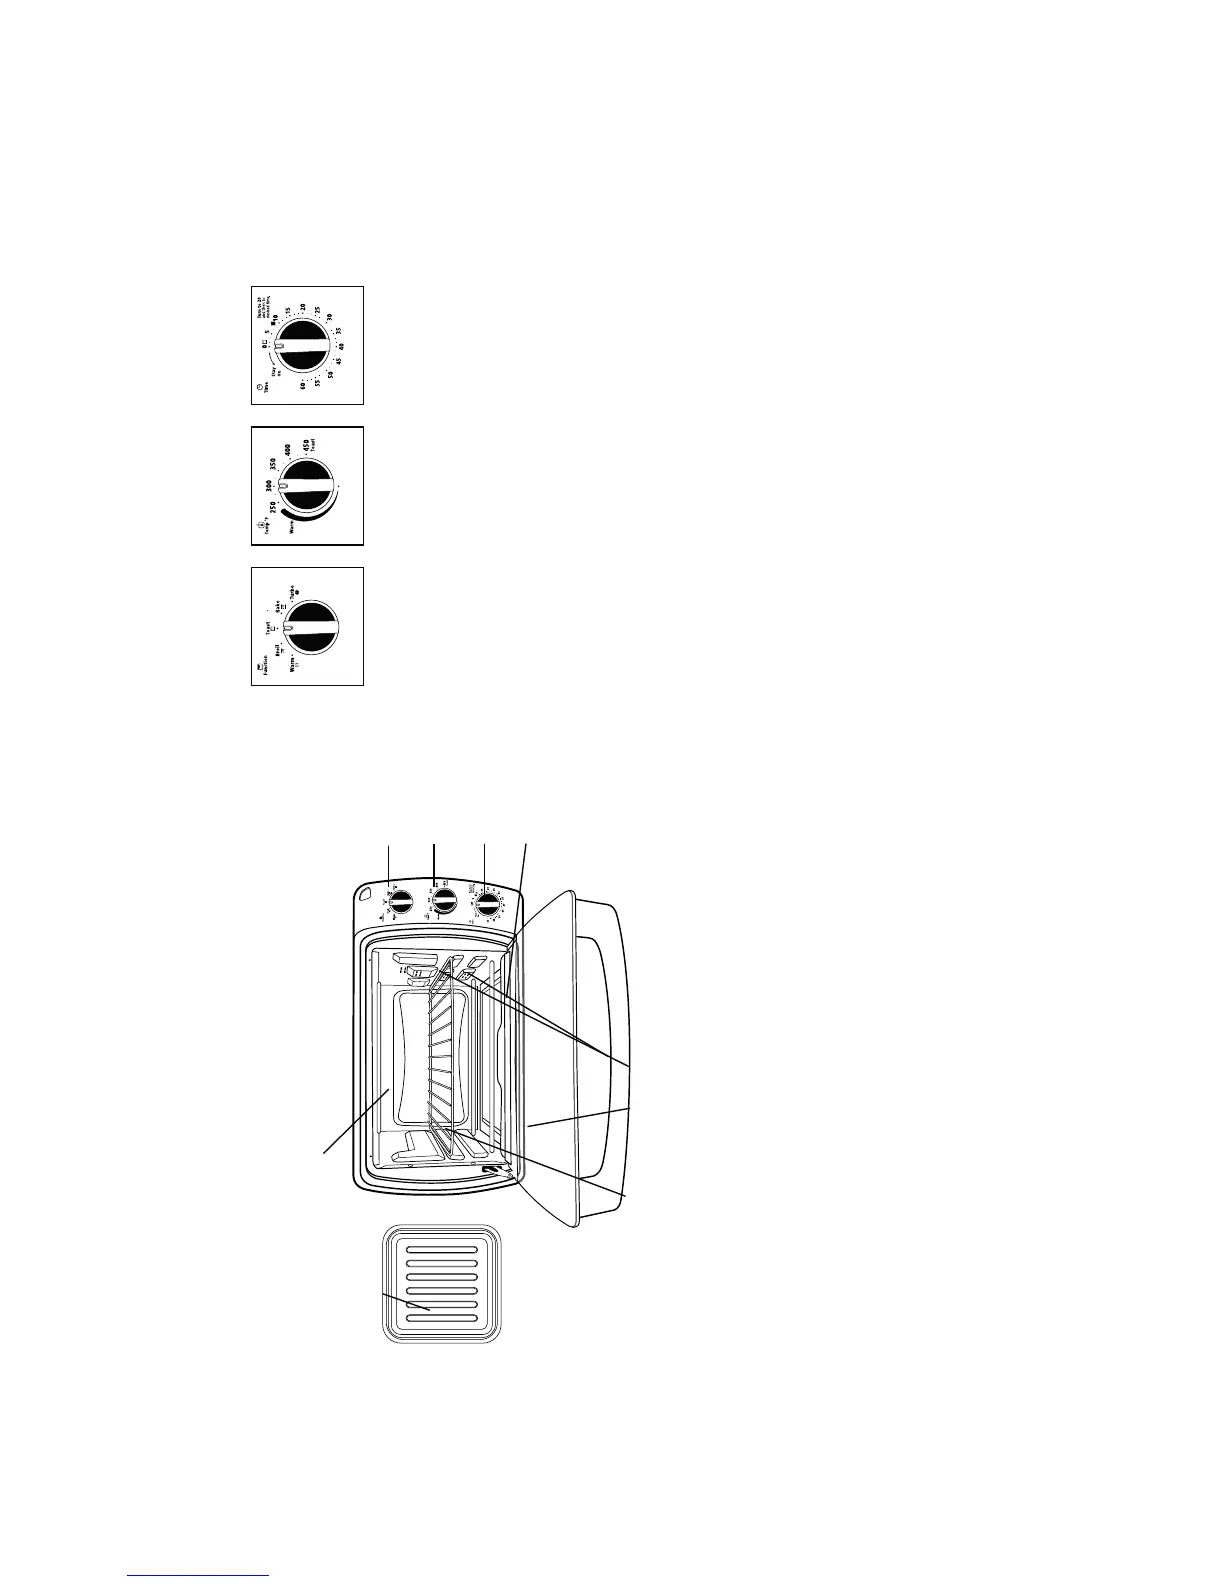
1. Perilla selectora de función - Seleccione la función de cocción girando la
«iÀ>Ê>Ê>Ê}À>`Õ>VÊ`iÃi>`>°Ê6iÀÊ>Ê}ÕÀ>Ê£®
2. Perilla de control de temperatura - Ajusta el termostato a la temperatura
`iÃi>`>°Ê6iÀÊ>Ê}ÕÀ>ÊÓ®
3. Perilla de control de tiempo con campanilla indicadora - Fija el tiempo de
cocción hasta un máximo de 60 minutos. Apaga automáticamente el
ÀÊ>Êv>â>ÀÊiÊÌi«Ê`iÊVVV°ÊÊ6iÀÊ>Ê}ÕÀ>Êή
4. Bandeja recolectora removible - Para recolectar las migajas o restos de
V`>ʵÕiÊV>}>°Ê-iÊÃ>V>Ê«>À>Êv>VÌ>ÀÊÃÕÊ«iâ>°
5. Rejilla removible para asar - Use para asar. Consulte las secciones de
º*ÃV>iÌÊ`iÊ>ÊÀi>»ÊÞʺ*ÃV>iÌÊ`iÊ>Ê>`i>»°
6. Puerta de vidrio templado - Para ver los alimentos desde el frente.
7. Dos posiciones para colocar la rejilla
Español-21
8. Combinación de bandeja para hornear y bandeja para galletas - Úselas
para todas sus tareas de horneado y asado. Consulte la sección de
º*ÃV>iÌÊ`iÊ>Ê>`i>»°
9. Paredes interiores fáciles de limpiar -Ê*iÀÌiÊ>Ê«iâ>ÊÀ?«`>°
PREPARACIÓN PARA USAR SU HORNO PARA MOSTRADOR POR PRIMERA VEZ
NOTA: Durante el primer uso usted podría detectar un ligero olor y/o humo.
Gire la temperatura al máximo y deje prendido por aproximadamente
xÊÕÌðÊ-ÊiÃÌ?ÊÕÃ>`ÊÃÕÊÀÊ«>À>ÊÃÌÀ>`ÀÊ«ÀÊ«ÀiÀ>ÊÛiâÊ>Ãi}ÖÀiÃiÊ`i\
UÊ,iÌÀ>ÀÊÌ`ÃÊÃÊ>`iÃÛÃÊ`iÊ>ÊÃÕ«iÀvViÊ`iÊÀ°
UÊÊLÀÀÊ>Ê«ÕiÀÌ>Ê`iÊÀÊÞÊÀiÌÀ>ÀÊÌ`ÃÊÃÊ`VÕiÌÃÊ«ÀiÃÃÊ
y los papeles de la parte interior del horno para mostrador.
UÊÊ«>ÀÊ>ÊÀi>ÊÞÊ>ÊL>`i>ÊVÊ>}Õ>ÊV>iÌi]ÊÕ>Ê«iµÕi>ÊV>Ì`>`Ê
de líquido lavavajillas y una esponja no abrasiva.
UÊ "Ê-1,,ÊÊ1,*"ÊÊÊ1 Ê Ê1°
UÊ-iµÕiÊ>ÊÕ`>`Ê«ÀÊV«iÌÊ>ÌiÃÊ`iÊÕÃ>À>°
UÊÊ-iiVViÊÕ>ÊÕLV>VÊ«>À>ÊiÊÀÊ«>À>ÊÃÌÀ>`À°ÊiLiÀ?Ê
ubicarse en un área abierta sobre una mesa en la que el enchufe llegue
hasta el tomacorriente.
UÊVÕviÊiÊÀÊ«>À>ÊÃÌÀ>`ÀÊiÊÕÊÌ>VÀÀiÌiÊ`iÊ£ÓäÊÛÌÃÊ°
ADVERTENCIA\ÊÕ>`ÊiÊÀÊiÃÌjÊiÊÕÃÊÊÃiÊiÃÌjÊivÀ>`]Ê>Ãi}ÖÀiÃiÊ
de que haya un espacio de 6 pulgadas entre el horno y cualquier otra
ÃÕ«iÀvViÊVÕÞi`ÊÃÊV>LiðÊÃi}ÖÀiÃiÊ`iʵÕiÊiÊV>LiÊÊiÃÌjÊ>«Þ>`Ê
contra la parte trasera del horno para mostrador.
1
7
8
2
3
4
5
6
9
 Loading...