English-4
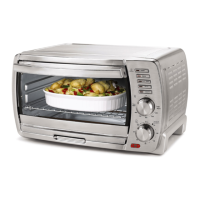
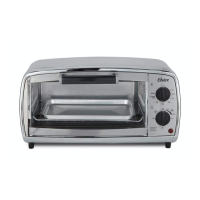
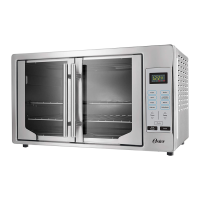
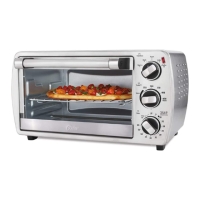
LEARNING ABOUT YOUR TOASTER OVEN
1. Removable Wire/Broil Rack – Use for all your broiling and grilling needs (See
Positioning Rack and Positioning Pan sections)
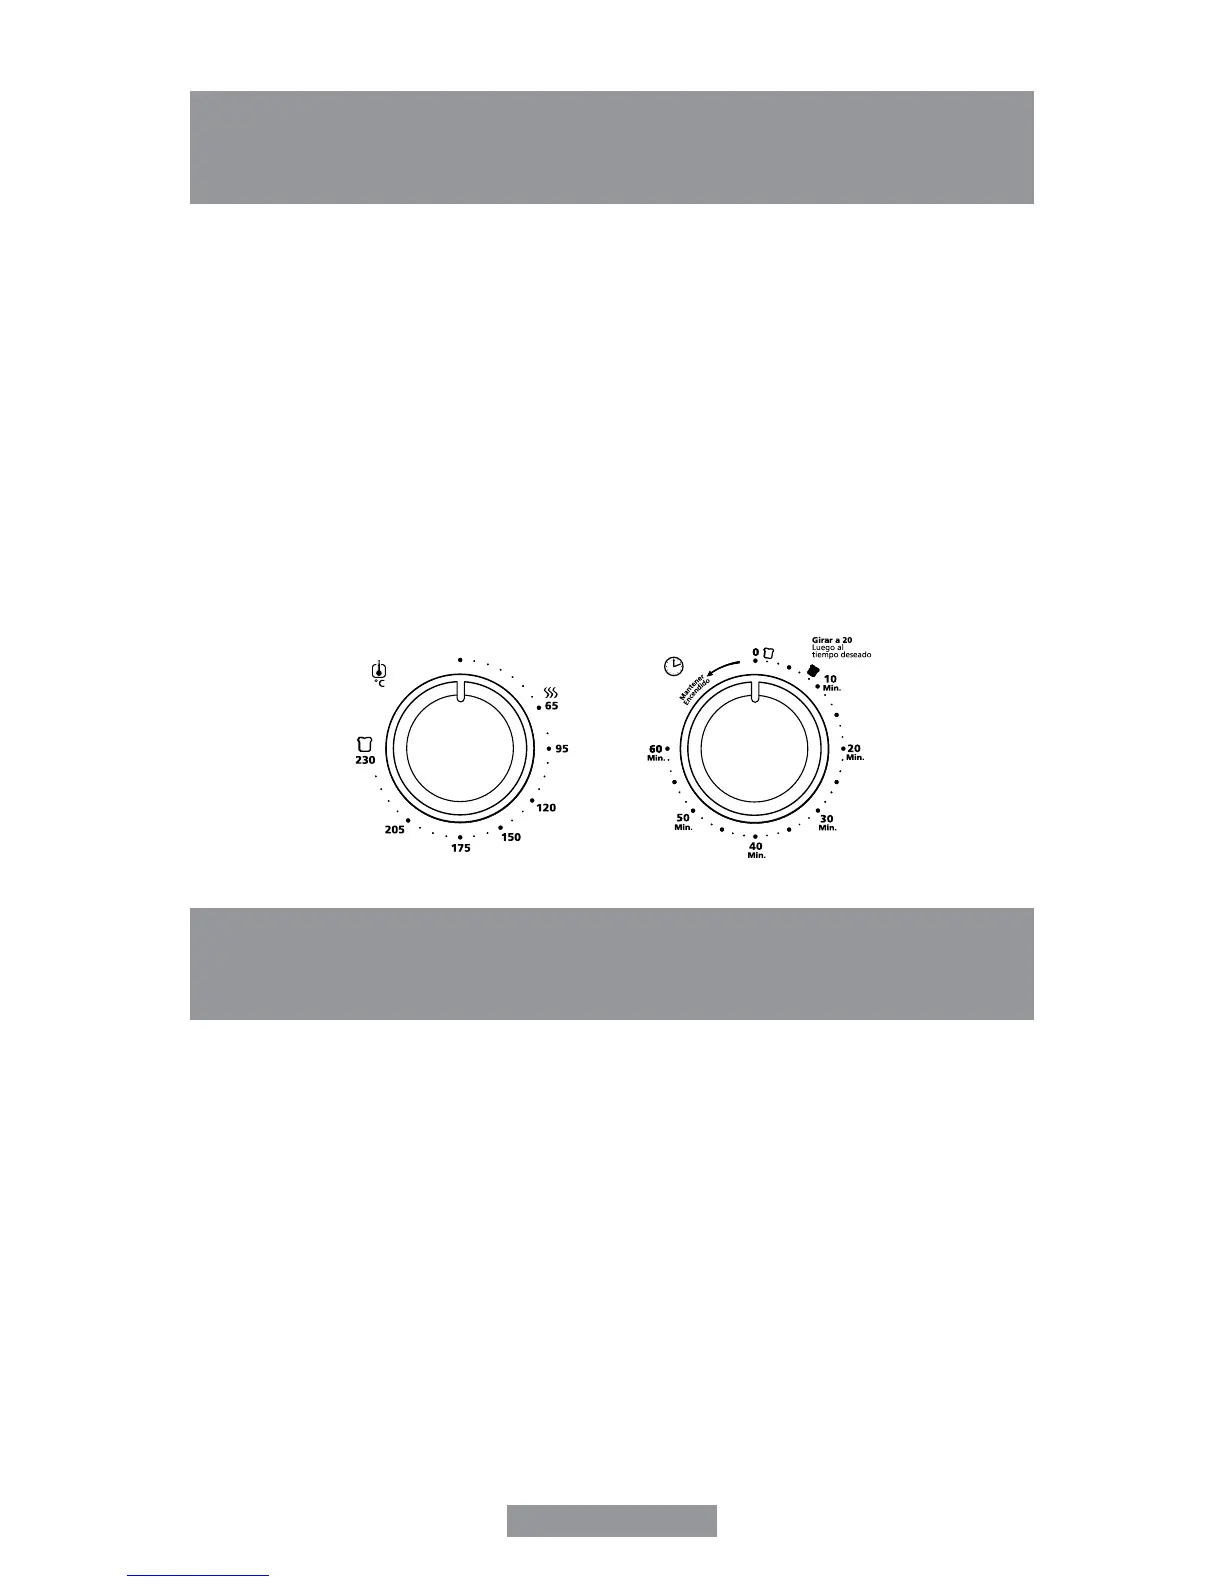
2. Temperature Selector Knob – Adjust the thermostat dial to the desired temperature.
(See Figure 1)
3. Timer Selector Knob – Adjust the dial to the desired time. (See Figure 2)
4. Function Selector Buttons – Select cooking function by pressing button of desired
setting.
5. Power Light – Indicates that oven is plugged in and that the timer is set to begin
warming.
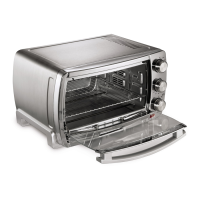
6. External Crumb Tray – For crumbs or fallen food particles collection. Pulls out for
easy cleaning.
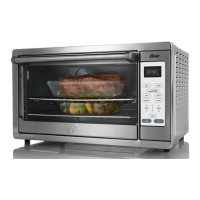
7. Glass Door – Allows you to see food cooking.
8. Easy Clean Interior Walls – Allows for easy cleaning.
9. Baking Pan – Use for all your baking needs.
10. Two Rack Positions
Figure 1 Figure 2
PREPARING TO USE YOUR TOASTER OVEN
FOR THE FIRST TIME
If you are using your toaster oven for the rst time, please be sure to:
• Remove any stickers from the surface of the oven.
• Open oven door and remove all printed documents and paper from inside the toaster oven.
• Clean the rack, tray, and pan with hot water, a small amount of dishwashing liquid and a non-
abrasive sponge or cleaning pad.
• DO NOT IMMERSE THE BODY OF THE UNIT IN WATER.
• Dry the unit thoroughly before using.
• Select a location for the toaster oven. The location should be in an open area on a at counter
where the plug will reach an outlet.
• Plug the toaster oven into the appropriate electrical outlet.
The heating elements are designed to work efciently and maintain a precise temperature.
You may not see the elements glowing, however they are working properly.
PLEASE NOTE – It is recommended that the toaster oven heat at 230°C for approximately 15
minutes to eliminate any manufacturing residue that may remain after shipping.