English-4
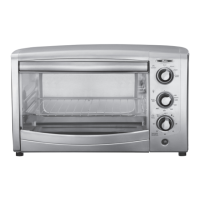
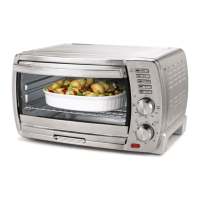
LEARNING ABOUT YOUR TOASTER OVEN
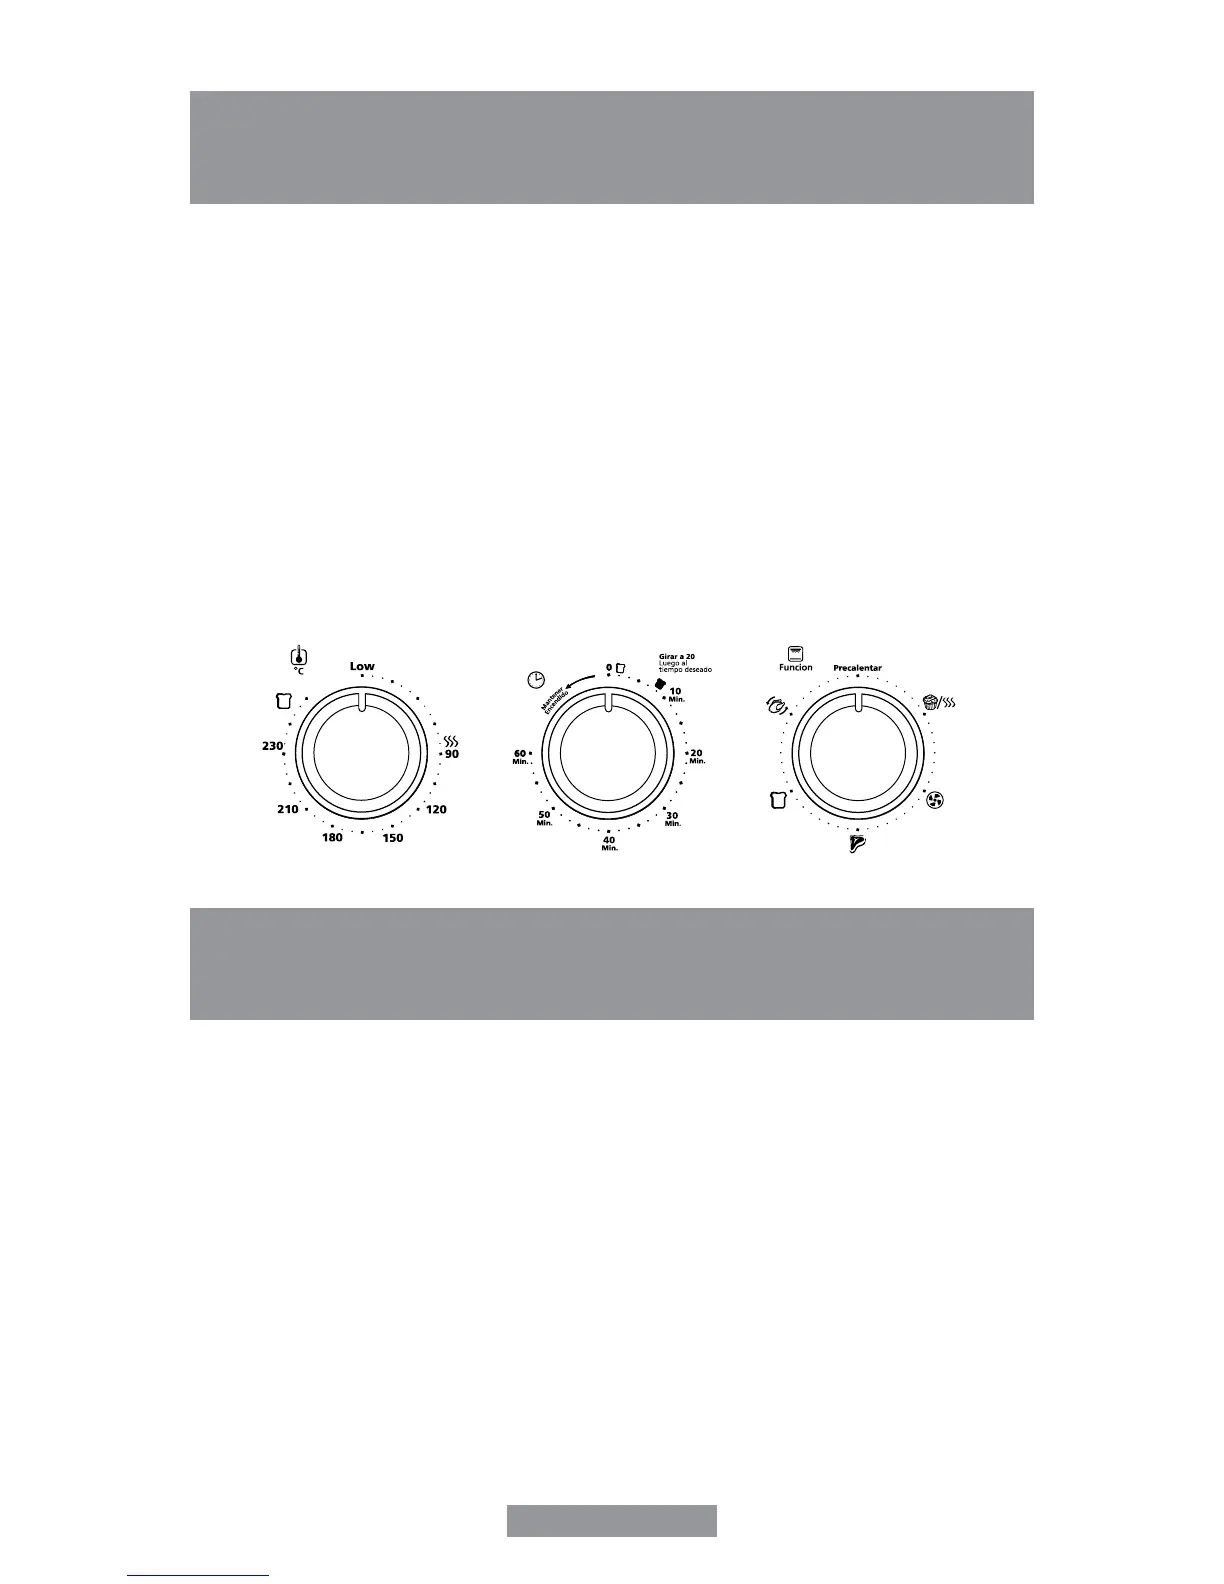
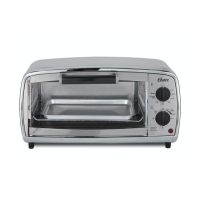
1. Temperature Selector Knob – Adjust the thermostat dial to the desired temperature
(See Figure 1).
2. Timer Selector Knob – Adjust the dial to the desired cooking time (See Figure 2).
3. Function Selector Knob – Adjust the dial to select cooking function (See Figure 3).
4. Power Light – Indicates that oven is plugged in and that the timer is set to begin
warming.
5. External Crumb Tray – Collects crumbs or fallen food particles. Pulls out for easy
cleaning.
6. Glass Door – Lets you to see food while cooking.
7. Easy Clean Interior Walls – Allows for easy cleaning.
8. Baking Pan – Use for all your baking needs.
9. Two Wire Racks and Dual Rack Positions – For added cooking versatility.
10. Rotisserie Spit – Enables rotisserie style cooking.
11. Interior Light – Helps with monitoring food while cooking.
PREPARING TO USE YOUR TOASTER OVEN
FOR THE FIRST TIME
If you are using your toaster oven for the rst time, please be sure to:
• Remove any stickers from the surface of the oven.
• Open oven door and remove all printed documents and paper from inside the toaster oven.
• Clean the rack, tray, and pan with hot water, a small amount of dishwashing liquid and a
nonabrasive sponge or cleaning pad.
• DONOTIMMERSETHEBODYOFTHEUNITINWATER.
• Dry the unit thoroughly before using.
• Select a location for the toaster oven. The location should be in an open area on a at counter
where the plug will reach an outlet.
• Plug the toaster oven into the appropriate electrical outlet.
The heating elements are designed to work efciently and maintain a precise temperature.
You may not see the elements glowing, however they are working properly.
PLEASE NOTE – It is recommended that the toaster oven heat at 230°C for approximately 15
minutes to eliminate any manufacturing residue that may remain after shipping.
Figure 1 Figure 2 Figure 3


 To Next Page