User’s Guide of DO3000 Door Operator
Lead the green future All rights reserved © OTIS 29/48
side. Confirm this is the data to be input, and press +
. If “400.00” is input by accident,
press
to delete one “0”
3.4 Debugging Description
3.4.1 Make sure that the following requirements are met before debugging the door operator:
For HAA24360G1, HAA24360G7 controller components, the system addresses are set as follows:
DOS (reverse open) : front door 53-1/rear door 54-1
DOL (open arrive) : front door 53-2/rear door 54-2
EDP (light screen beam) : front door 53-3/rear door 54-3
Elevator is in the maintenance state
Emergency stop button of top car is pressed
Randomly attached cables are correctly connected according to Fig.3-1 ~ Fig.3-7.
Door operator has been installed and connected correctly. Before the power-on, the hanger plate
bears the running resistance when pushed and runs smoothly after the three-phase power plug P4 of
motor pulled out.
Note: Because the controller has the outage anti-collision function, there is obvious resistance when the
hanger plate is pushed before the power-on.
Unaccomplished matters should be strictly handled according to the safety specifications of elevator!
※The controller and motor have been matched before the delivery of complete machine. The
debugging should be conducted by reference to the basic debugging steps in 2.4.2.
※If the controller or motor has been replaced, the debugging should be conducted by reference to the
advanced debugging steps in 2.4.3.
3.4.2 Basic debugging steps:
3.4.2.1 Power-on of door operator
If the power indicator goes on after the controller is switched on, the power of controller is normal.
3.4.2.2 Enter the password
1. Enter the menu 3311, go back to Password, input the password 8888, and then enter the password
4321.
Specific operations are as follows:
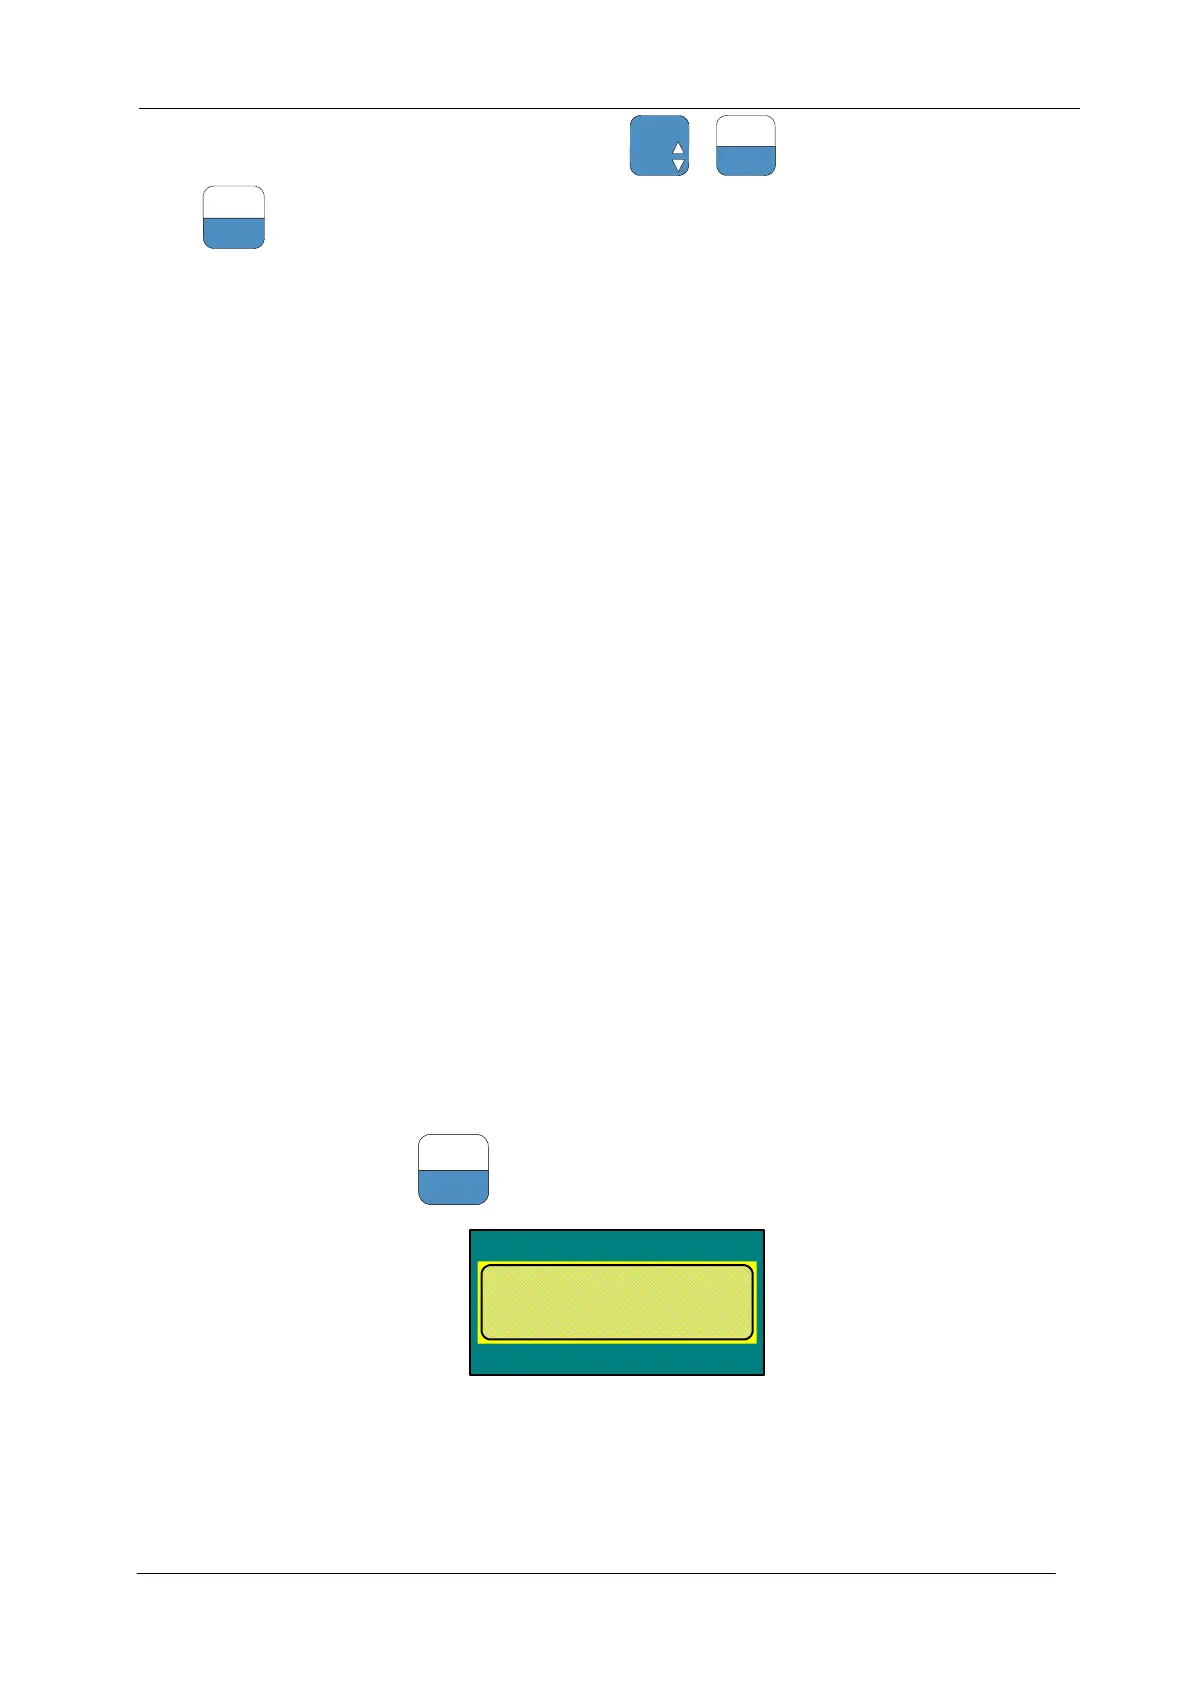
Enter the menu M3311, press
and go back to the last parameter:
DOOR-Menu
Drive =3
Password
o:0000= n:
Enter the password 8888:
 Loading...