Do you have a question about the Otto DIY+ and is the answer not in the manual?
Attaching the first servo motor to the leg base and securing it.
Attaching the second servo motor to the leg base and securing it.
Mounting servo motors into the main body and securing with screws.
Connecting the assembled leg units to the main body and securing them.
Attaching the foot components to the leg servo motors.
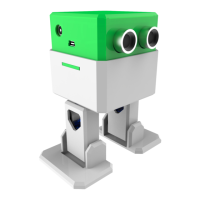
Inserting the ultrasound sensor into the designated slots in the body.
Detailed diagram showing how all electronic components connect to the main board.
| Microcontroller | Arduino Nano |
|---|---|
| Power Supply | 4 x AA batteries |
| Programming Language | Arduino IDE (C++) |
| Servos | 4 x SG90 micro servos |
| Sensors | Ultrasonic sensor |
| Material | PLA (3D printed) |
| Connectivity | Bluetooth |
| Weight | Approx. 200g |