10400344-002 12/2012 ©2011-12 Overland Storage, Inc. Page 1 of 4
*10400344-002*
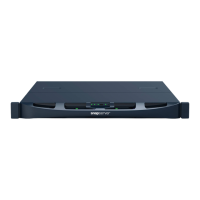
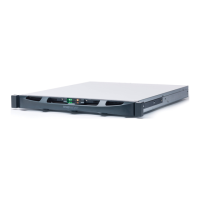
SnapServer
™
DX1
Spare Chassis Instructions
This document describes how to remove and replace the chassis
of a SnapServer DX1 from Overland Storage.
WARNING: To reduce the risk of electric shock or damage to
equipment, always remove any power cords while working
with the unit.
AVERTISSEMENT: Pour réduire le risque de choc électrique ou
endommagement de l'équipement, retirez toujours les cordons
électriques en travaillant avec l'appareil.
CAUTION: While working with the unit, observe standard
Electrostatic Discharge (ESD) precautions to prevent damage
to micro-circuitry or static-sensitive devices.
Prepare the Unit
Power Off and Disconnect
1. If necessary, power off the unit using the Web
Management Interface.
Select
System Maintenance > Reboot and Shutdown >
Shutdown
.
2. When all the LEDs are off, disconnect the power cord.
3. Disconnect all data cables from the unit.
Remove the Front Bezel
Carefully take hold of the front bezel and pull it straight out
from the appliance until the magnets release. Set it aside.
Remove the Drives
IMPORTANT: Overland recommends that you remove the disk
drives to reduce the unit’s weight prior to removal.
NOTE: Do not remove the disk drives from their carriers. Doing so
voids the drive warranty.
1. Press the release button on the right side of the carrier.
2. Using the built-in handle, pull the drive carrier out.
3. Set the carrier on an secure surface.
4. Repeat Steps 1–3 for all the remaining drive carriers.
Power Socket
Data Cables
Press