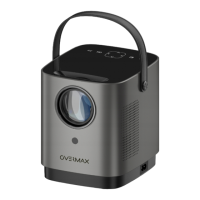
EN
Installation
Standard settings
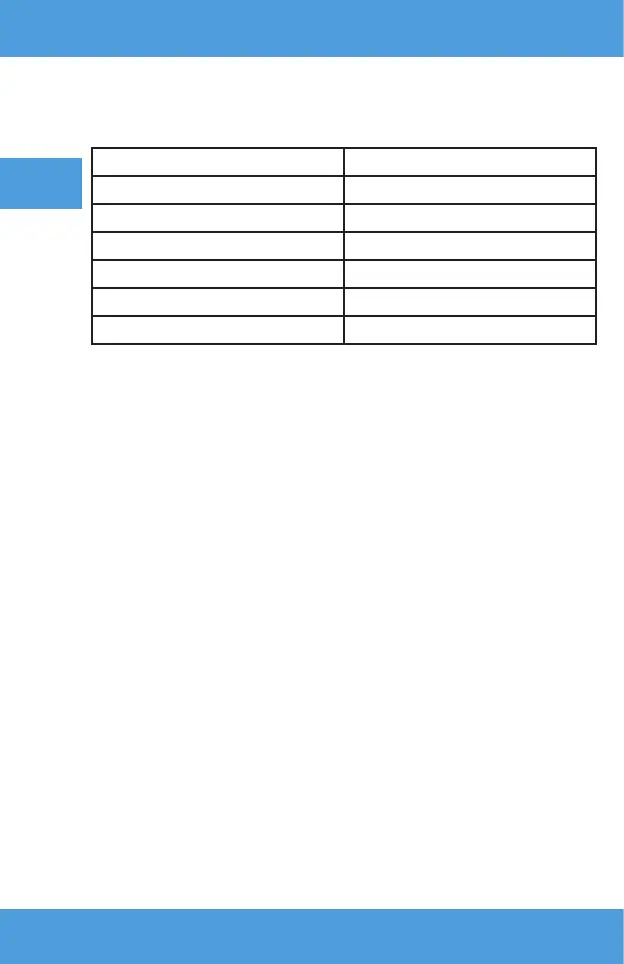
Refer to the table below to adjust the image size and projector distance (fig. 3).
Proportion ratio 16:9
Image size (inches) Projection distance
50 1,53
70 2,14
100 3,03
120 3,60
150 4,50
• During installation, place the projector on a stable surface or set it on a
stand. Do not cover or block ventilation holes.
•
If the distance between the projector and the screen is less than the
minimum distance or is much greater, the image may be blurred.
Device operation
Switching on and o
• When the projector is connected to the power source, it enters standby
mode. The indicator light will turn red.
• To turn the projector on or o, press the on/o switch on the top of the
cabinet or the on/o button on the remote control. The projector is ready
for operation when the light turns blue.
Focus adjustment
• Place the projector so that the lens remains perpendicular to the wall or
screen on which the image is to be projected.
• o improve the focus of the projected image, turn the focus knob on the
top panel until the image comes into focus.
• If the image is not displayed perpendicularly, it will be distorted.
Signal source settings
Switch on the projector, and then select your preferred signal source in the
main interface (fig. 4).