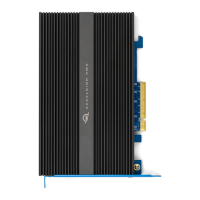
OWC Aura SSD for Mac Pro
Installation
4
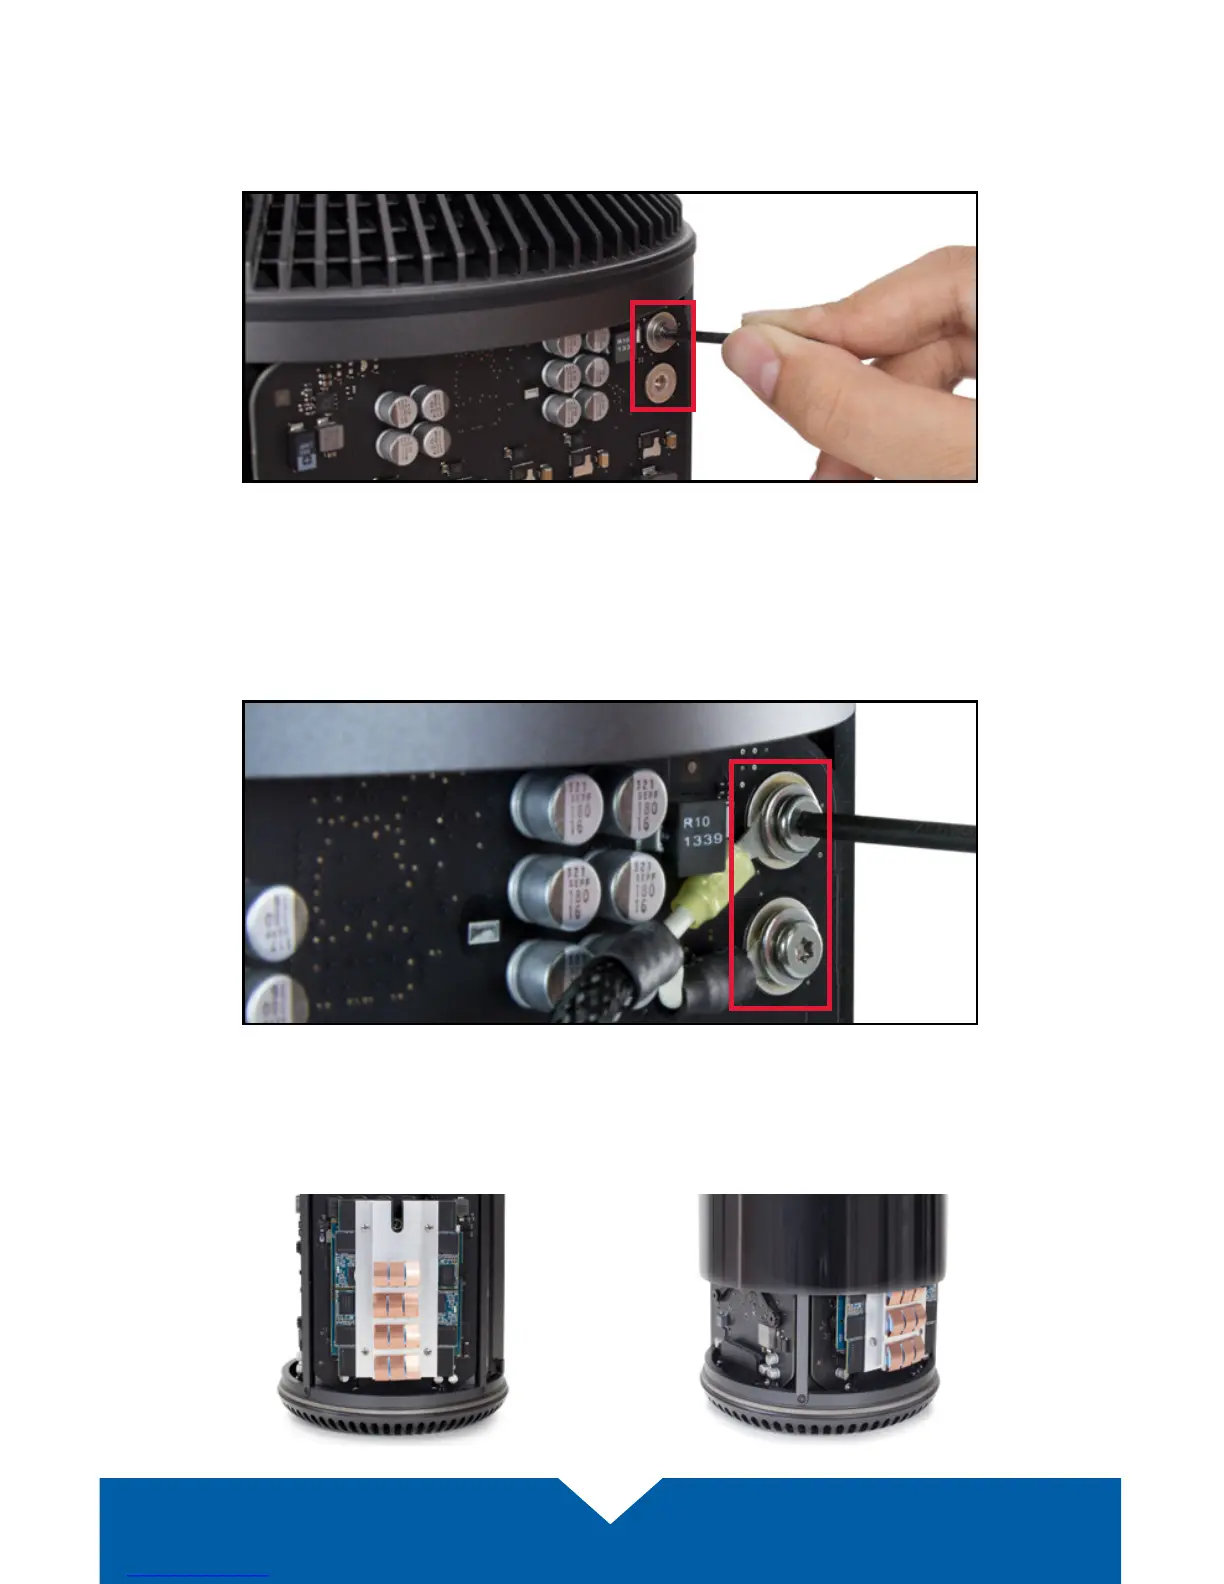
4. Using the included driver, remove the two Torx T8 security screws from the upper
right-hand side of the Mac Pro (circled below). NOTE: The screws included with this kit
are intended only for use with the Aura SSD. If you uninstall the Aura, you must use the
original Apple screws to reinstall Apple’s SSD; please store them in a safe place.
5. First, thread the two included washers onto the two included Torx T8 screws. Next, align
the rings on the power cables with the two screw holes, then secure each cable to the
power terminals as shown below. Make sure the screws are tightened enough that the
power cables cannot rotate in place or move. IMPORTANT: the wire with the black
sleeve should always connect to the lower power terminal.
6. Properly installed, the Aura SSD for Mac Pro and power cable will look like the picture
below (left). Replace the outer case of the Mac Pro as shown (below right). When the
outer case is seated fully, slide the lock switch back to its original locked position.