4
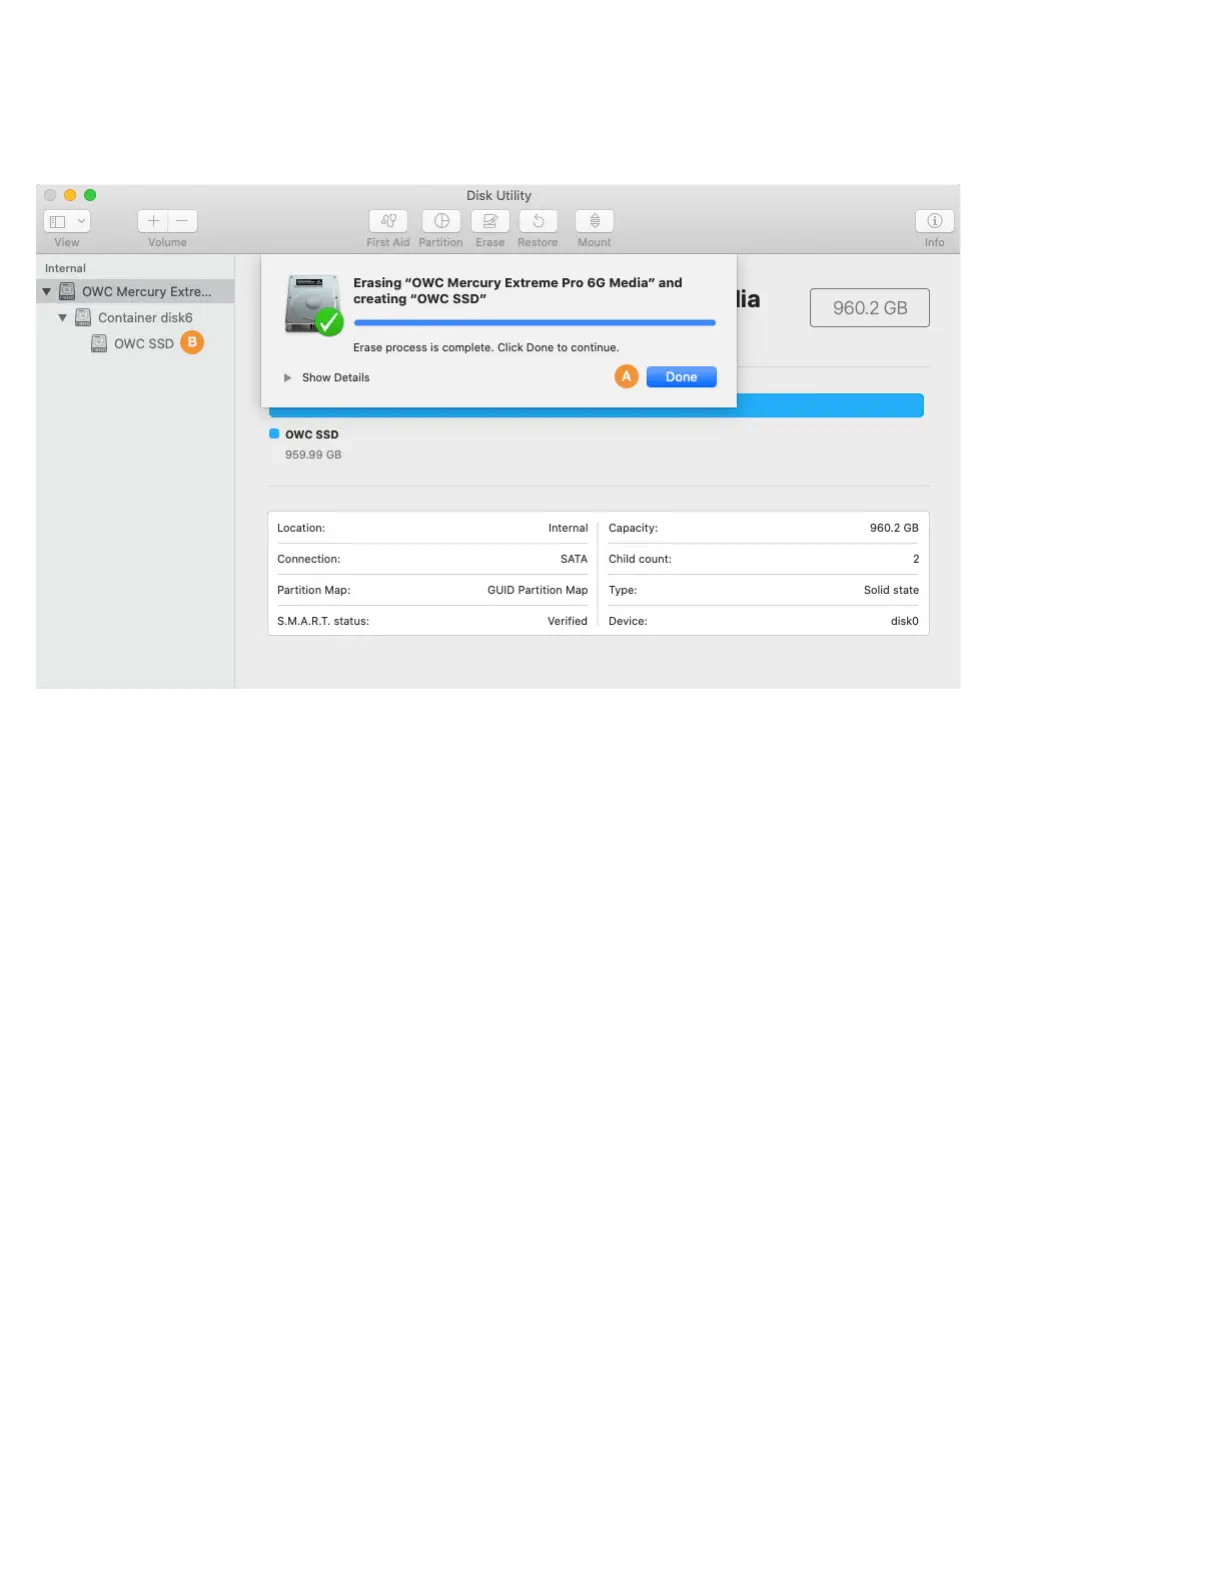
Step 9 – once the process is complete, click the ‘Done’ button (item A below). You should now see the newly created volume under the
physical disk you selected in Step 3 (here it’s called ‘OWC SSD’, item B below).
When finished you can choose Disk Utility > Quit from the main menu. This will take you back to the main Recovery screen. Please skip
ahead to page 11 to begin the process of OS installation and/or data migration.
 Loading...