speed system, release the trimmers, or do both. Using the speed
system has exactly the same effect as releasing the trimmers so it
is safe and possible to y with the trimmers in the standard posi-
tion whilst using the full range of the speed system.
Unlike the majority of reex PPG wings, to increase cruise speed
you can use the speed system, release the trimmers, or do both.
It is not necessary to release the trimmers before accelerating. Us-
ing the speed system has exactly the same effect as releasing the
trimmers so it is safe and possible to y with the trimmers in the
neutral position whilst using the full range of the speed system.
In turbulent air the reex prole is very stable. It will resist
reasonable levels of turbulence with a high resistance to collapse
without pilot input. The faster the wing is own the more inherent
stability there is, as the reex has a greater effect. In mild turbu-
lence it may be best to not attempt to y the wing actively and let
the prole absorb the turbulence itself, indeed small applications of
the brakes can reduce the inherent stability of the prole. How-
ever in very strong turbulence Ozone recommends to return the
trimmers to the neutral position (pulled down) and ying the glider
actively. This way, you will be in the best position to react correctly
should an incident occur.
IMPORTANT: The certied position of the risers is when the
trimmers are pulled down to the slowest position. Flying
with the trimmers released and/or with the speed bar ac-
celerated is safe to do under the correct circumstances but
takes the wing outside of its EN certied status.
NOTE: The white line on the trimmer is the recommended
position for Take off.
Accelerator System
To set up an accelerator on the ground, ask a friend to pull your
risers into their in-ight position while you sit in your harness. Now
adjust the length of the line so that the main bar sits just beneath
your seat. You should now be able to hook your heel in to the sec-
ondary (lower) loop of the accelerator.
The accelerator must be slack enough to ensure that the front ris-
ers are not pulled down in normal ight, but not so long that it is
impossible to use the full range of the speed system.
Once set up, test the full range of the speed system in calm y-
ing conditions: ensure that both risers are pulled evenly during
operation. Fine-tuning can be completed when you are back on the
ground.
IMPORTANT: Using the accelerator decreases the angle of
attack and can make the gliders recovery from a collapse
more aggressive, therefore using the accelerator near the
ground or in turbulence should be avoided.
IMPORTANT: When fully accelerated directional control
should be maintained with the Tip Steering System. Do not
use the brakes.
IMPORTANT: Using the speed system has exactly the same
effect as releasing the trimmers so it is safe and possible
to y with the trimmers in the fully slow (neutral) position
whilst using the full range of the speed system. However it
is not EN certied with the speed bar activated.
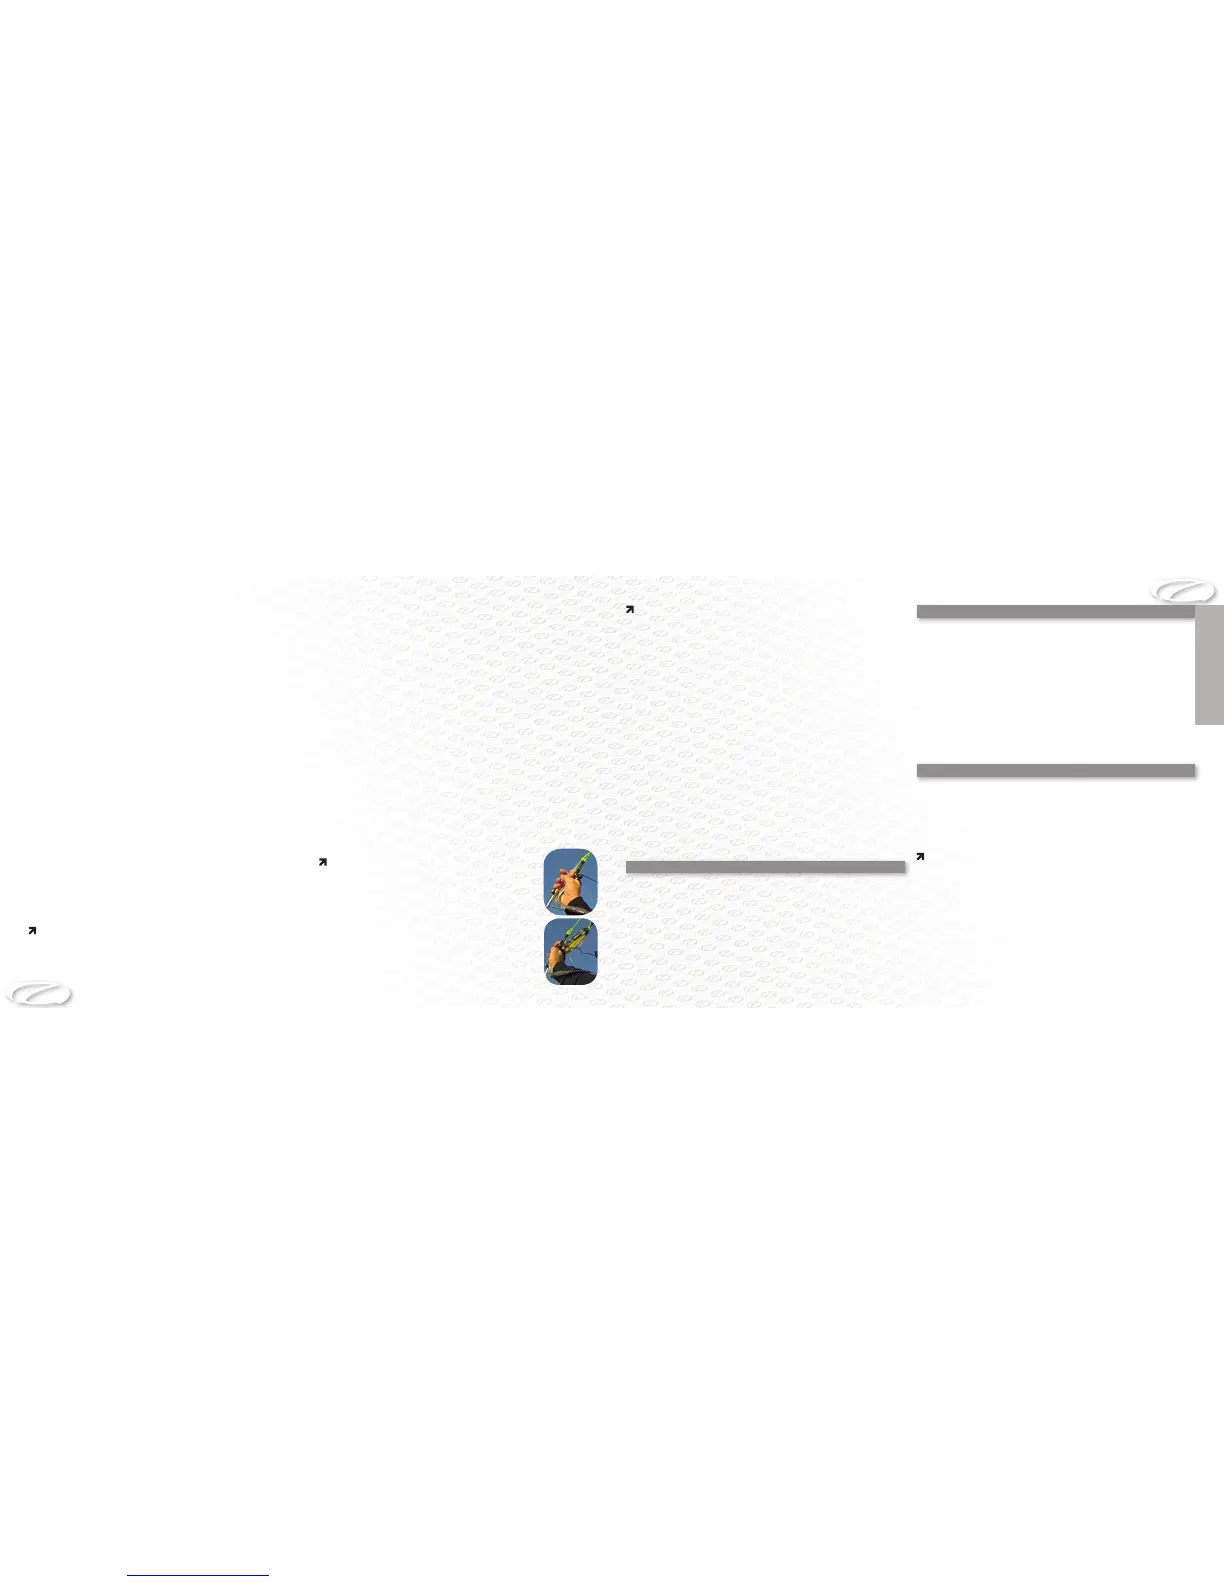
Tip Steering System TST
The Tip steering system is for precise handling at
high speeds without the need to use the brakes. Lo-
cated on the risers the small handle is linked to the
very tip of the wing giving you high levels of preci-
sion and comfort for high speed cruising or low level
stick kicking.
IMPORTANT: Ozone recommends that whilst
at low level, brakes should always be kept in
the hand in case of collapse, engine failure or
impromptu landings.
Adjustable Brake Pulley Position
The brake line pulley position can be adjusted according to pilot
preference to suite the power unit’s hang points height. There
are 2 settings: Upper and Lower. The upper setting (as set by the
factory) is for low hang point motors whilst the lower setting is for
units with higher hang points.
If you use the lower pulley, you must lengthen the brake lines
accordingly. Moving to the lower pulleys requires the addition of
15cm to the overall brake line length (measured from the mark on
the brake line).
To change the pulley position, remove the brake line from the pul-
ley by taking off the brake handle. Re-route the brake line through
the other pulley before attaching the brake handle at the new
adjusted length.
IMPORTANT: If you change the brake pulley position, you
MUST re lengthen the brake lines accordingly.
IMPORTANT: In the unlikely event of a brake line snapping
in ight, or a handle becoming detached, the glider can be
own by gently pulling the rear risers (D-risers) or the tip
steering system for directional control.
Total weight in flight
Each Roadster 2 has been certied for a dened weight range. We
strongly recommend that you respect these weight ranges and y
the wing most suited to your weight. That way you can get many
hours of ight both powered and un-powered with the same wing.
Harness and Motor
It will be in your harness that you will enjoy ying. Therefore,
we recommend you spend the time on the ground to adjust your
harness’ different settings. Hang from a solid beam and double
check that you are comfortable and that you can reach the brake
handles, tip steering handles and that you can achieve the full
range of speed bar travel before ying.
The Roadster 2 is suitable for all types of motor. There are many
different motor units available and it is vitally important that you
choose one that is suitable for your needs, weight and skill level.
Always seek assistance and advice from your instructor or experi-
enced pilots before choosing equipment for yourself.
To familiarise yourself with the glider it is a good idea to perform
practice inations and ground handling with and without the motor.
You should have no difculties ying the Roadster 2 for the rst
time in suitable conditions, but as with all new equipment; only y
in conditions that you would normally y in, on a familiar site and
do so progressively.
Preparation
Lay out the Roadster 2 downwind of your motor on its top surface
in a pronounced arc, with the centre of the wing higher than the
tips. Lay out the lines one side at a time. Hold up the risers and
starting with the brake lines, pull all lines clear. Repeat with the D,
C, B and A lines, laying the checked lines on top of the previous
set, and making sure no lines are tangled, knotted or snagged.
Mirror the process on the other side.
IMPORTANT: Always lay out your glider downwind of the
motor, never leave the motor downwind of the wing or con-
nected to the motor if unattended.
 Loading...