17
16
SIV and Collapse lines
TheZeno wascertied withthe use ofcollapse lines,therefore ifyou wishto induce collapsesduring
SIV training collapse lines must rst be installed correctly. Ozone would like to remind you that SIV
manoeuvresshouldbelearntunderthesupervisionofaqualiedinstructorandalwaysusedwithcaution.
Westronglyrecommendexperttuitionoverwaterwithallthenecessarysafetyprecautionsinplace.Only
attemptSIVwiththiswingifyouhavepreviousSIVexperiencewithahighaspectratiowing,suchasthe
M6.EnsurethatyoufullyunderstandthecorrectandsafeuseofthisequipmentbeforeattemptingSIV.
Collapse lines are available as an optional extra and should be added to the wing before inducing
collapses. Be sure to attach to both sidesof the canopyfor symmetric deations.Please consult the
riggingdiagramonpage26.
Step1 Collapse Risers
Attachtheriserlinetotheloopoftheuppermostspeed-systempulleylocatedontheArisers.Thenattach
themaillontotheotherendofthecollapseriser.Repeatonotherside.
Step2 Upper Lines
Attachtheuppercollapselinestotheircorrespondingtabs.Thetabscanbefoundatthebottomofthe
openingsalongtheleadingedge.Linesshouldrstberoutedthroughthesmallholesonthelowersurface
andthenattachedtothetabusingalarksfoot.Z1attachestothetabinfrontofA1aandZ2tothetab
infrontofA2aetc.Please note Z12 does not have its own dedicated tab; it needs to be
attached to the A12 tab.
Step3 Mid Lines
Attachthemidlines:ZM1joinswithZ1&Z2only;ZM2joinswithZ3&Z4etc...
Step4 Lower Lines
Attachthelowerlinestothemidlines:ZR1joinswithZM1&ZM2;ZR2joinswithZM3&ZM4;andZR3
joinswithZM5&ZM6.JoinZR1,2&3toZRL1
Step5 Lines to Maillon
AttachZRL1tothemaillononthecollapserisers.Usetherubberbandsoralternativelysomestickytape
tosecurethemailloninplacetopreventitorthelinefromrotating.
Step 1. Lay the mushroomed
wing on the ground or on the
Saucisse pack if you are using
one. It is best to start from the
mushroomed position as this
reduces the dragging of the
leadingedgeacrosstheground.
Step 2. Group leadingedge (LE)
plasticreinforcementswith the A
tabs roughly aligned. Make sure
the plastic reinforcements lay
side by side. Note the glider is
NOTfoldedinhalf;itisfoldedas
acompleteconcertinafromwing
tiptowingtip.
Step 3. Group together
themiddleandthetrailing
edge(TE) ofthe wing by
sorting the concertina
folds near the B and C
tabs.
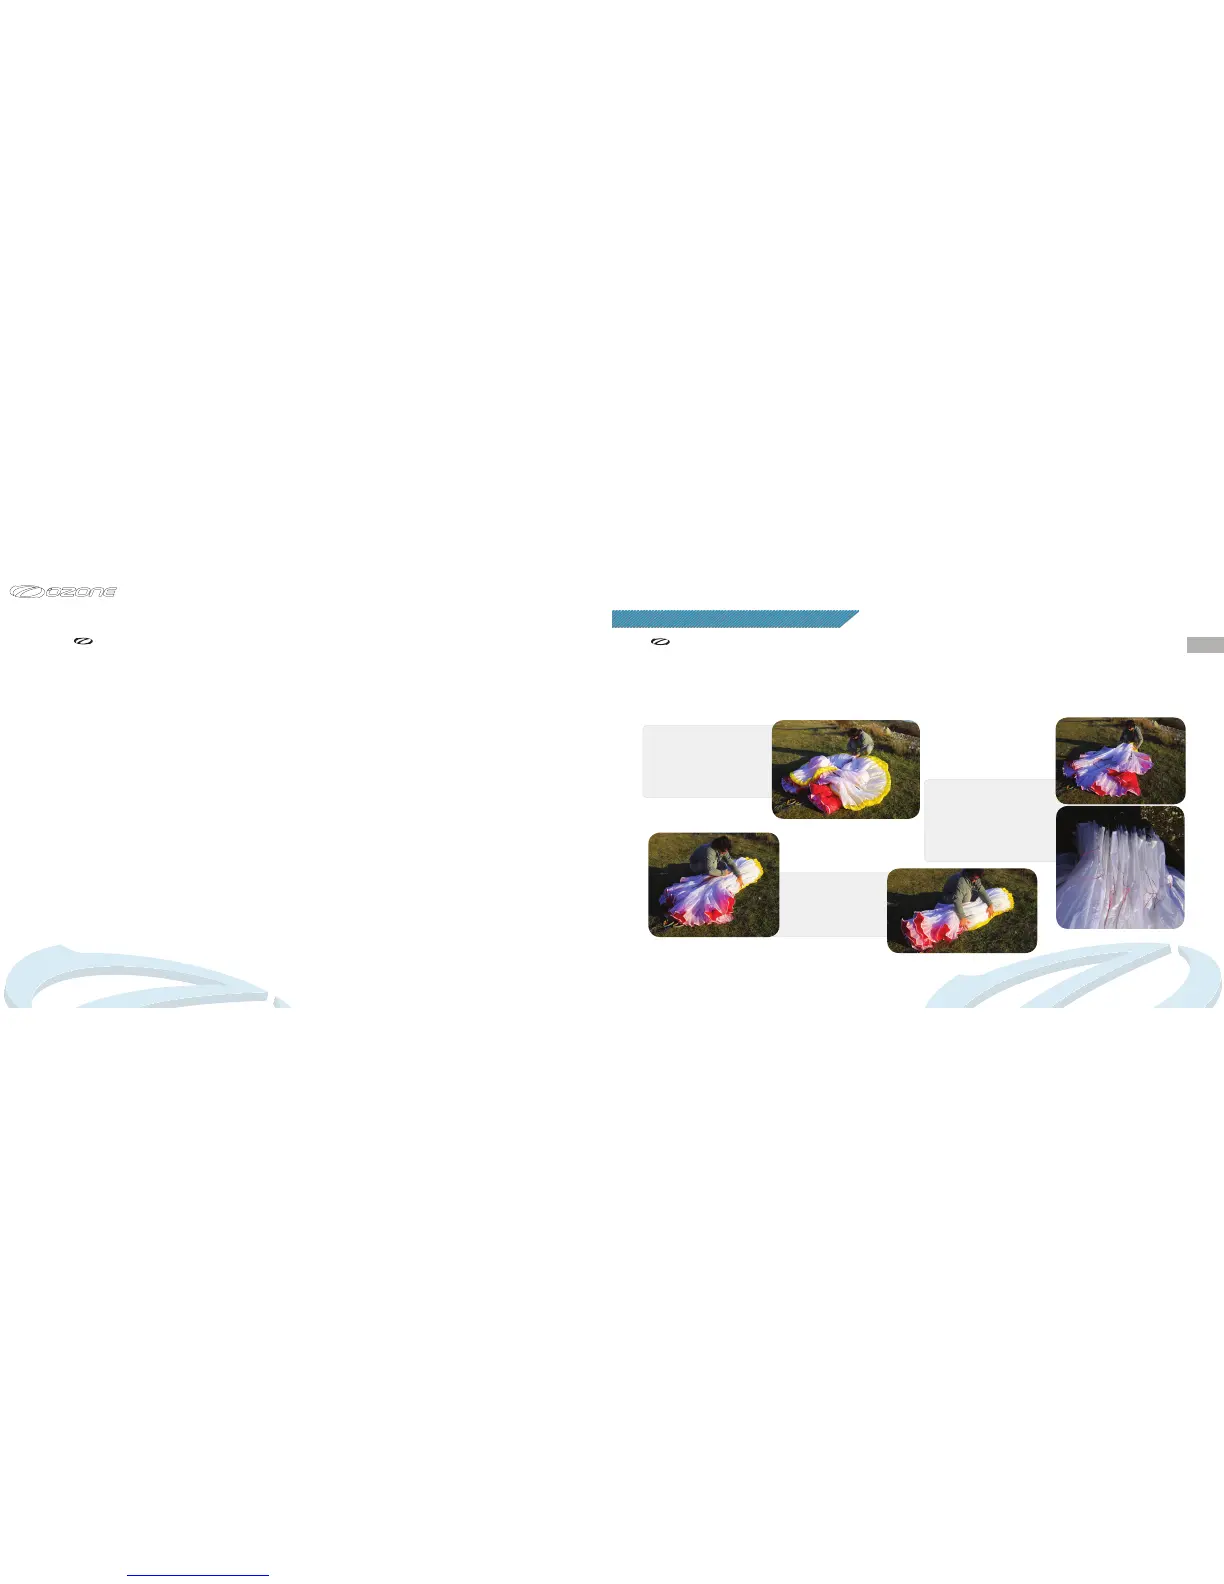
Packing
Toprolongthelifeofyourwingandtokeeptheplasticreinforcementsinthebestpossibleconditionitisveryimportanttopackthewing
carefully.
Ozonerecommendstousetheconcertinapackingmethodexactlyasshownsothatallofthecellsrestalongsideeachotherandthe
plasticreinforcementsarenotunnecessarilybent.ItisalsogoodpracticetousethesuppliedfoamFoldingPillow,thisreducestheangle
oftheleadingedgefoldandhelpspreservetheplasticreinforcements.Thefoldingpillowcanbecompressedwiththestrapandcarriedin
yourharness.Also,usingtheOzoneSaucissepackwillhelppreservethelifeofthewingandaidwiththespeedandeaseofpacking.
IMPORTANT
Only attempt SIV
with this wing if you
have previous SIV
experience with a high
aspect ratio wing,
such as the M6.