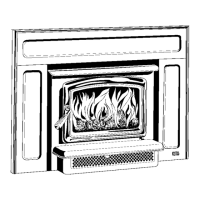
8 VISTA INSERT-C 081112-24
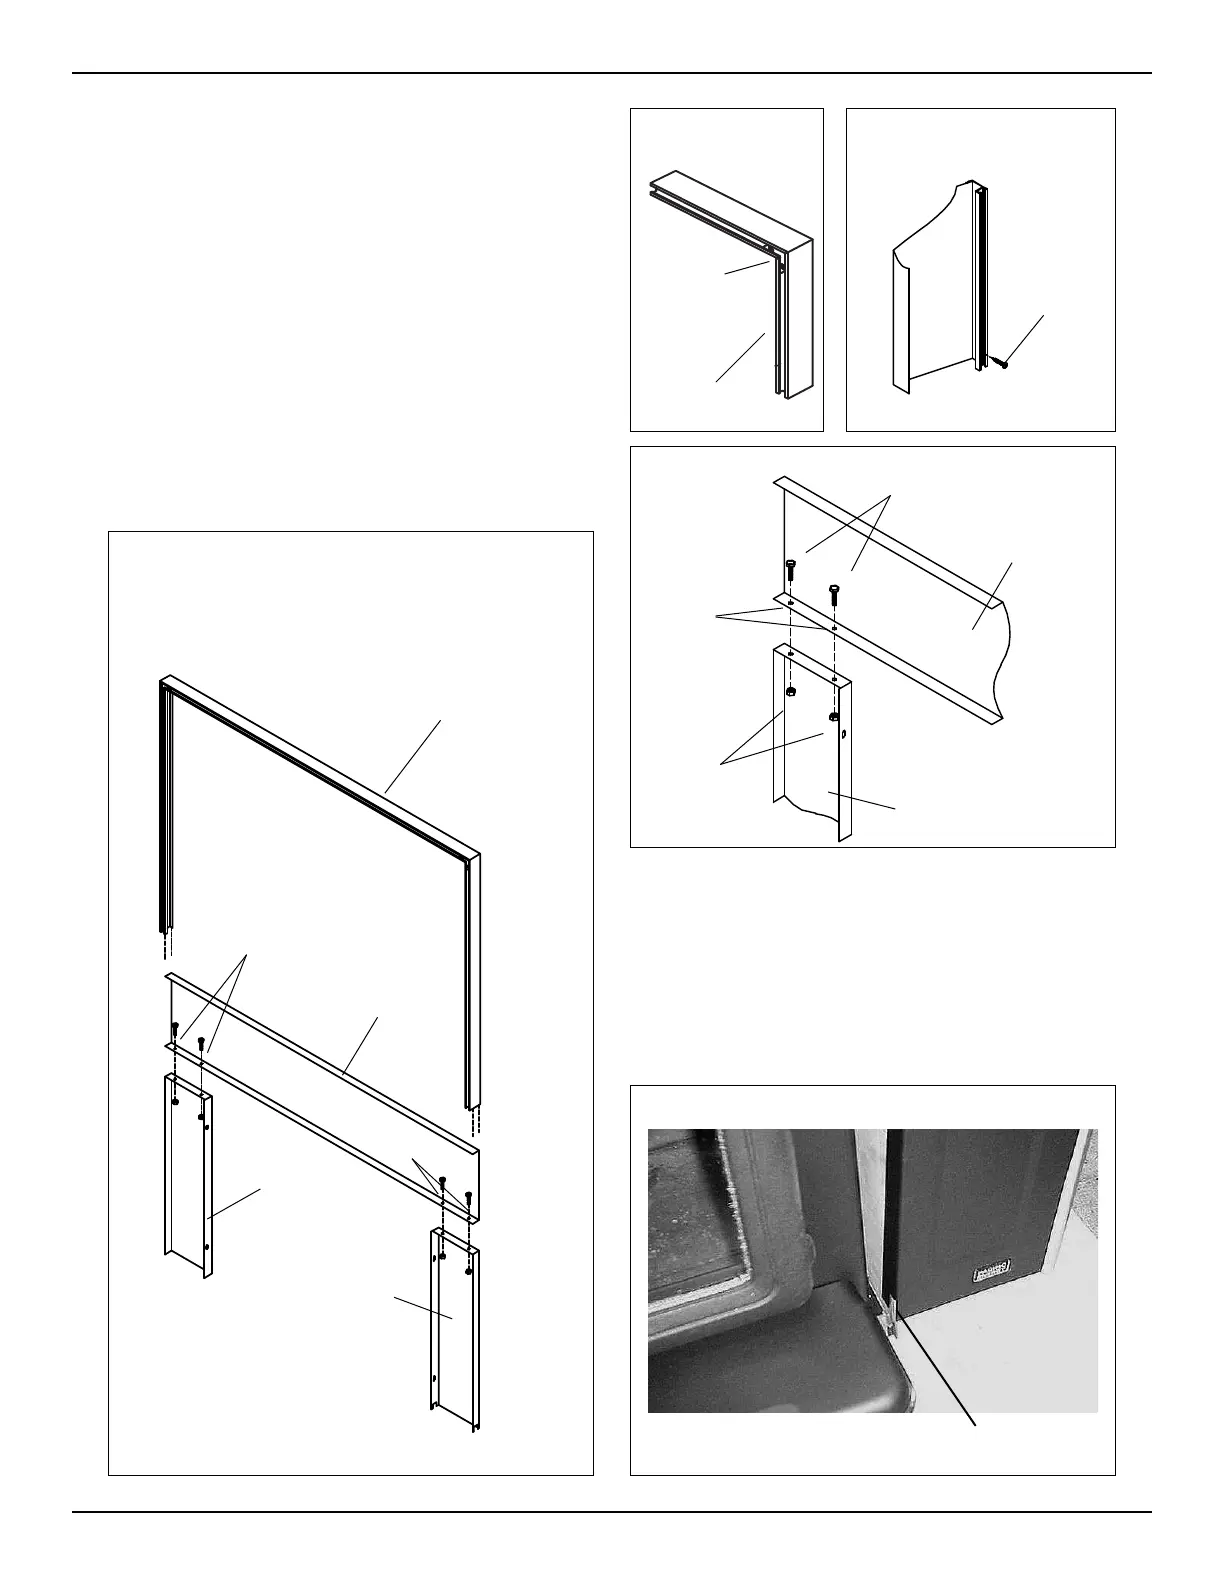
Surround Assembly and Installation
1) Lay part A, B and C face down on a at non-marring
surface. Fasten together with 1/4" x 1/2" bolts and
nuts provided through holes at points “D” (Fig. #8 and
11).
2) Lift the surround assembly to the upright position
and make sure the front face is at and even at the
joints.
3) Assemble the three trim pieces using the enclosed
hardware. Slide part F into the back corners of the
trim and tighten screws. Ensure the mitred corners
t tightly and evenly (Fig. #9).
4) Slide the assembled trim over the surround from the
top (Fig. #8).
5) Tighten the retaining screws at the bottom of each
trim side (Fig. #10).
Fig. # 8
Fig. # 9
Fig. #
Fig. # 12
6) DO NOT LIFT THE SURROUND ASSEMBLY BY
GRASPING THE TRIM. Engage the bottom of the
pre-assembled surround onto the unit. The surround
base is notched to t over the casing ange. (see Fig.
#12) Pivot surround assembly up into place and secure
with 2 screws in the upper corners of the casing. (see
Fig. #13)
7) Push the entire appliance back until the surround
assembly is in contact with the replace.
Part B
Trim
Fig. # 10
Trim
Retaining
Screw
Part F
Part A
Part C
Part A
Trim
D
D
D
1/4" Nuts
Part C
1/4" x 1/2" Long
Notch in Surround Base


 To Next Page
 Loading...